From entrance to study / studio - DIY project - Jane Foster

We're living in a quirky old 60s house that has been a slow renovation project (labour of love) for my partner Jim and I.The entrance hall used to be a car port which some previous owners converted back into an entrance area. This area has slowly become a dumping ground for our bikes, scooter, beach gear etc.. and we realised that this probably wasn't the best way to utilise this space and seemed extravagant as just an area to pass through. We have a studio in the garden where I sew and screen print - it's now become more of a family room as our daughter has an area to make things and my partner has a study area within it too. It's been wonderful to all be in there together but over the past year or so, my children's book illustration work has been where my focus has been and I've realised that I need to work in complete isolation and silence in order to concentrate, free from any distractions. We decided the most affordable and sensible option would be to quickly adapt the front entrance space into a little study. It took my partner a week to adapt the space, start to finish. I'm absolutely thrilled to bits and love how cosy and small it is to draw in, whilst also being able to see the odd passer by from the window. It's also great to be able to draw here in the evening when my daughter is asleep upstairs.
Here are some snap shots of the transformation through all it's stages.
Below is a photo of how our home used to look before the stud wall was added.

Our front entrance was becoming a dumping ground for bikes and beat gear.
As it's a 60s house, my partner chose to insulate under the windows followed by MDF cladding.

Insulating and cladding under the windows
Jim started fixing the timber studs and then covered them with plasterboard - a surprisingly quick process.

Timber studs
A new door frame was added and the new room started taking shape!

Plaster board and new door frame added.
All the nail holes were painstakingly filled with filler which was then sanded when dry.

Holes filled and sanded - little door has a hidden letter box behind it!
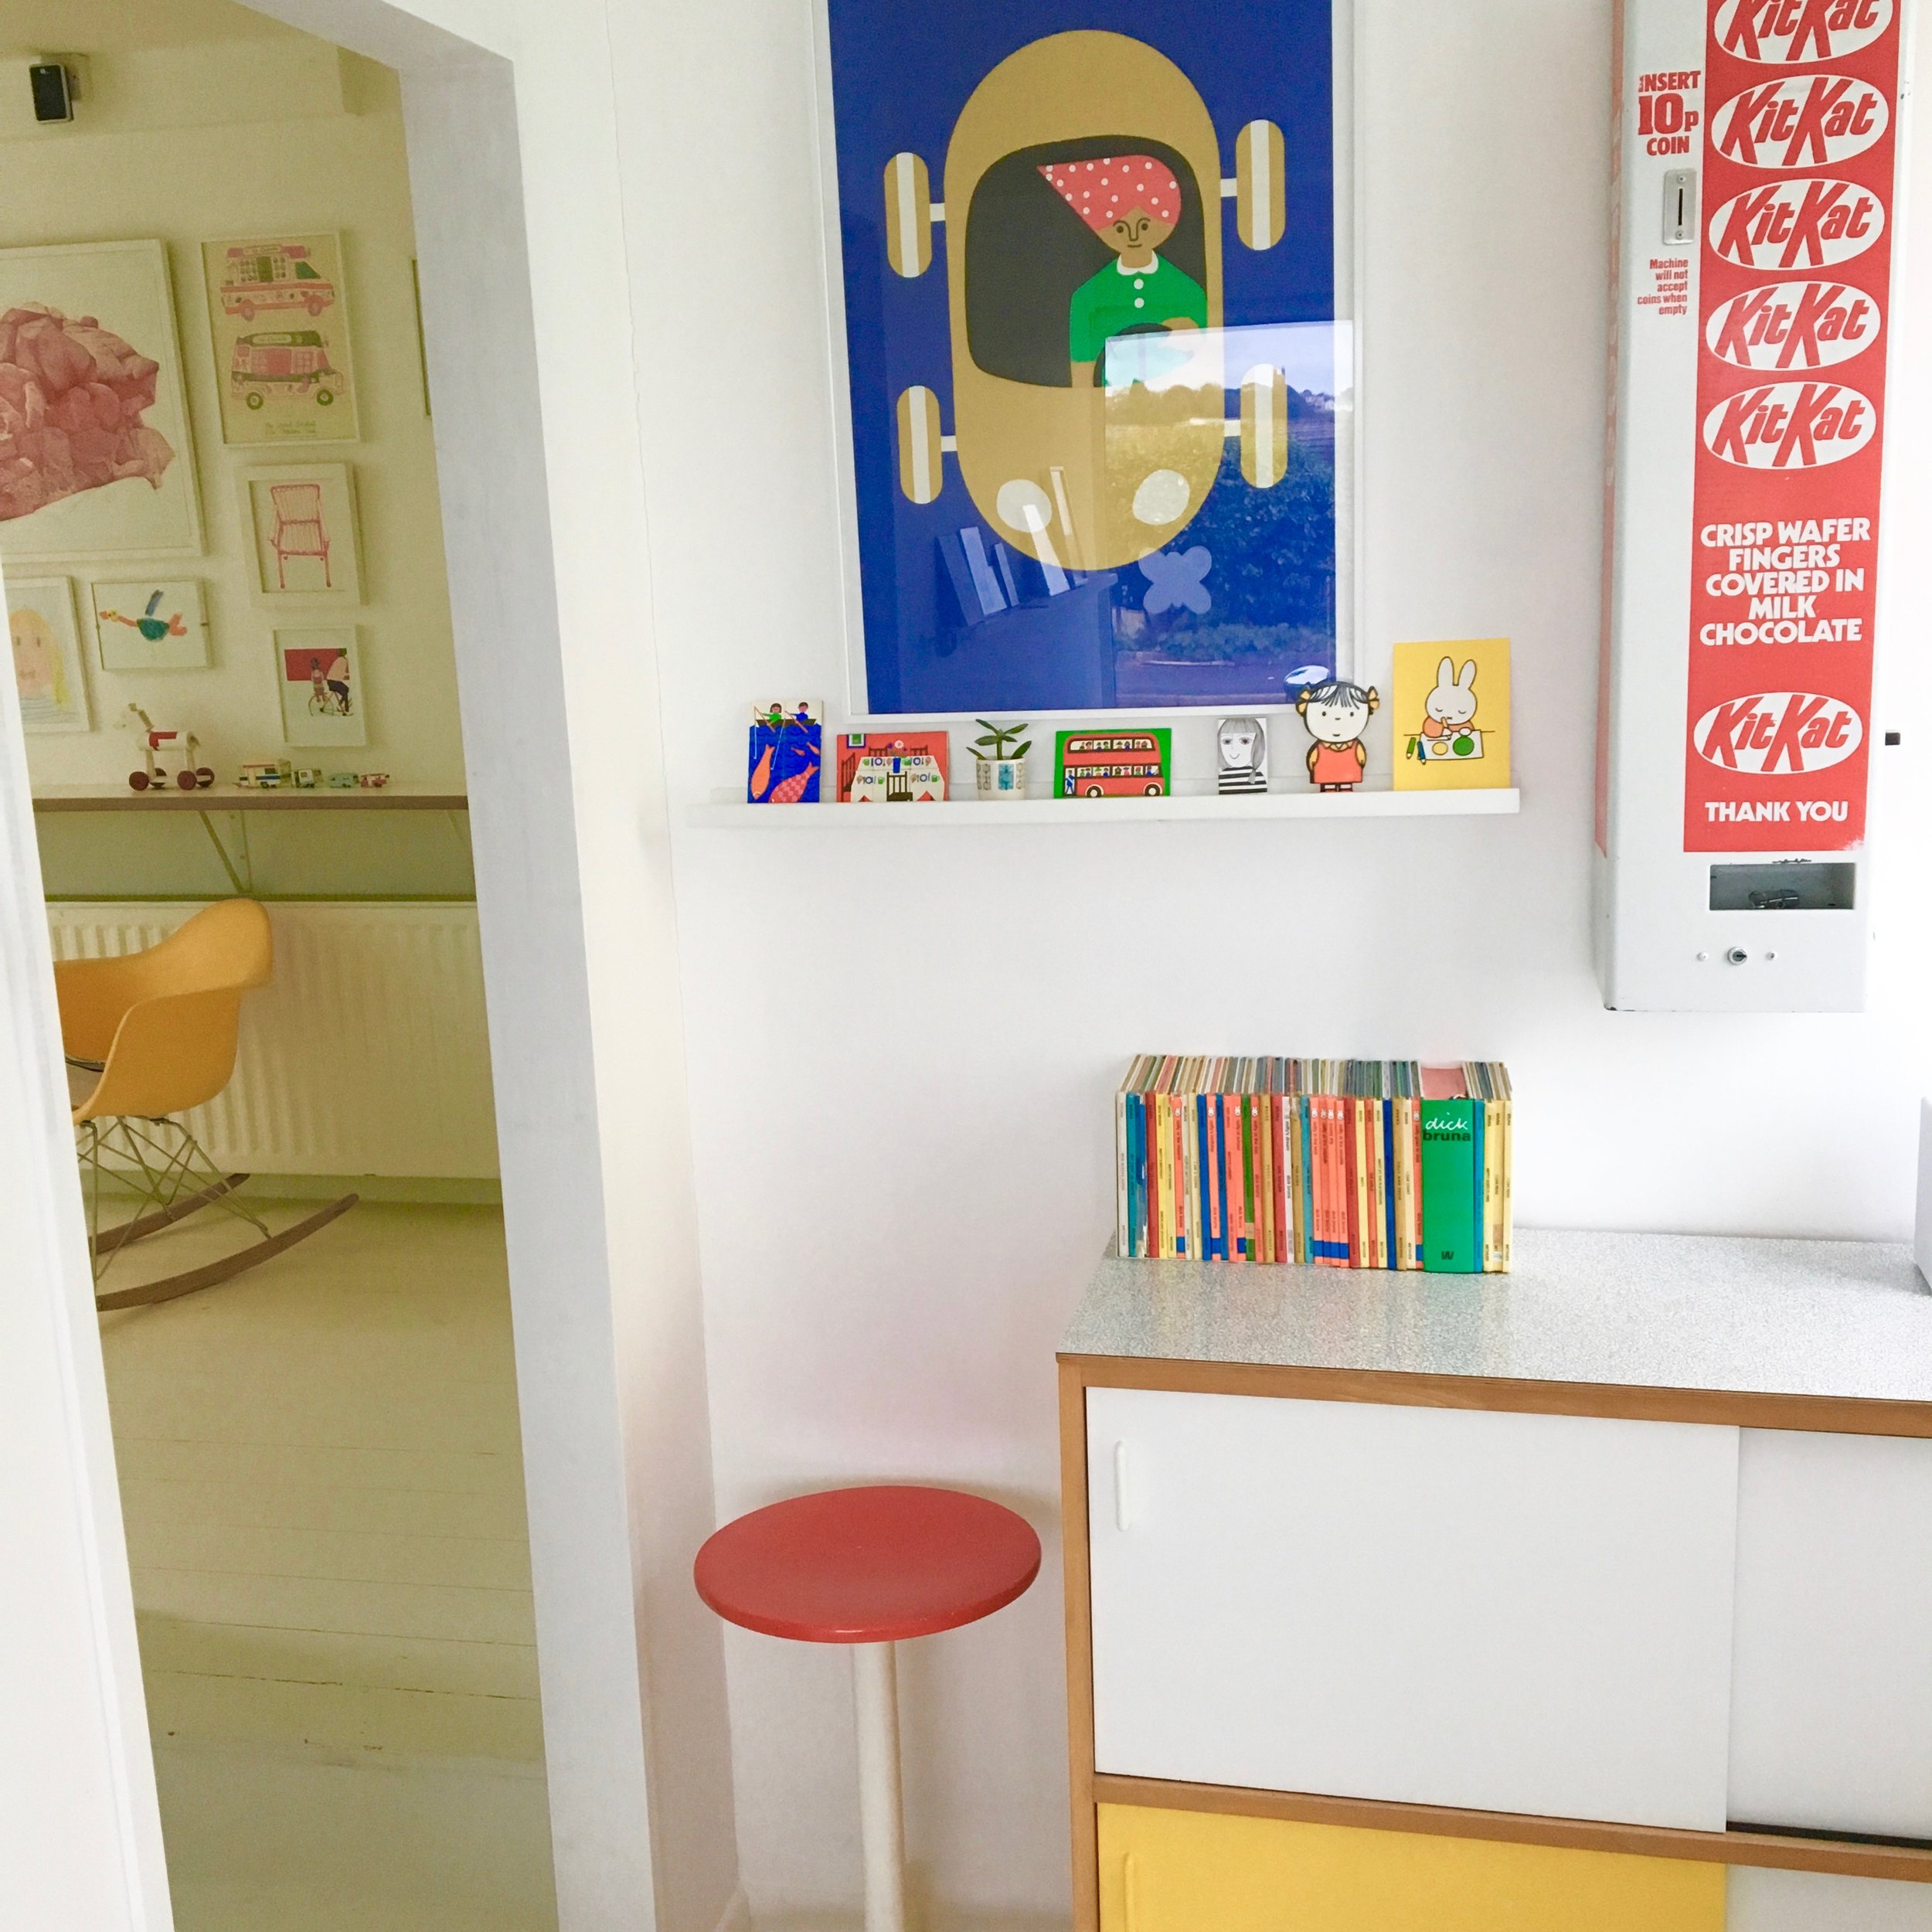
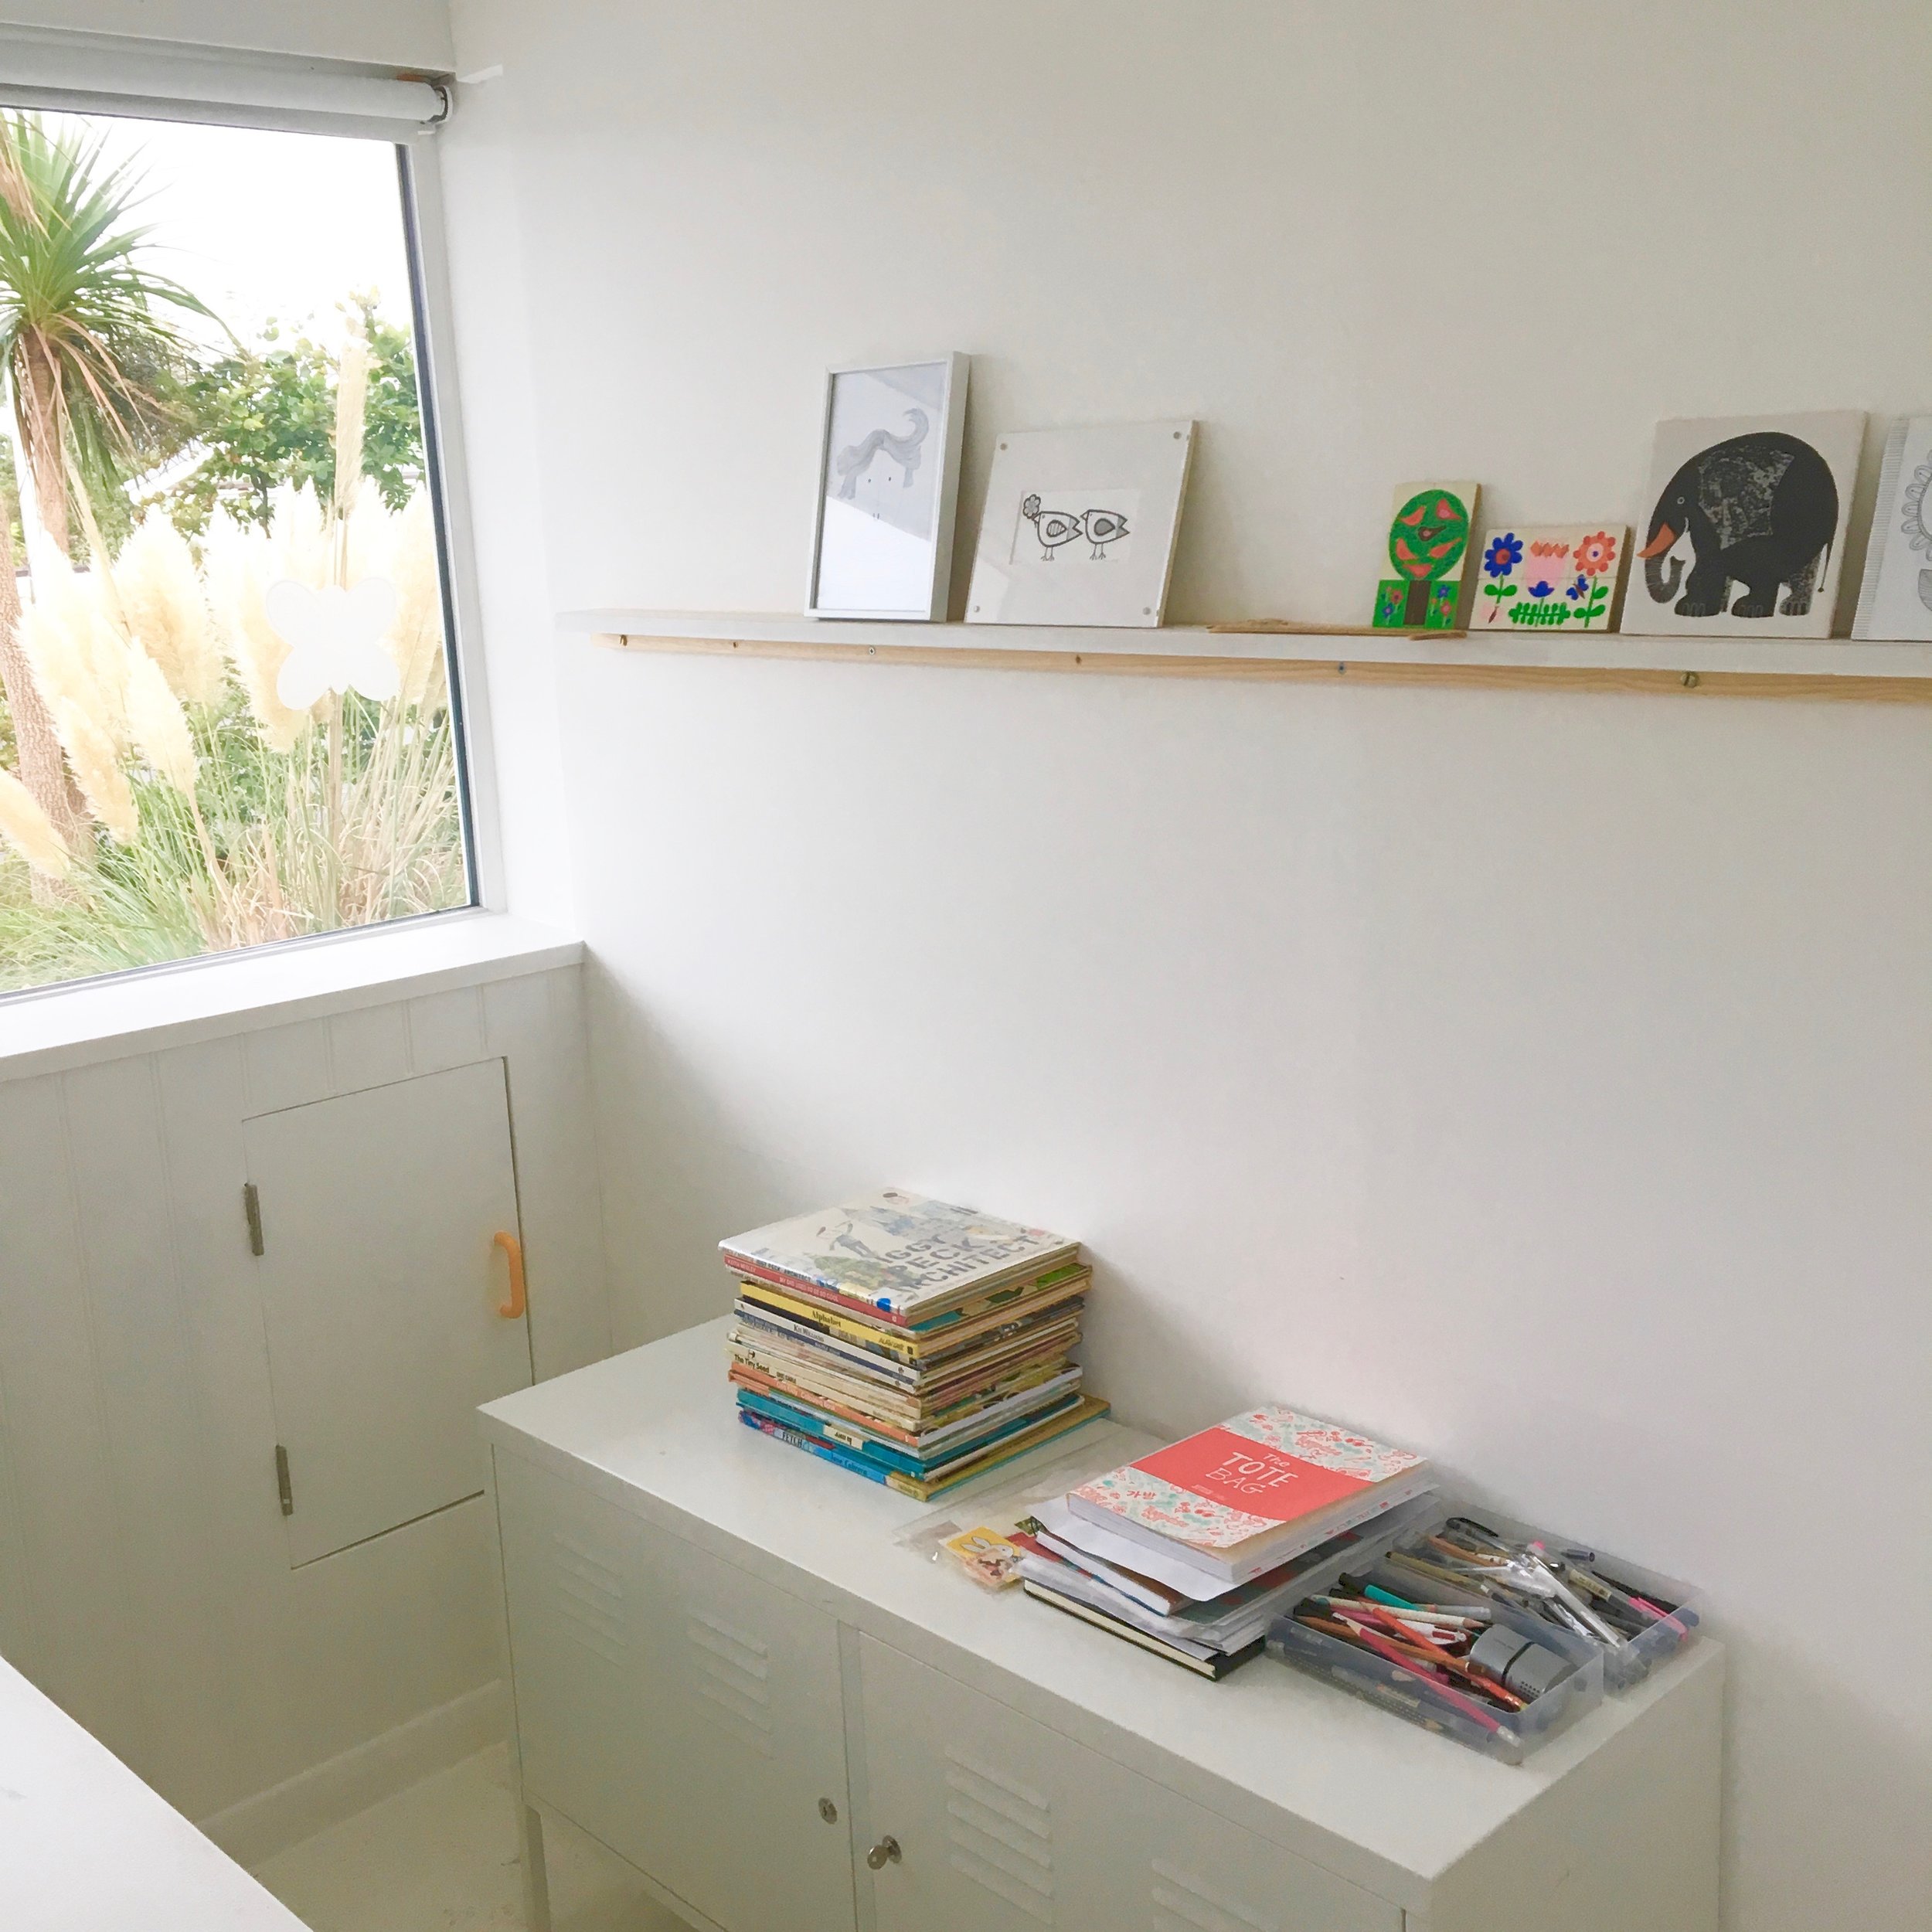
We added a few simple shelves from some offcuts we had saved from previous jobs. I then began the fun part - bringing in my various belongings.

The blank white room!

A vintage wooden number puzzle mounted onto board - to add some colour to my black and white illustrations.

My treasured vintage Dick Bruna puzzle and various treasured items