
My new Scandi summer shed / Illustrator's Den - Jane Foster
My new Scandi summer house /shed
I was super excited when I was recently approached by Cuprinol with an interesting fun summer project.They wanted me to make-over a garden shed in collaboration with Cuprinol's 'Shed of the Year' competition, which is currently being aired on Channel 4. They loved my illustrations and thought it would be a great chance for me to use my creativity in a different way to create a perfect 'dream shed' in my garden to enjoy during the summer months.The concept of the 'She-shed' seems to be becoming increasingly popular over the past few years and I loved the idea of creating a space to be used solely for myself (ok, maybe my daughter too!), designed by myself, decorated by myself and containing only items that I choose to add and that I love. A space that I can feel cosy in, relax in, illustrate my children's books in and generally have 'me time'. I was inspired by the Mermaid 'Girl-shed' on the Channel 4 Shed of the Year series where Emily Fisher converted her garden shed into a fun haven for herself in Bristol.
I love a challenge and despite this project being a very quick turnover (a few weeks!) and it being the school summer holidays, I knew we could create this space and enjoy the process. My partner Jim would make the shed (with me assisting), I would paint it (with the help of our 9 year old daughter!) and I'd choose the interior.
We were given a shed from B&Q and as soon as I saw the photo of it here, I started sketching! It would no doubt evolve as we went along but this sketch below shows you my initial thoughts!
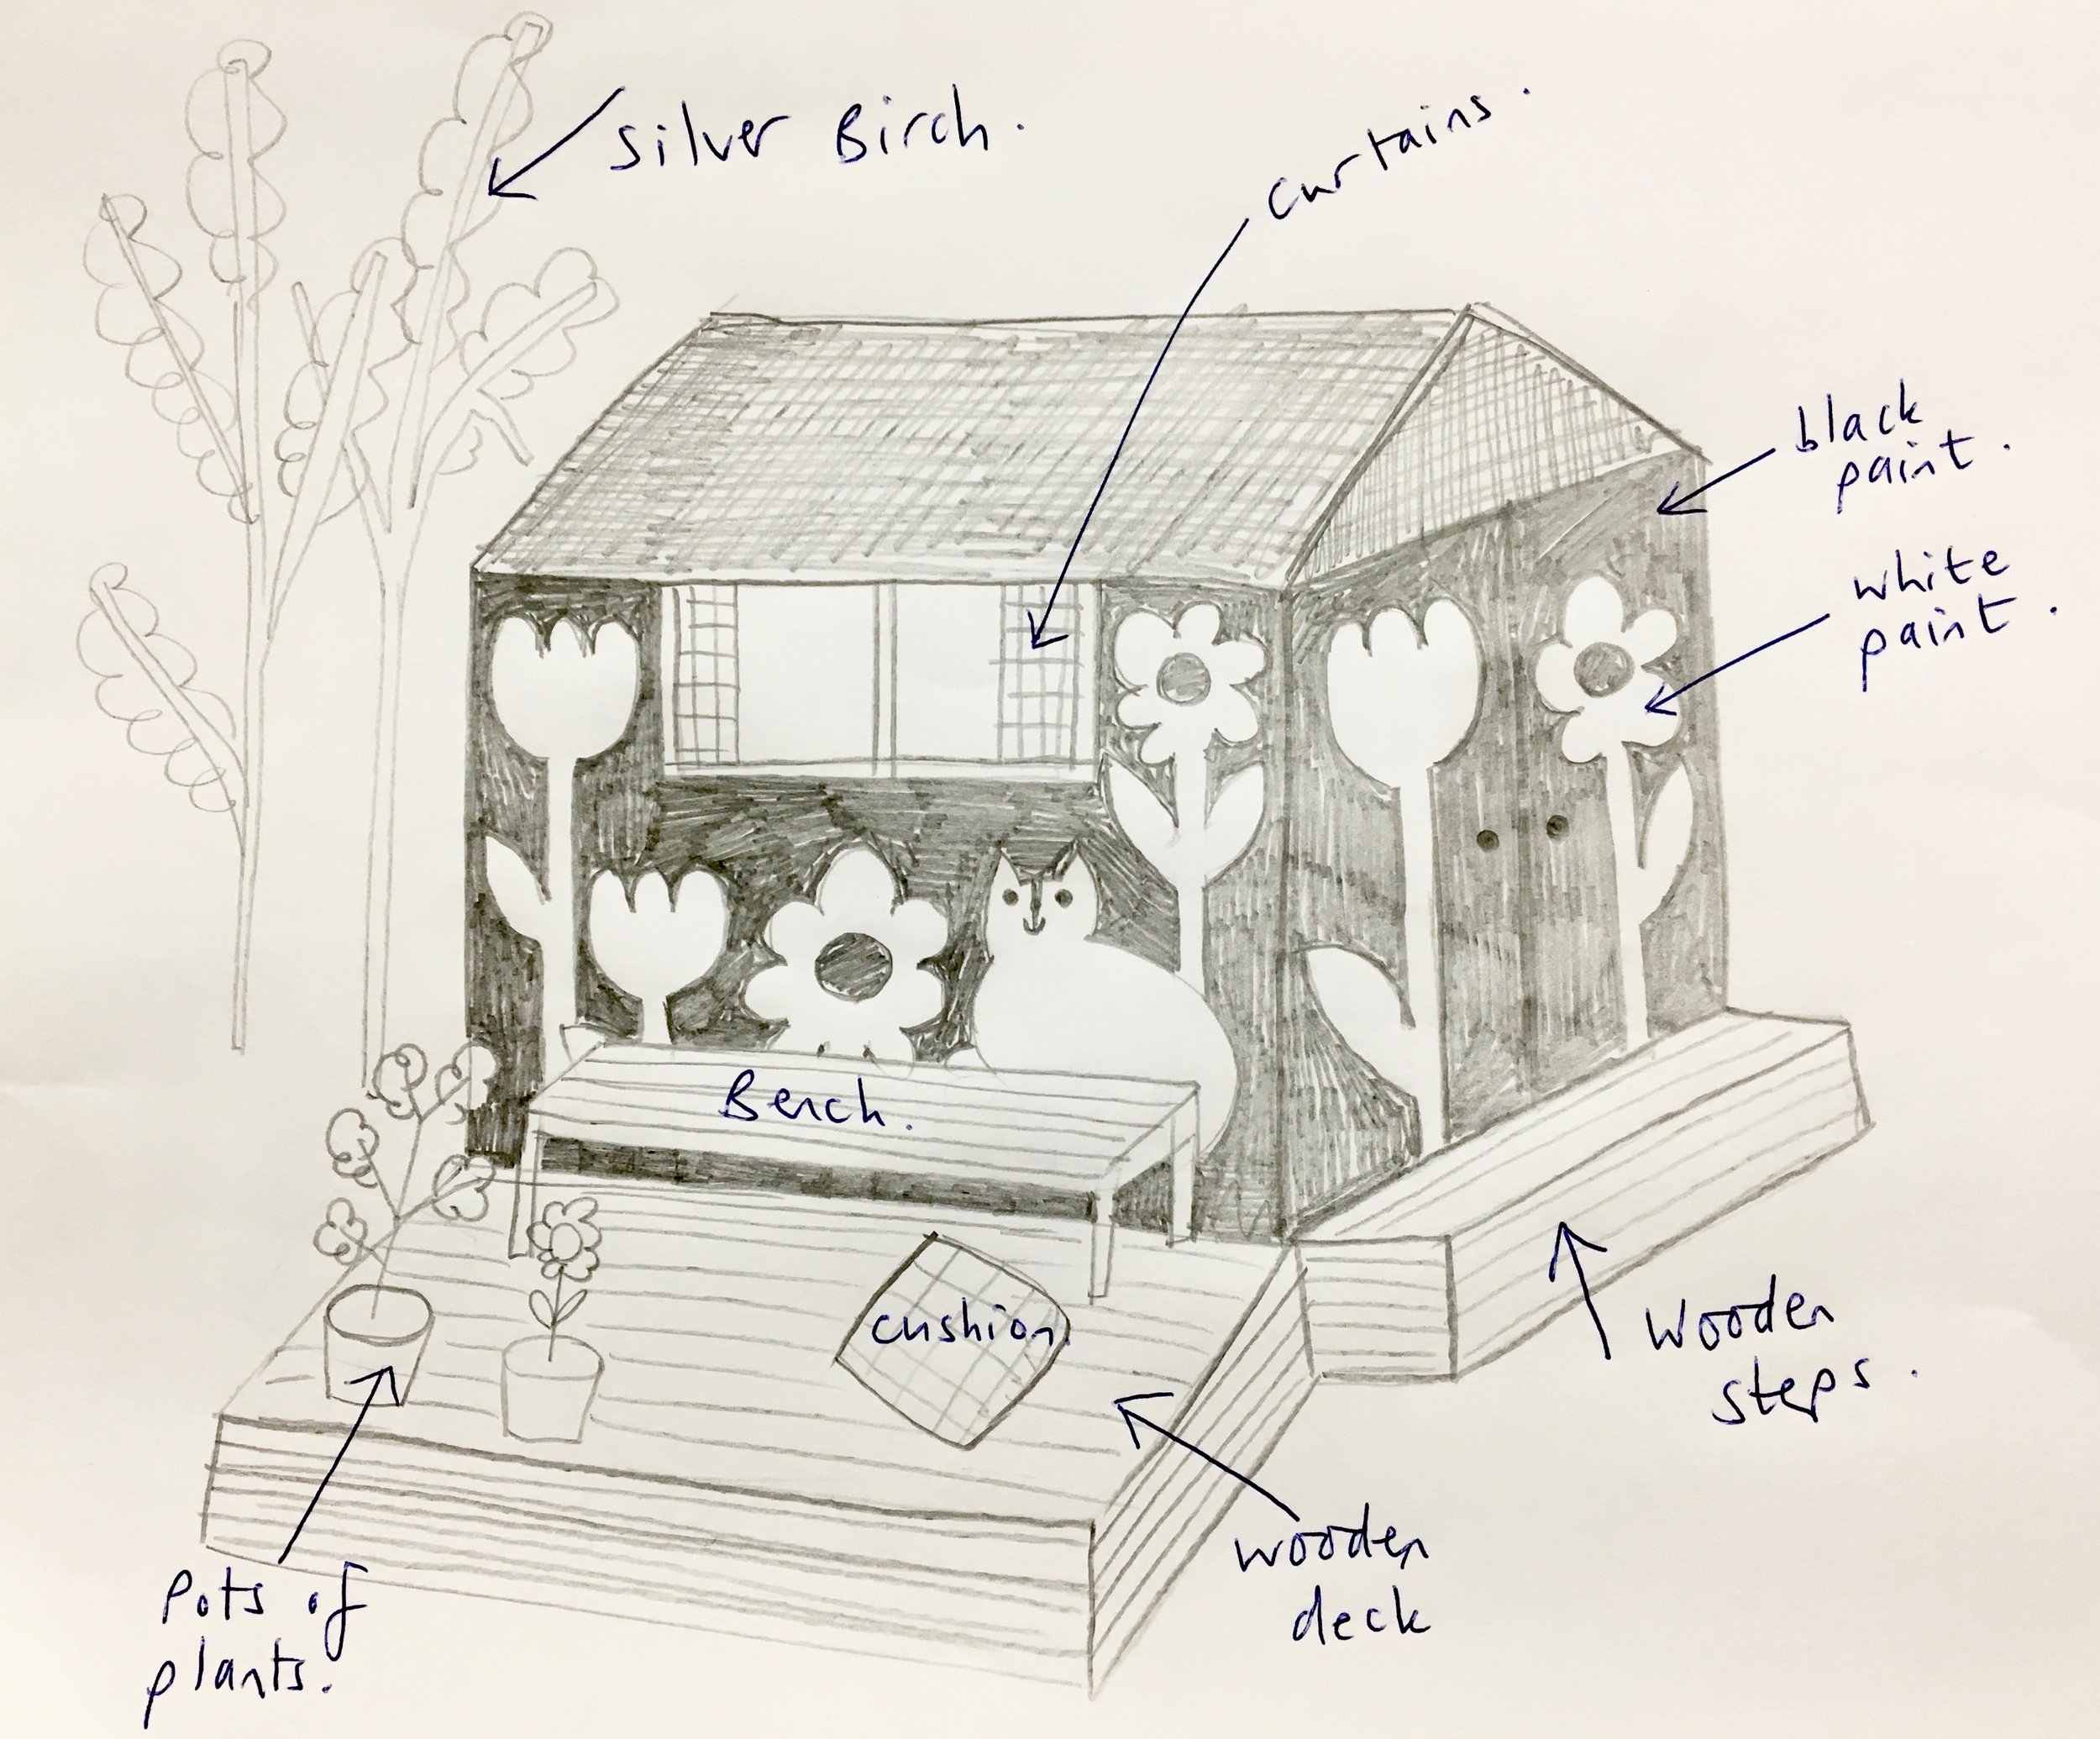
My pencil sketch of how I initially wanted my den to look.
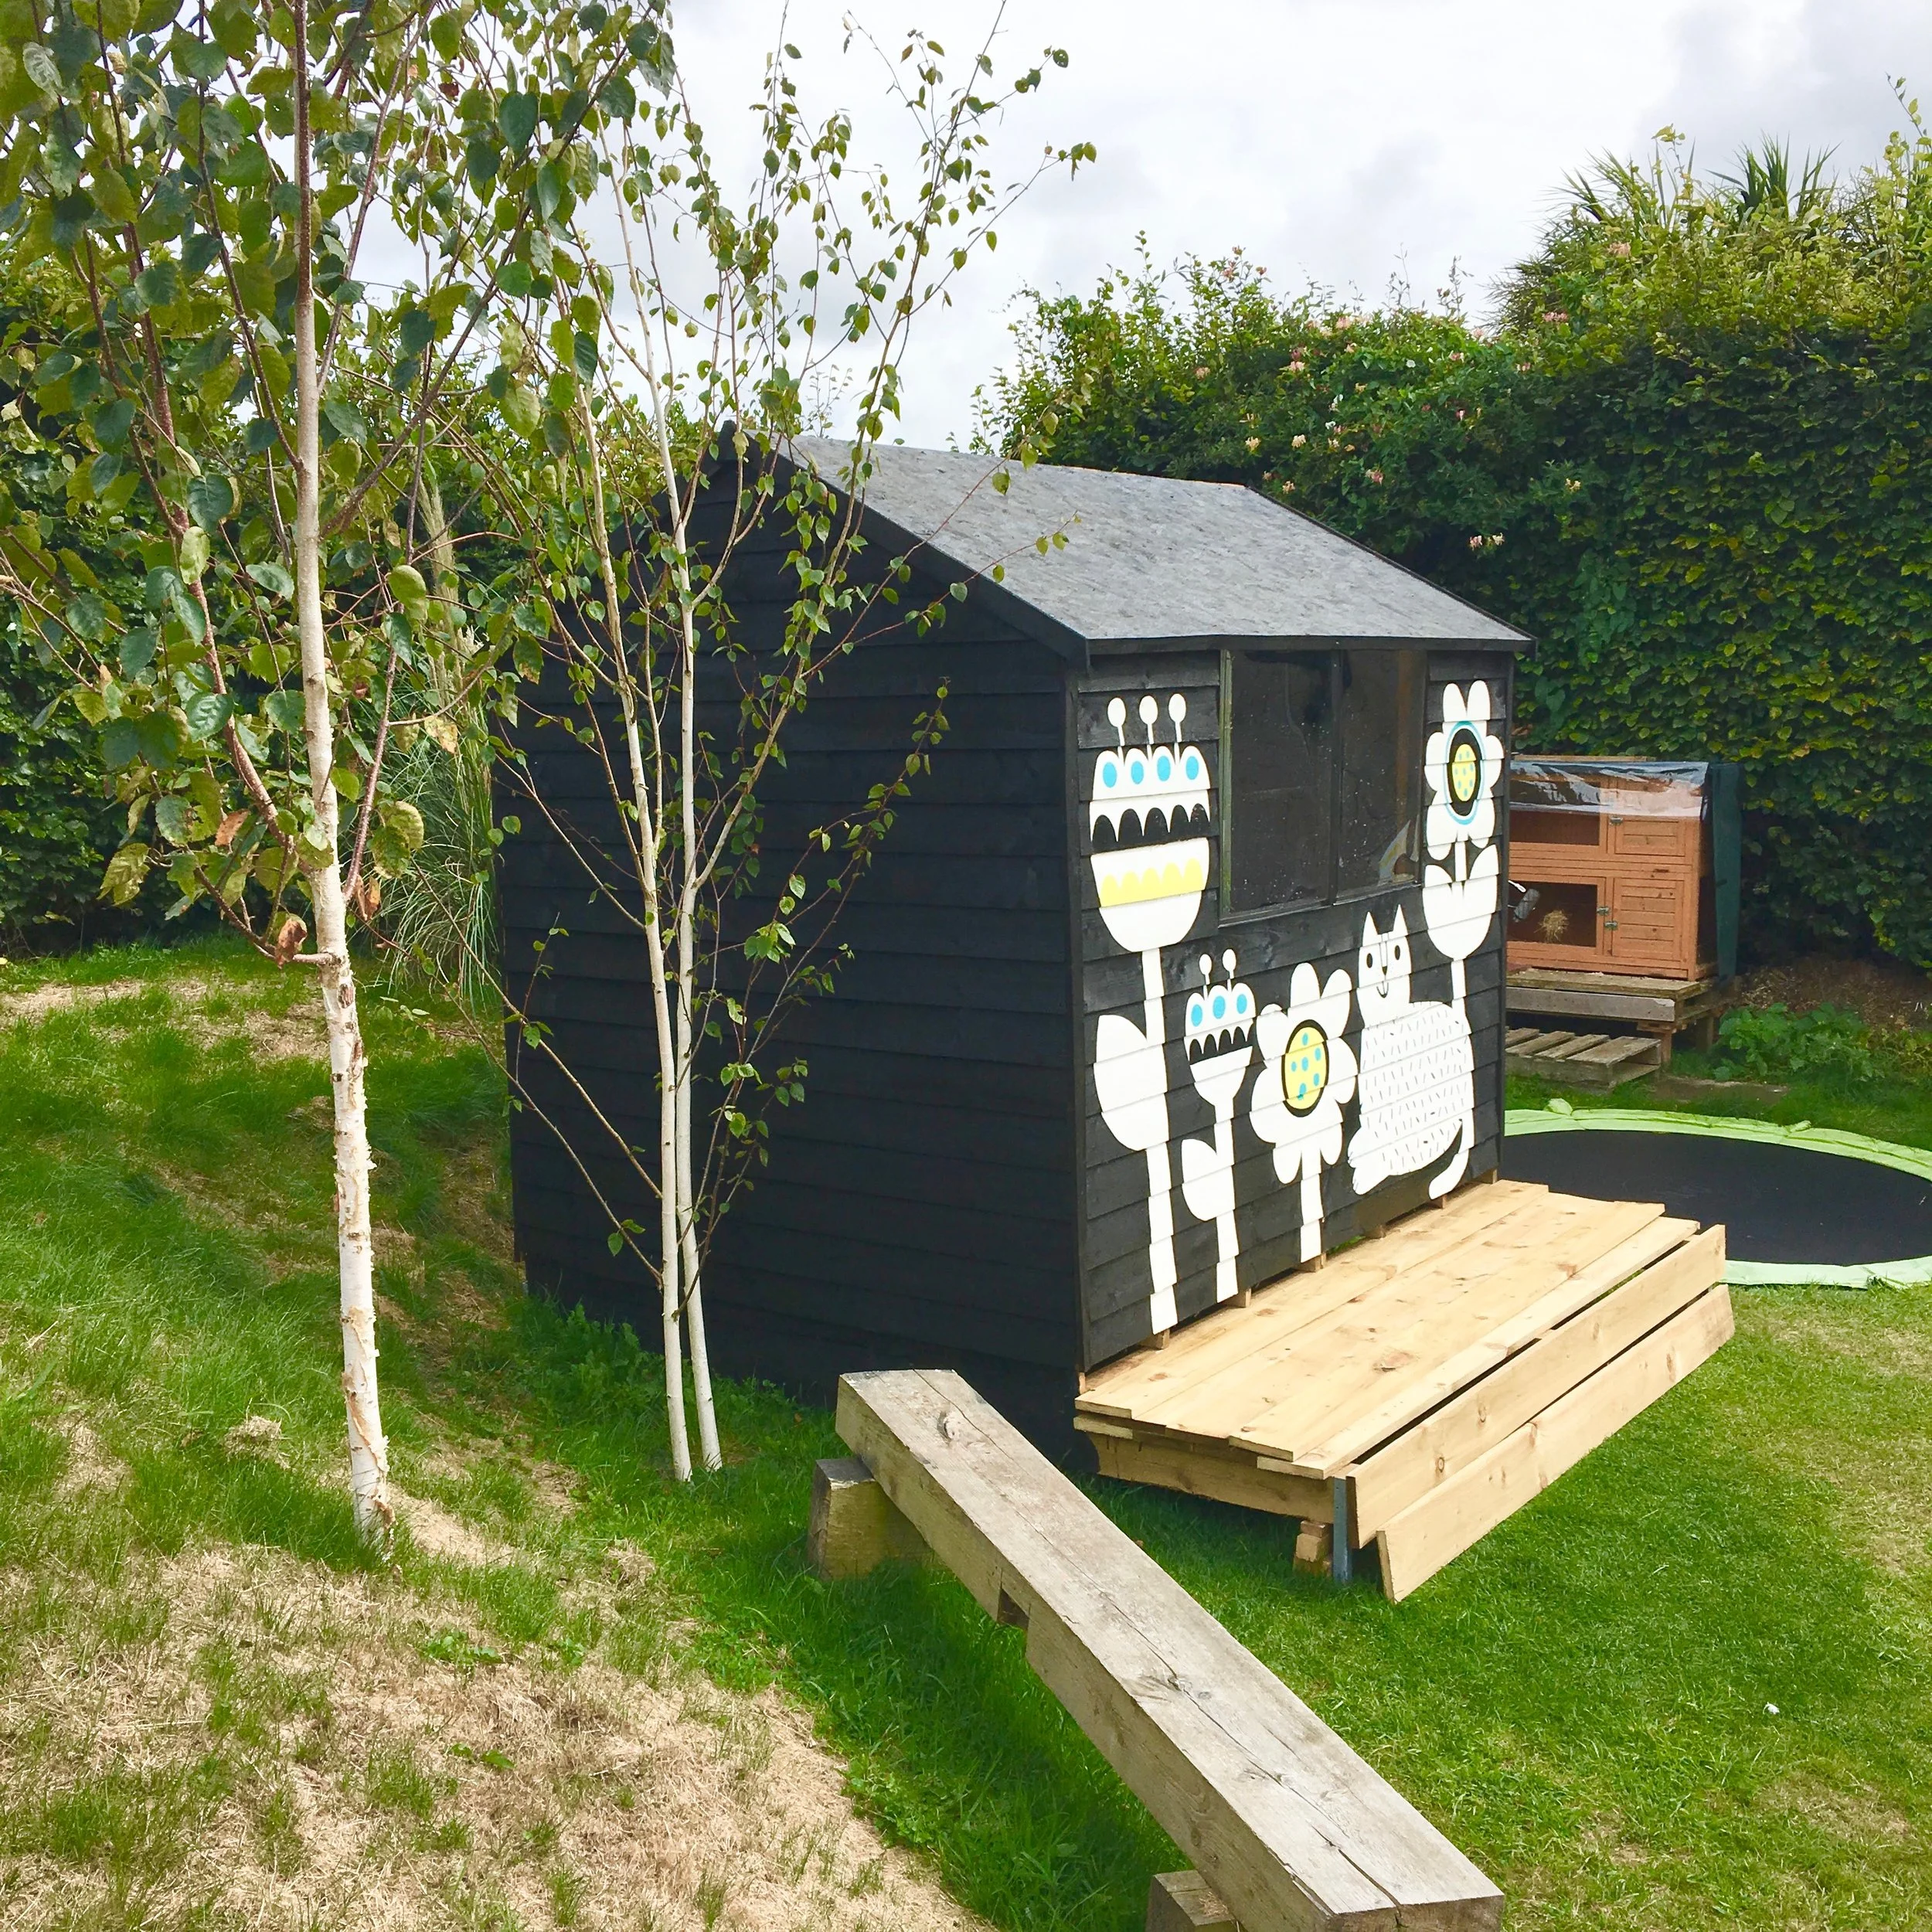
As a children's book illustrator, I wanted to create a happy den to illustrate in during the summer months. I wanted to give it a Scandi feel and cover the shed with my illustrations, choosing a few key colours to fit into my bold, simple style. It needed to be cheerful (like my books) and child friendly so my daughter would also be able to feel inspired to create.
I wanted a little deck outside, to sit on and have my cup of tea, and stroke our cat Fluffy. This should also be an area my daughter and I could draw and paint on if the weather was fine.
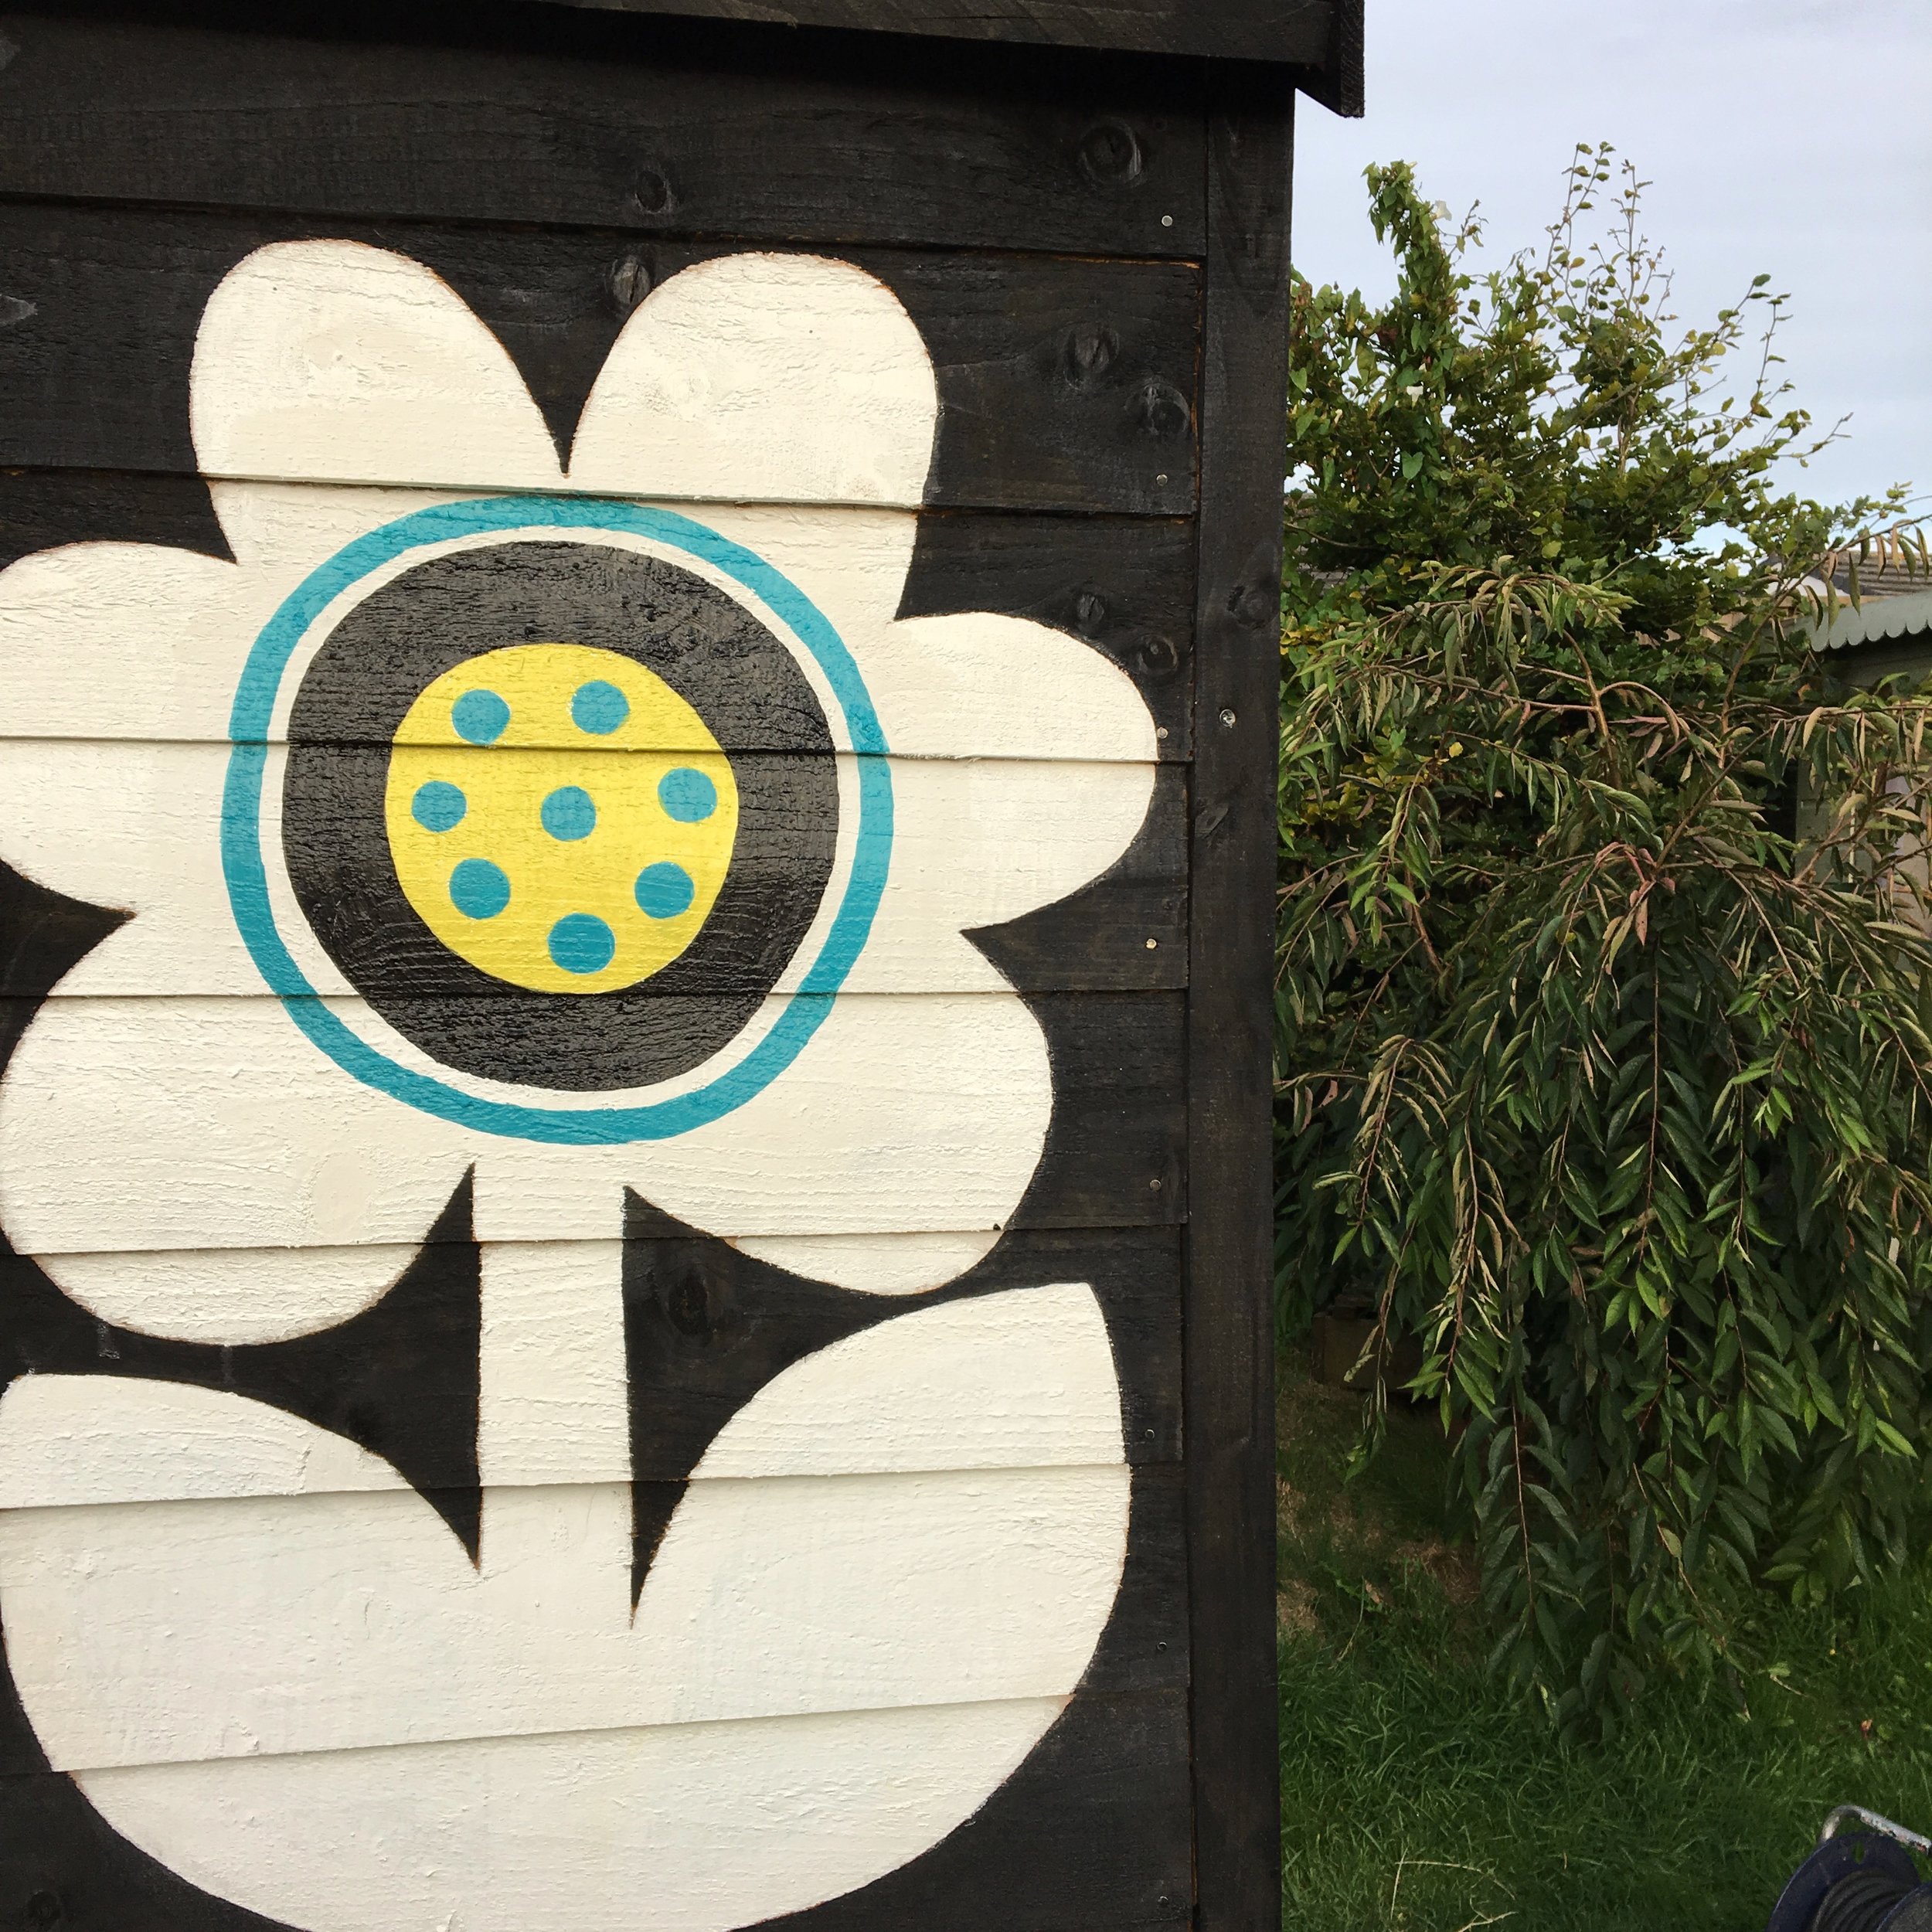
I chose to use a few of my Scandi flower and cat illustrations as a starter - see images below.

My geometric cat illustration / screen print

My Scandi Tulip illustration / screen print
The whole project has been great fun during the past few weeks and as you can see, we've been very fortunate with the weather.
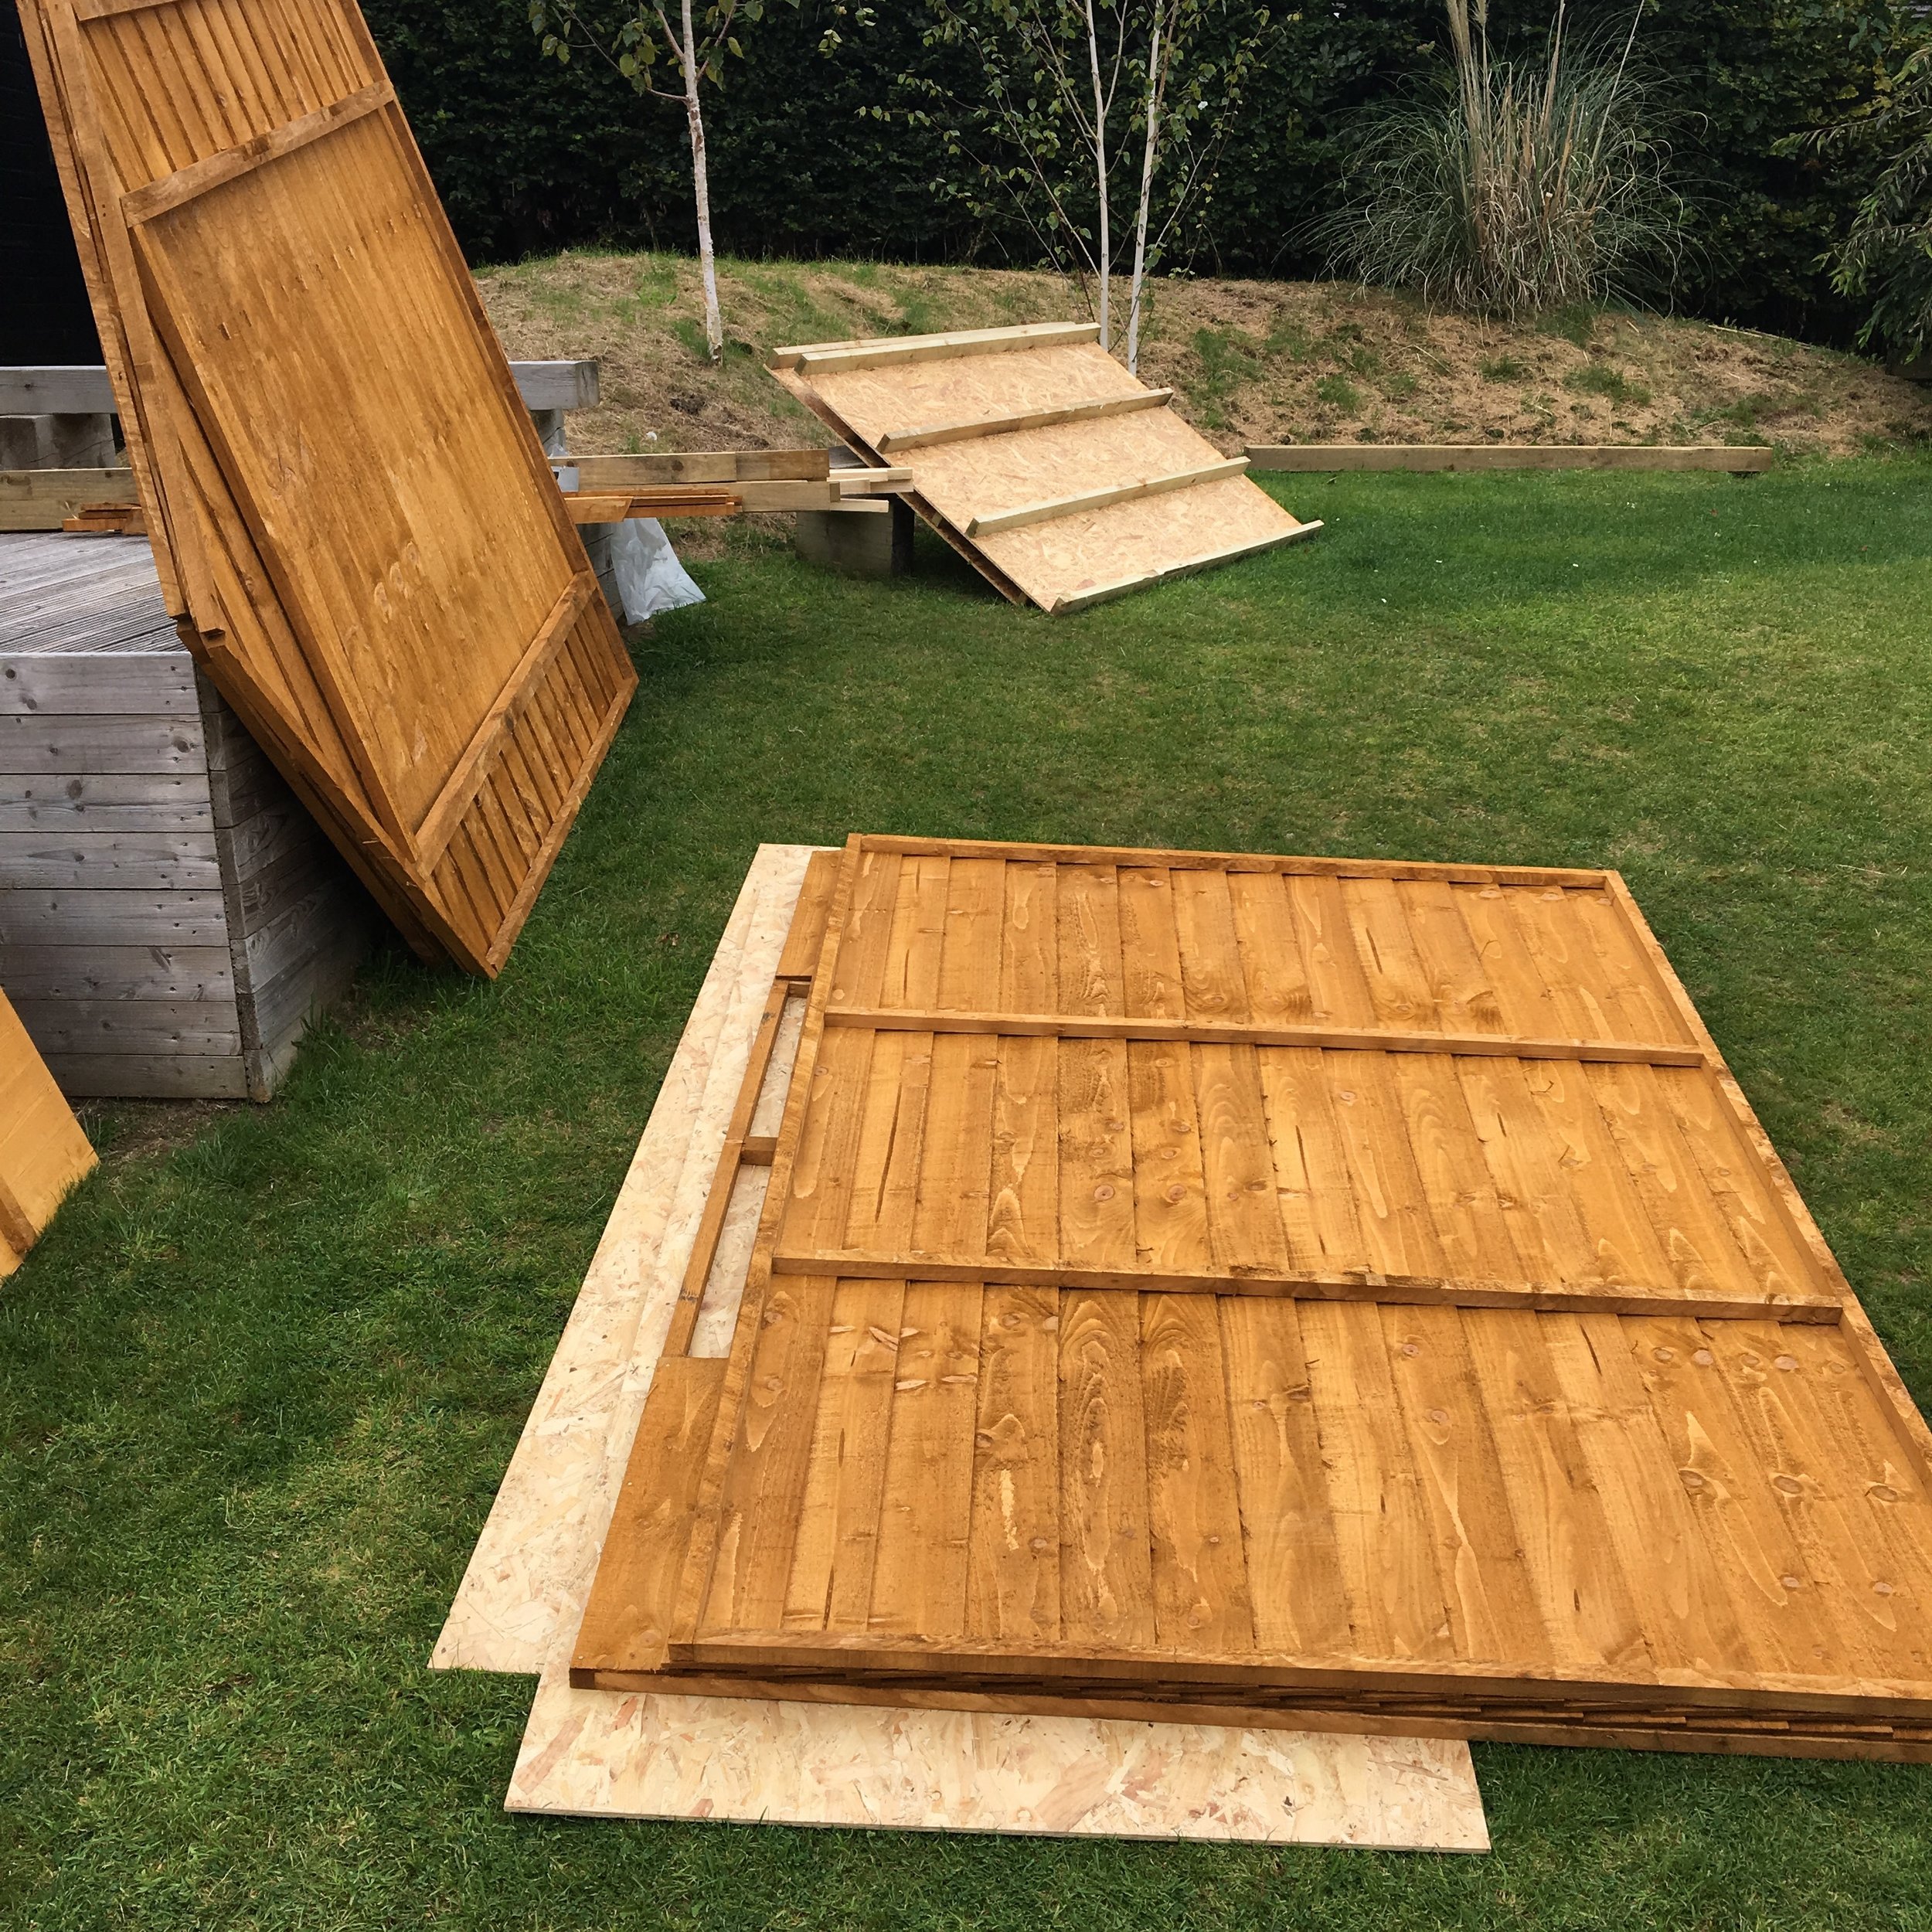
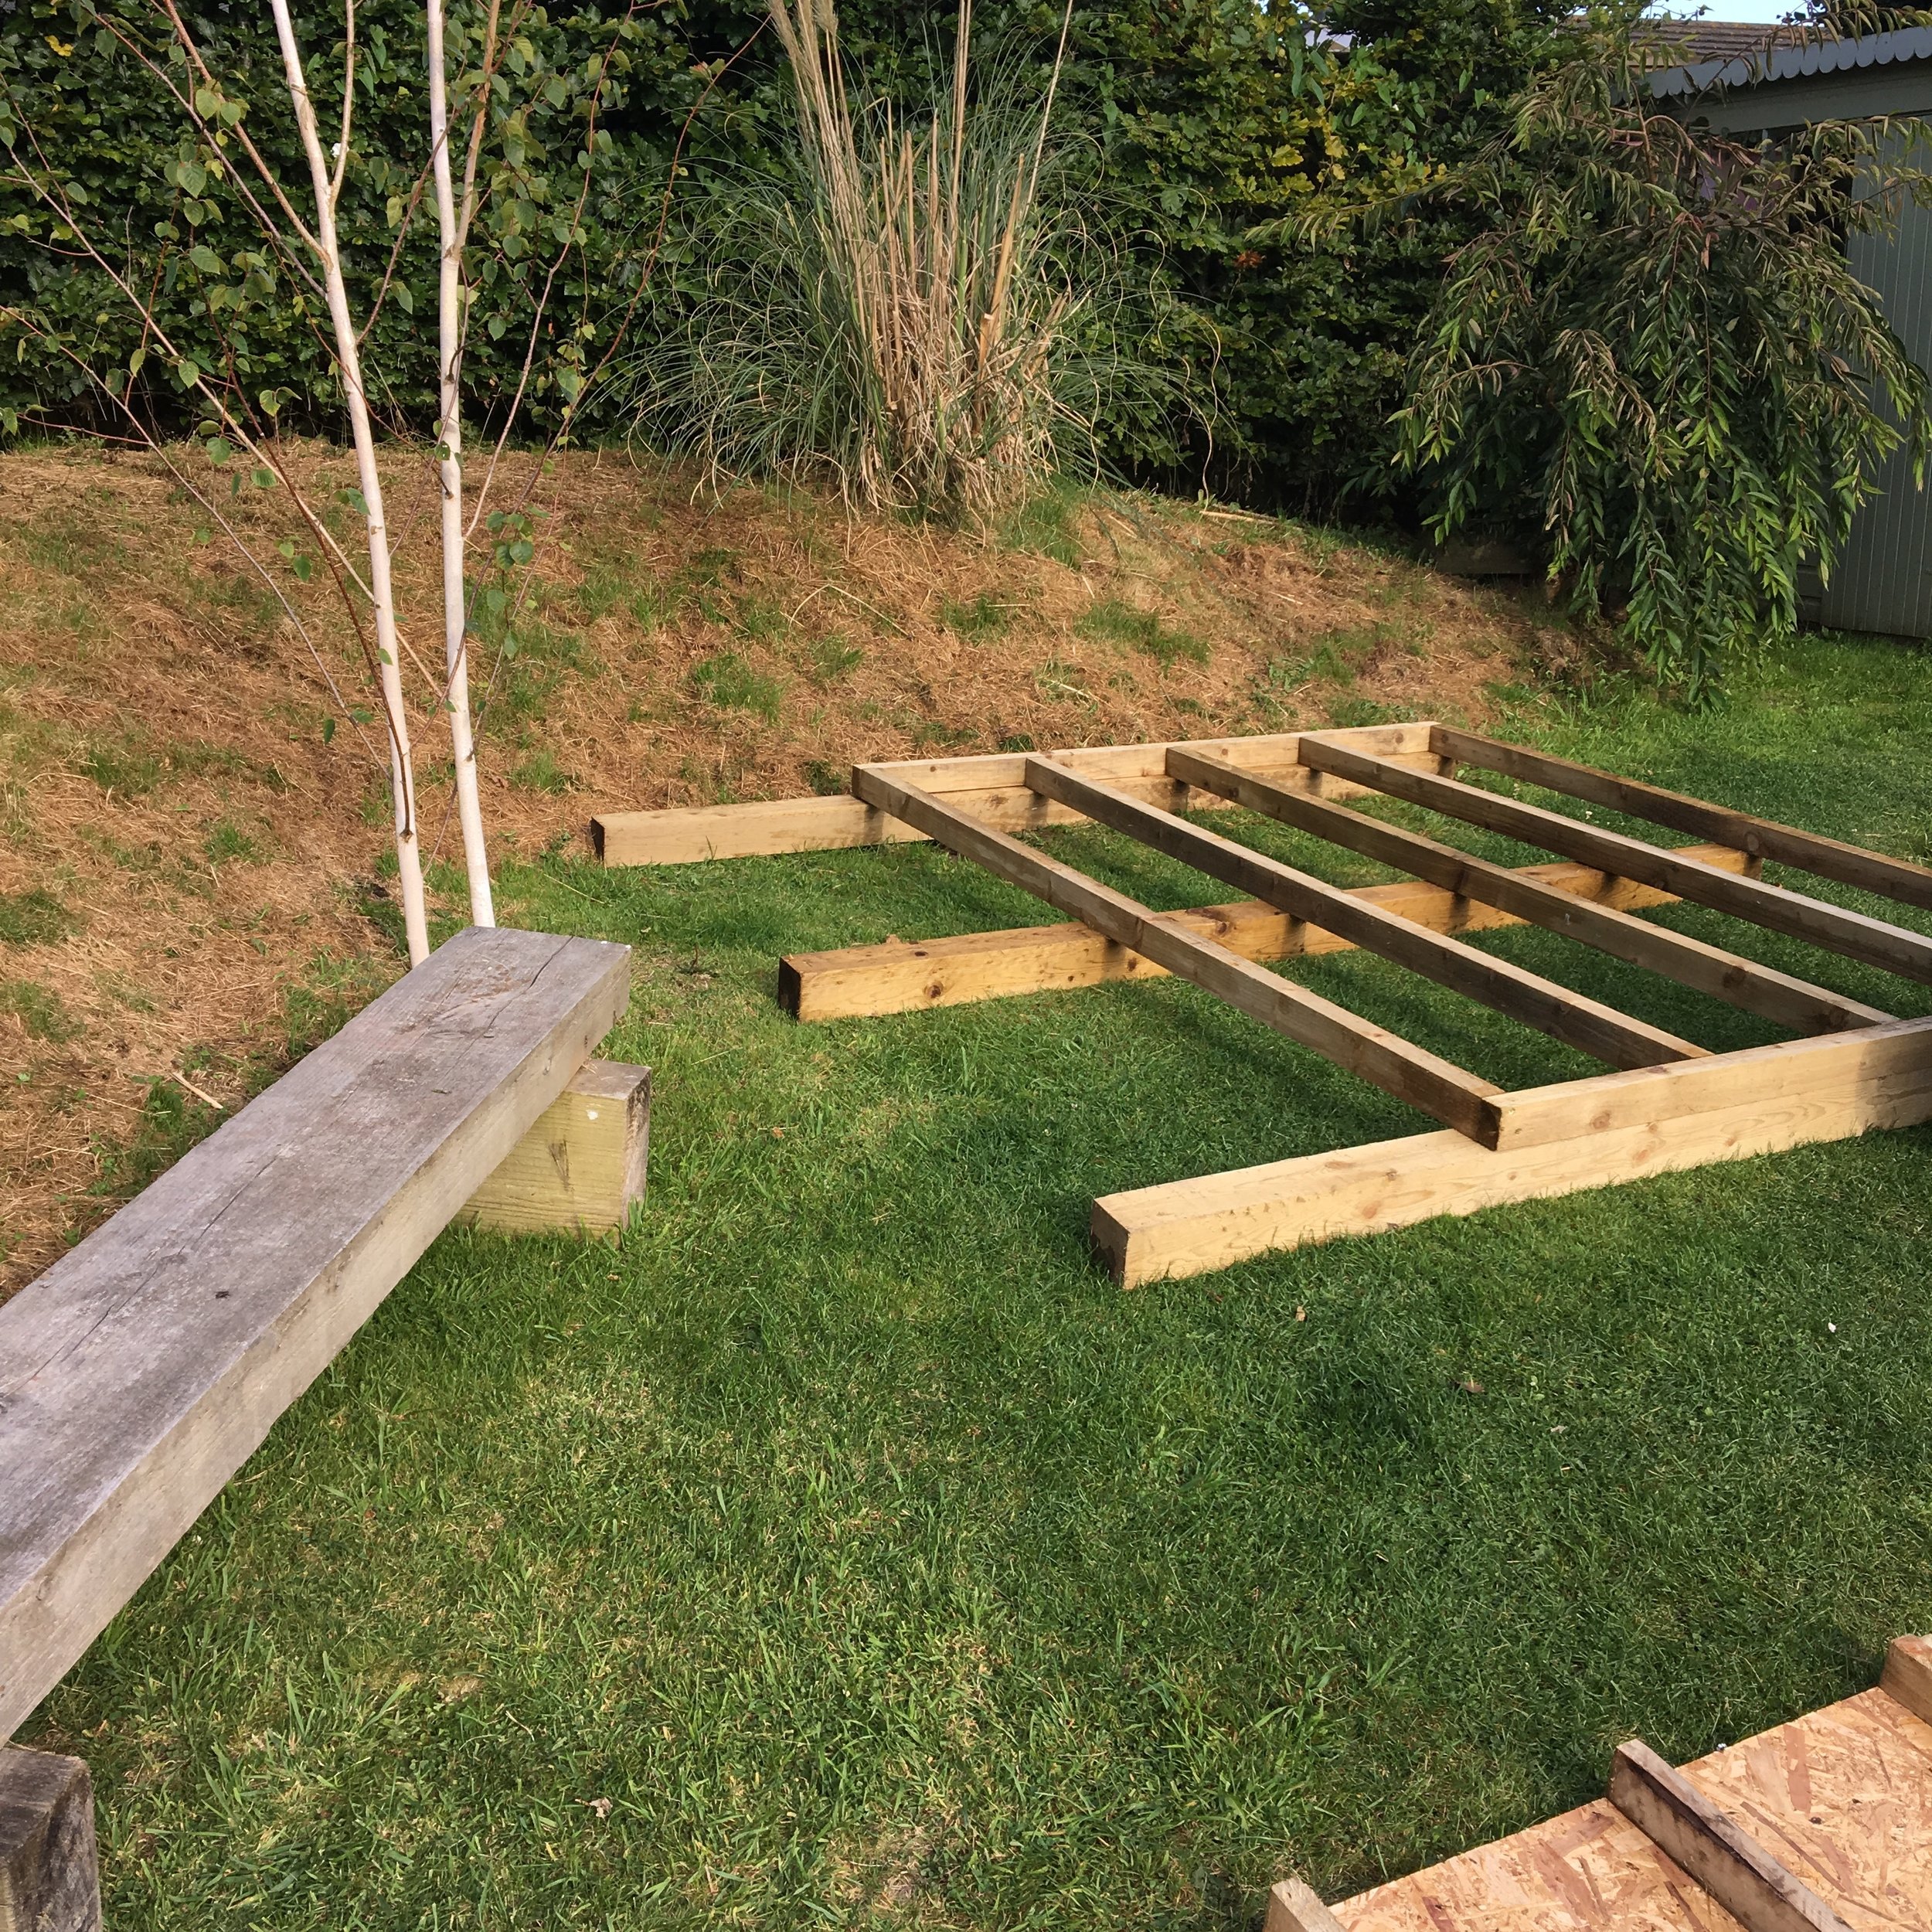
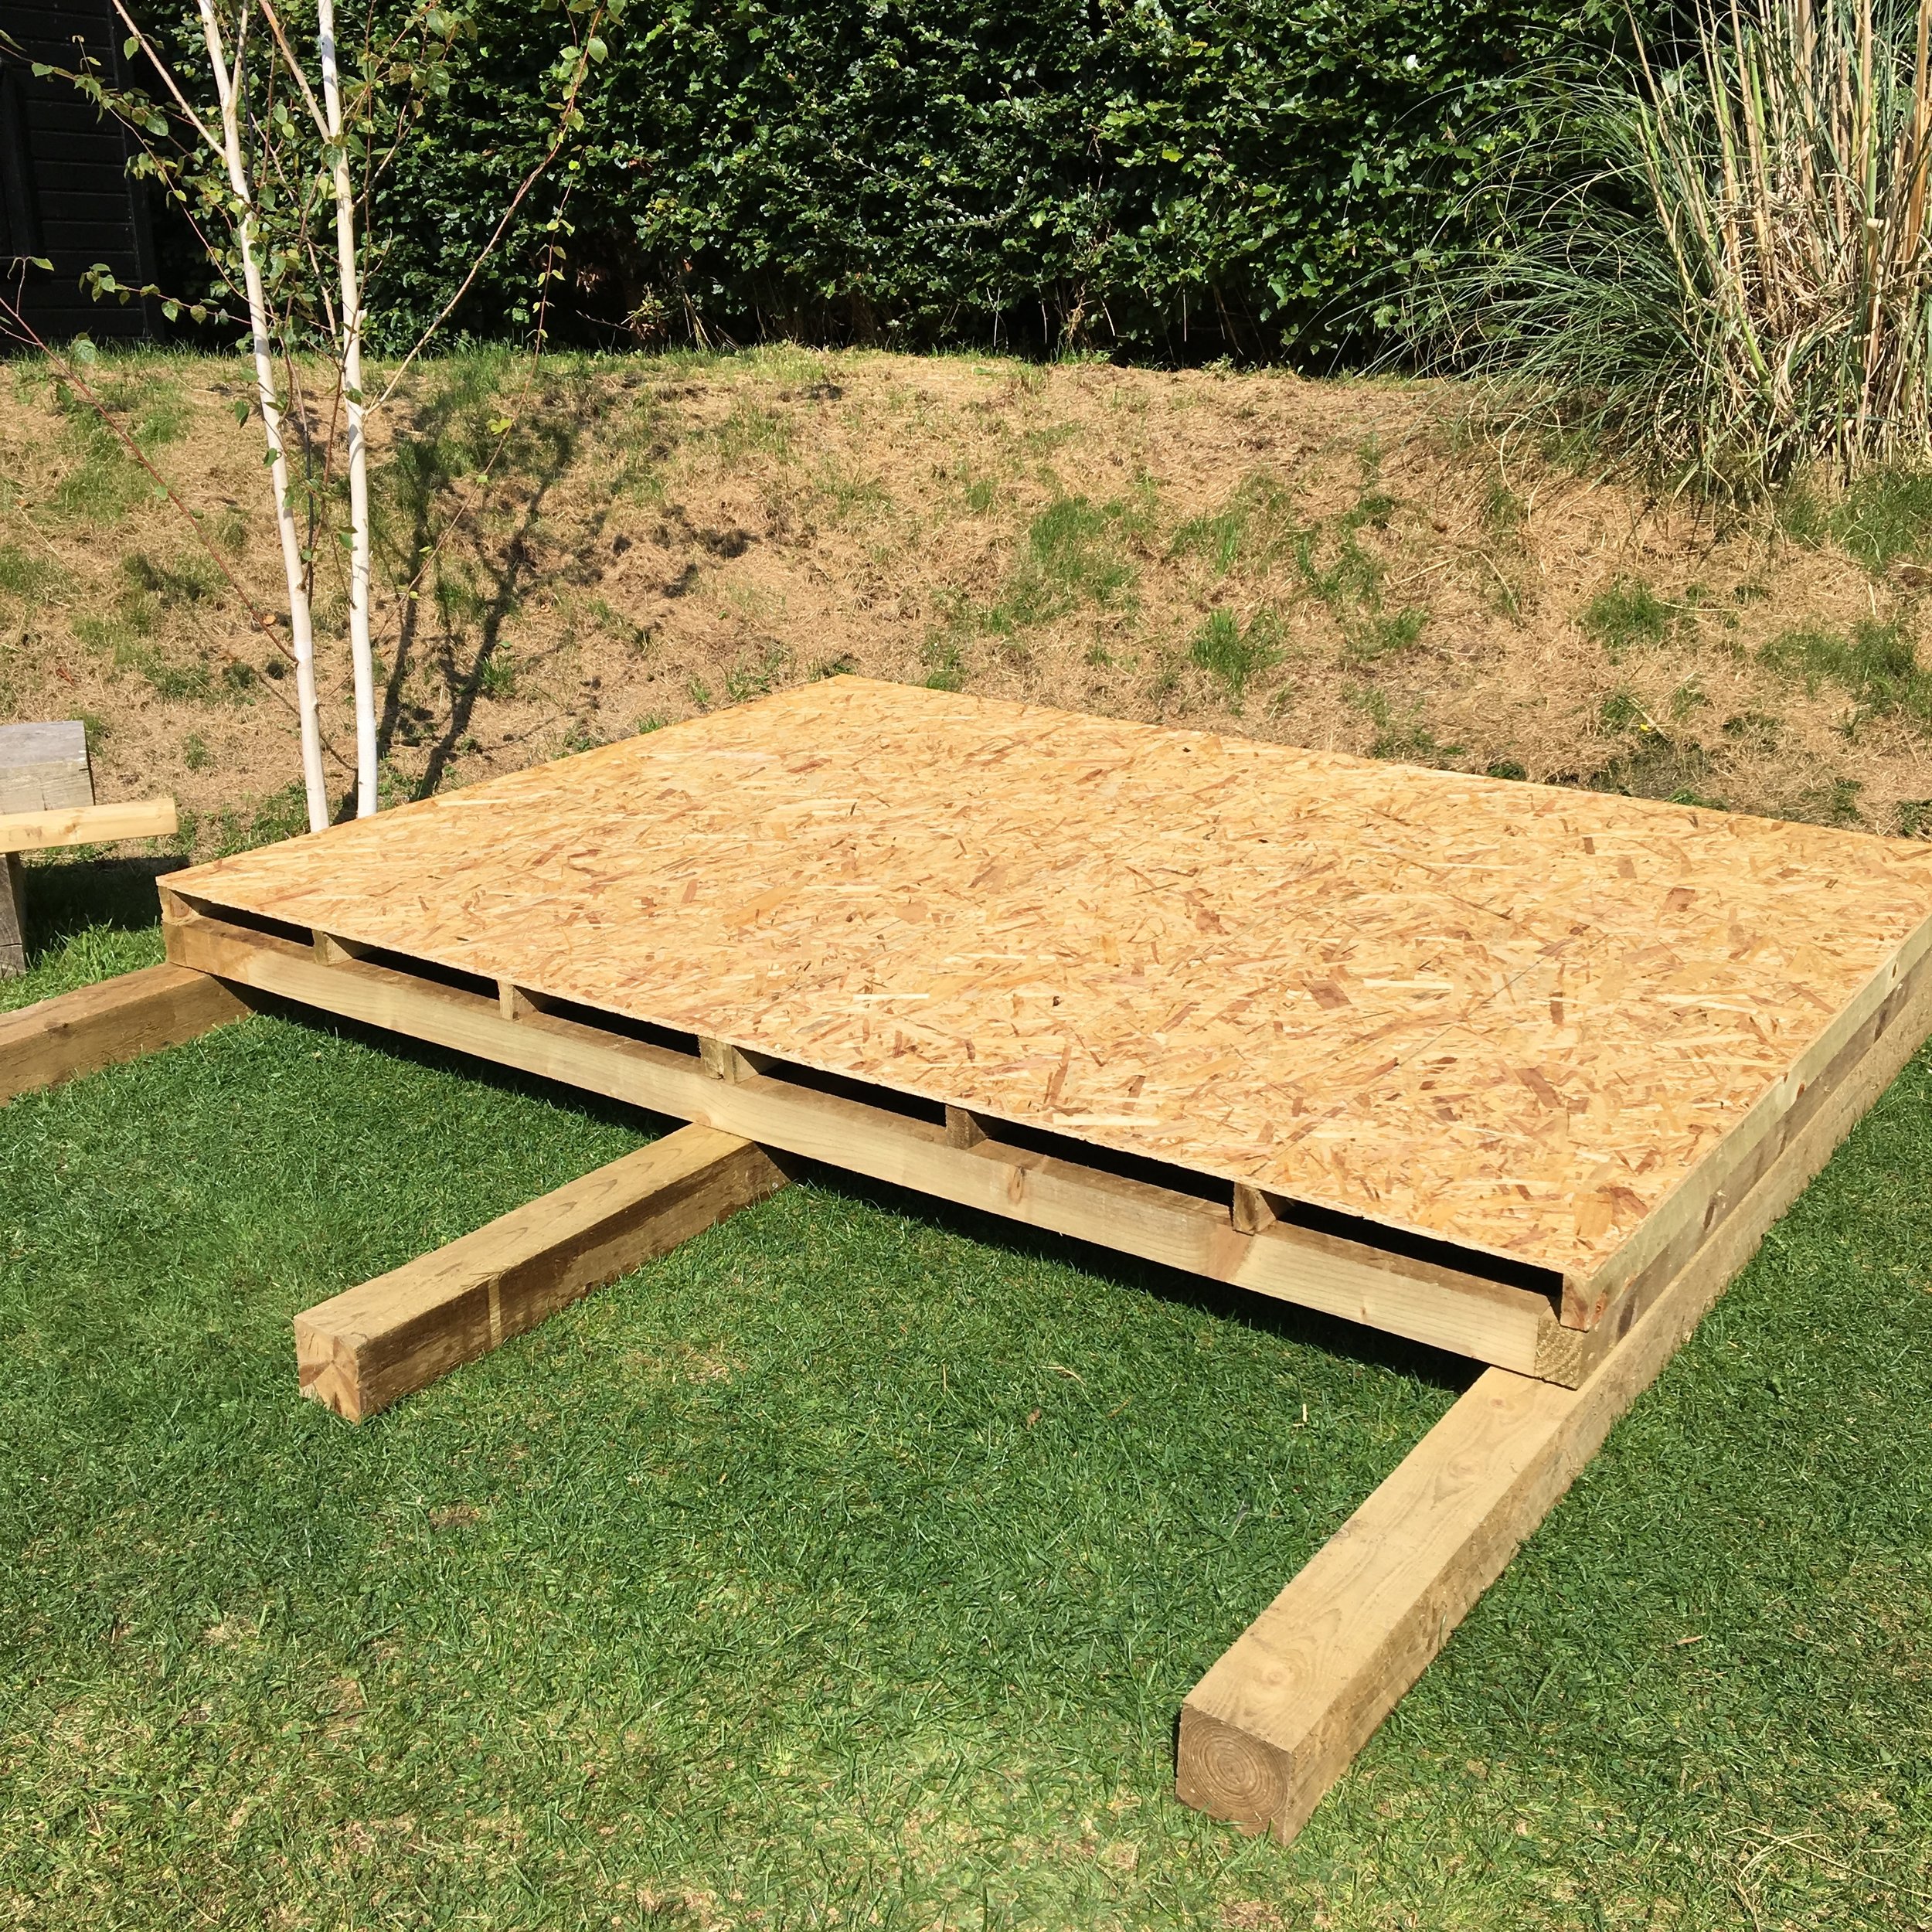
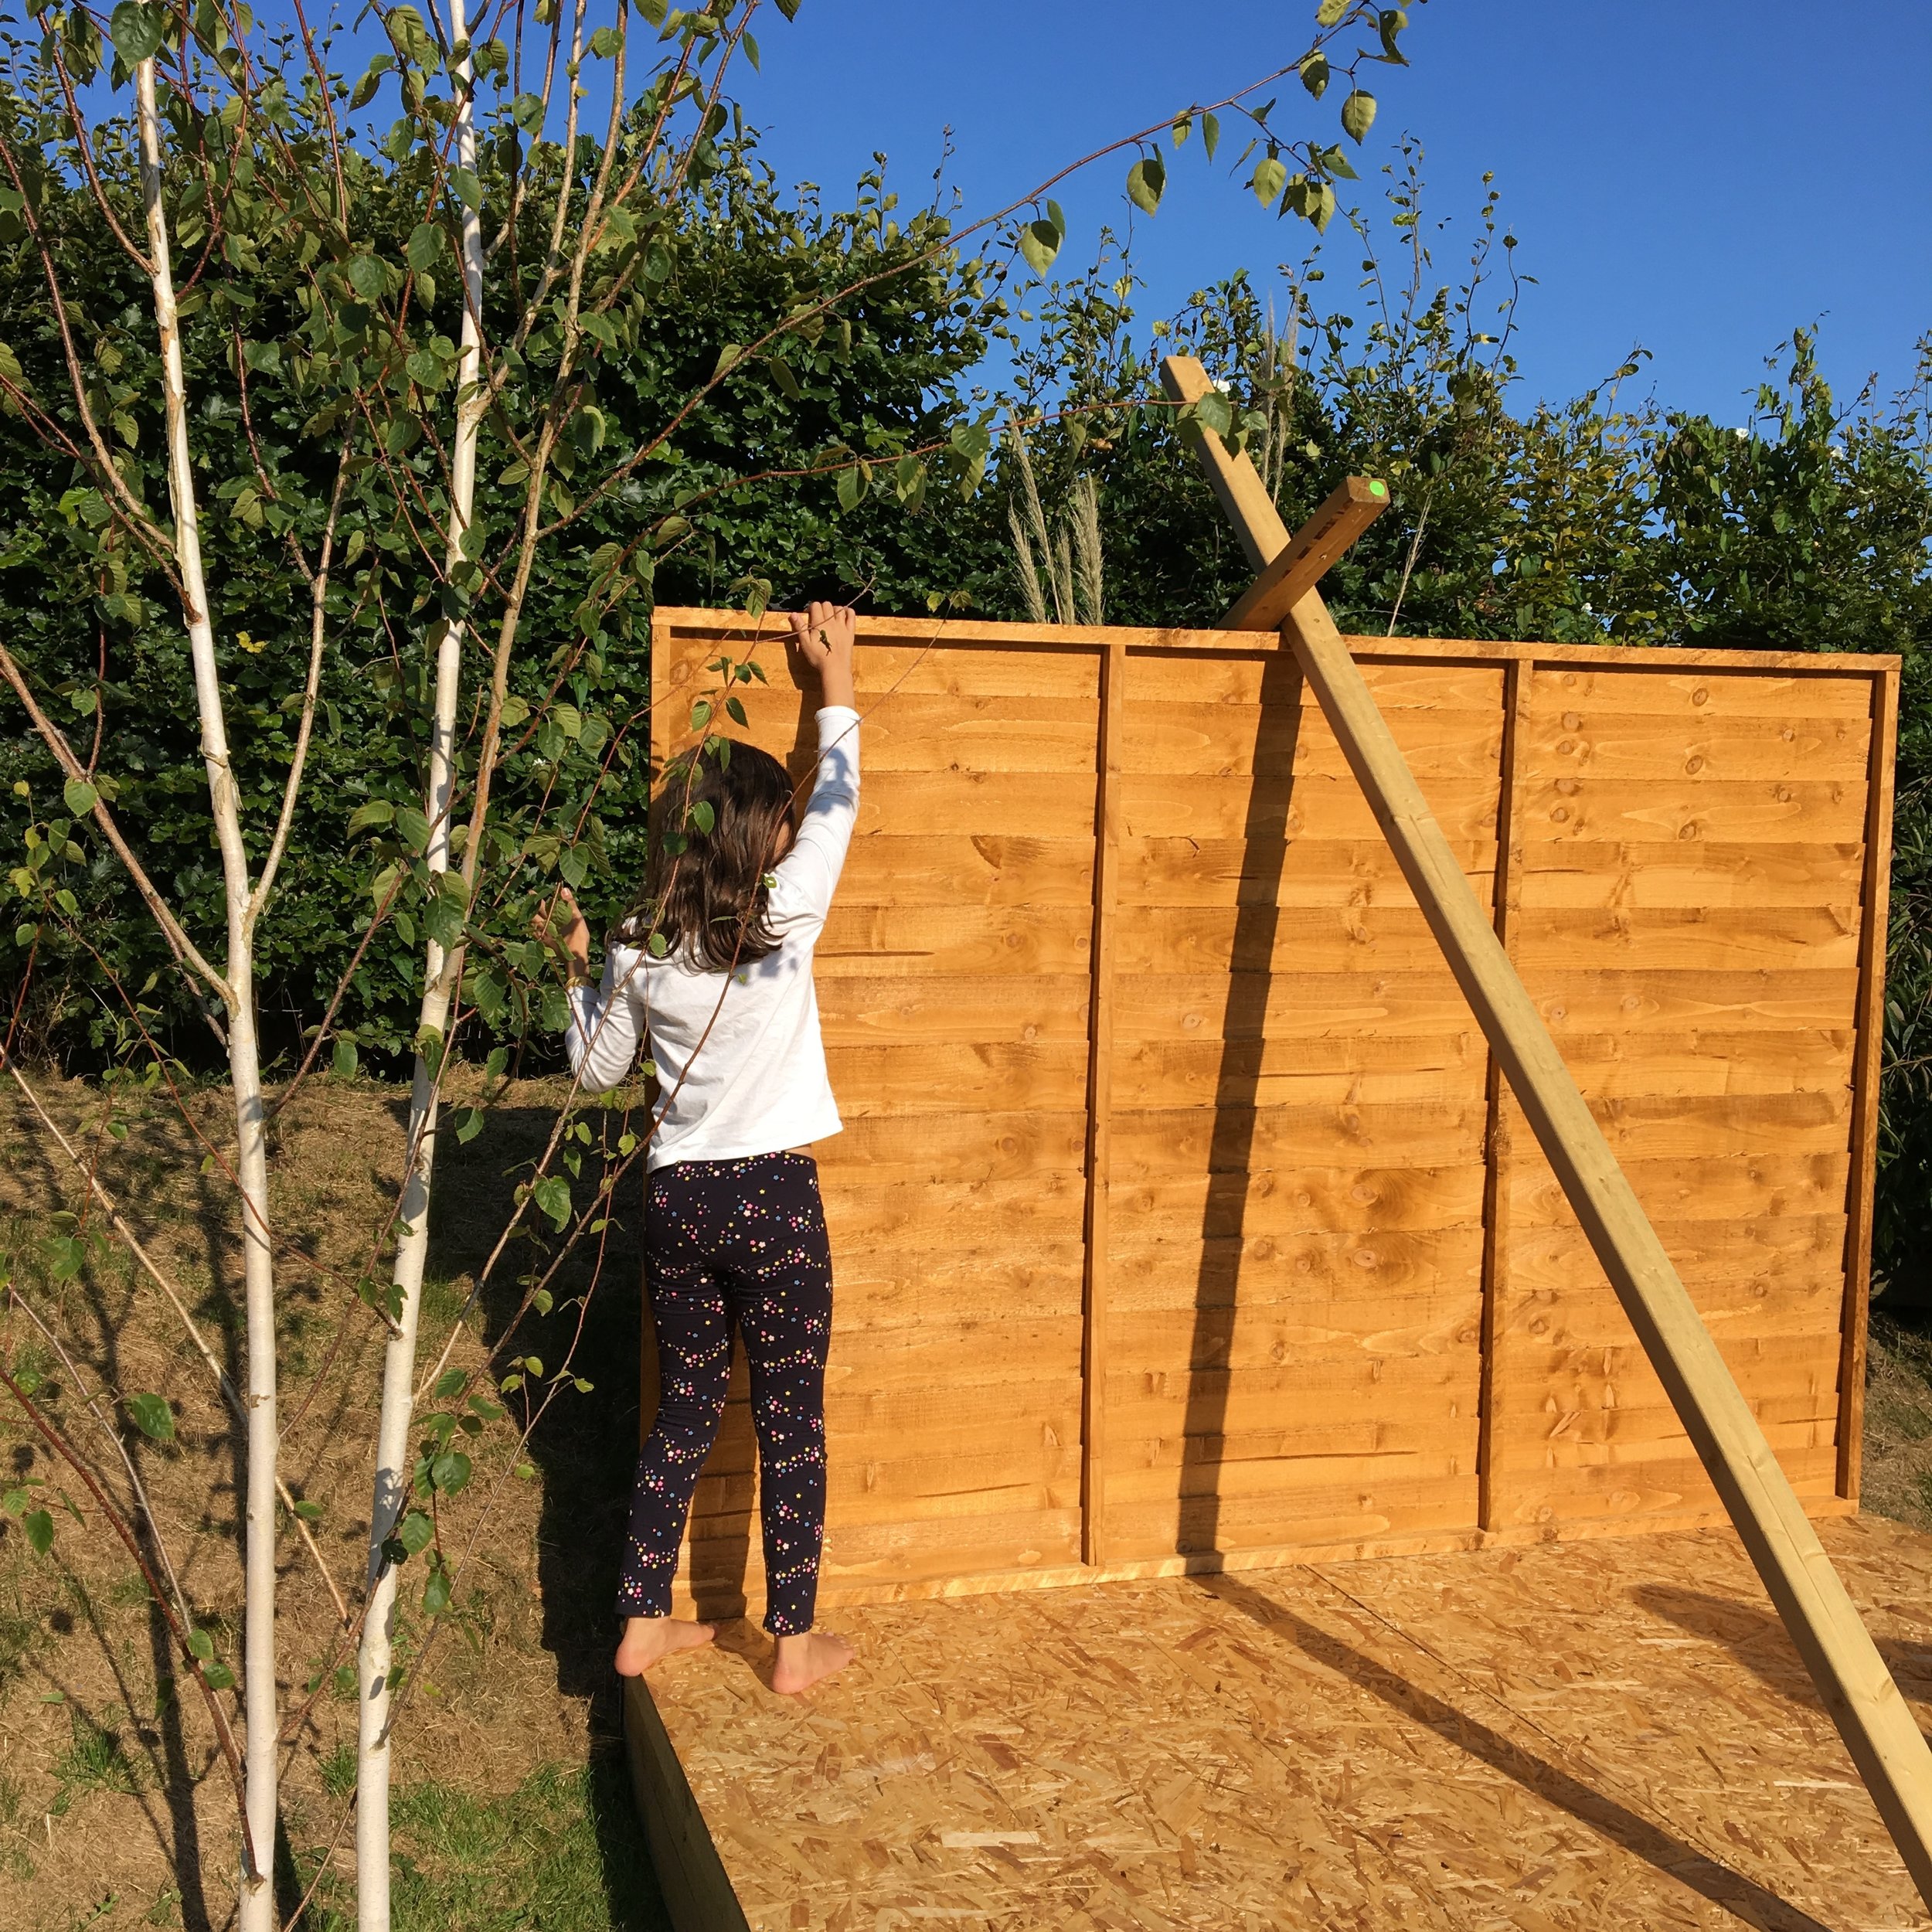
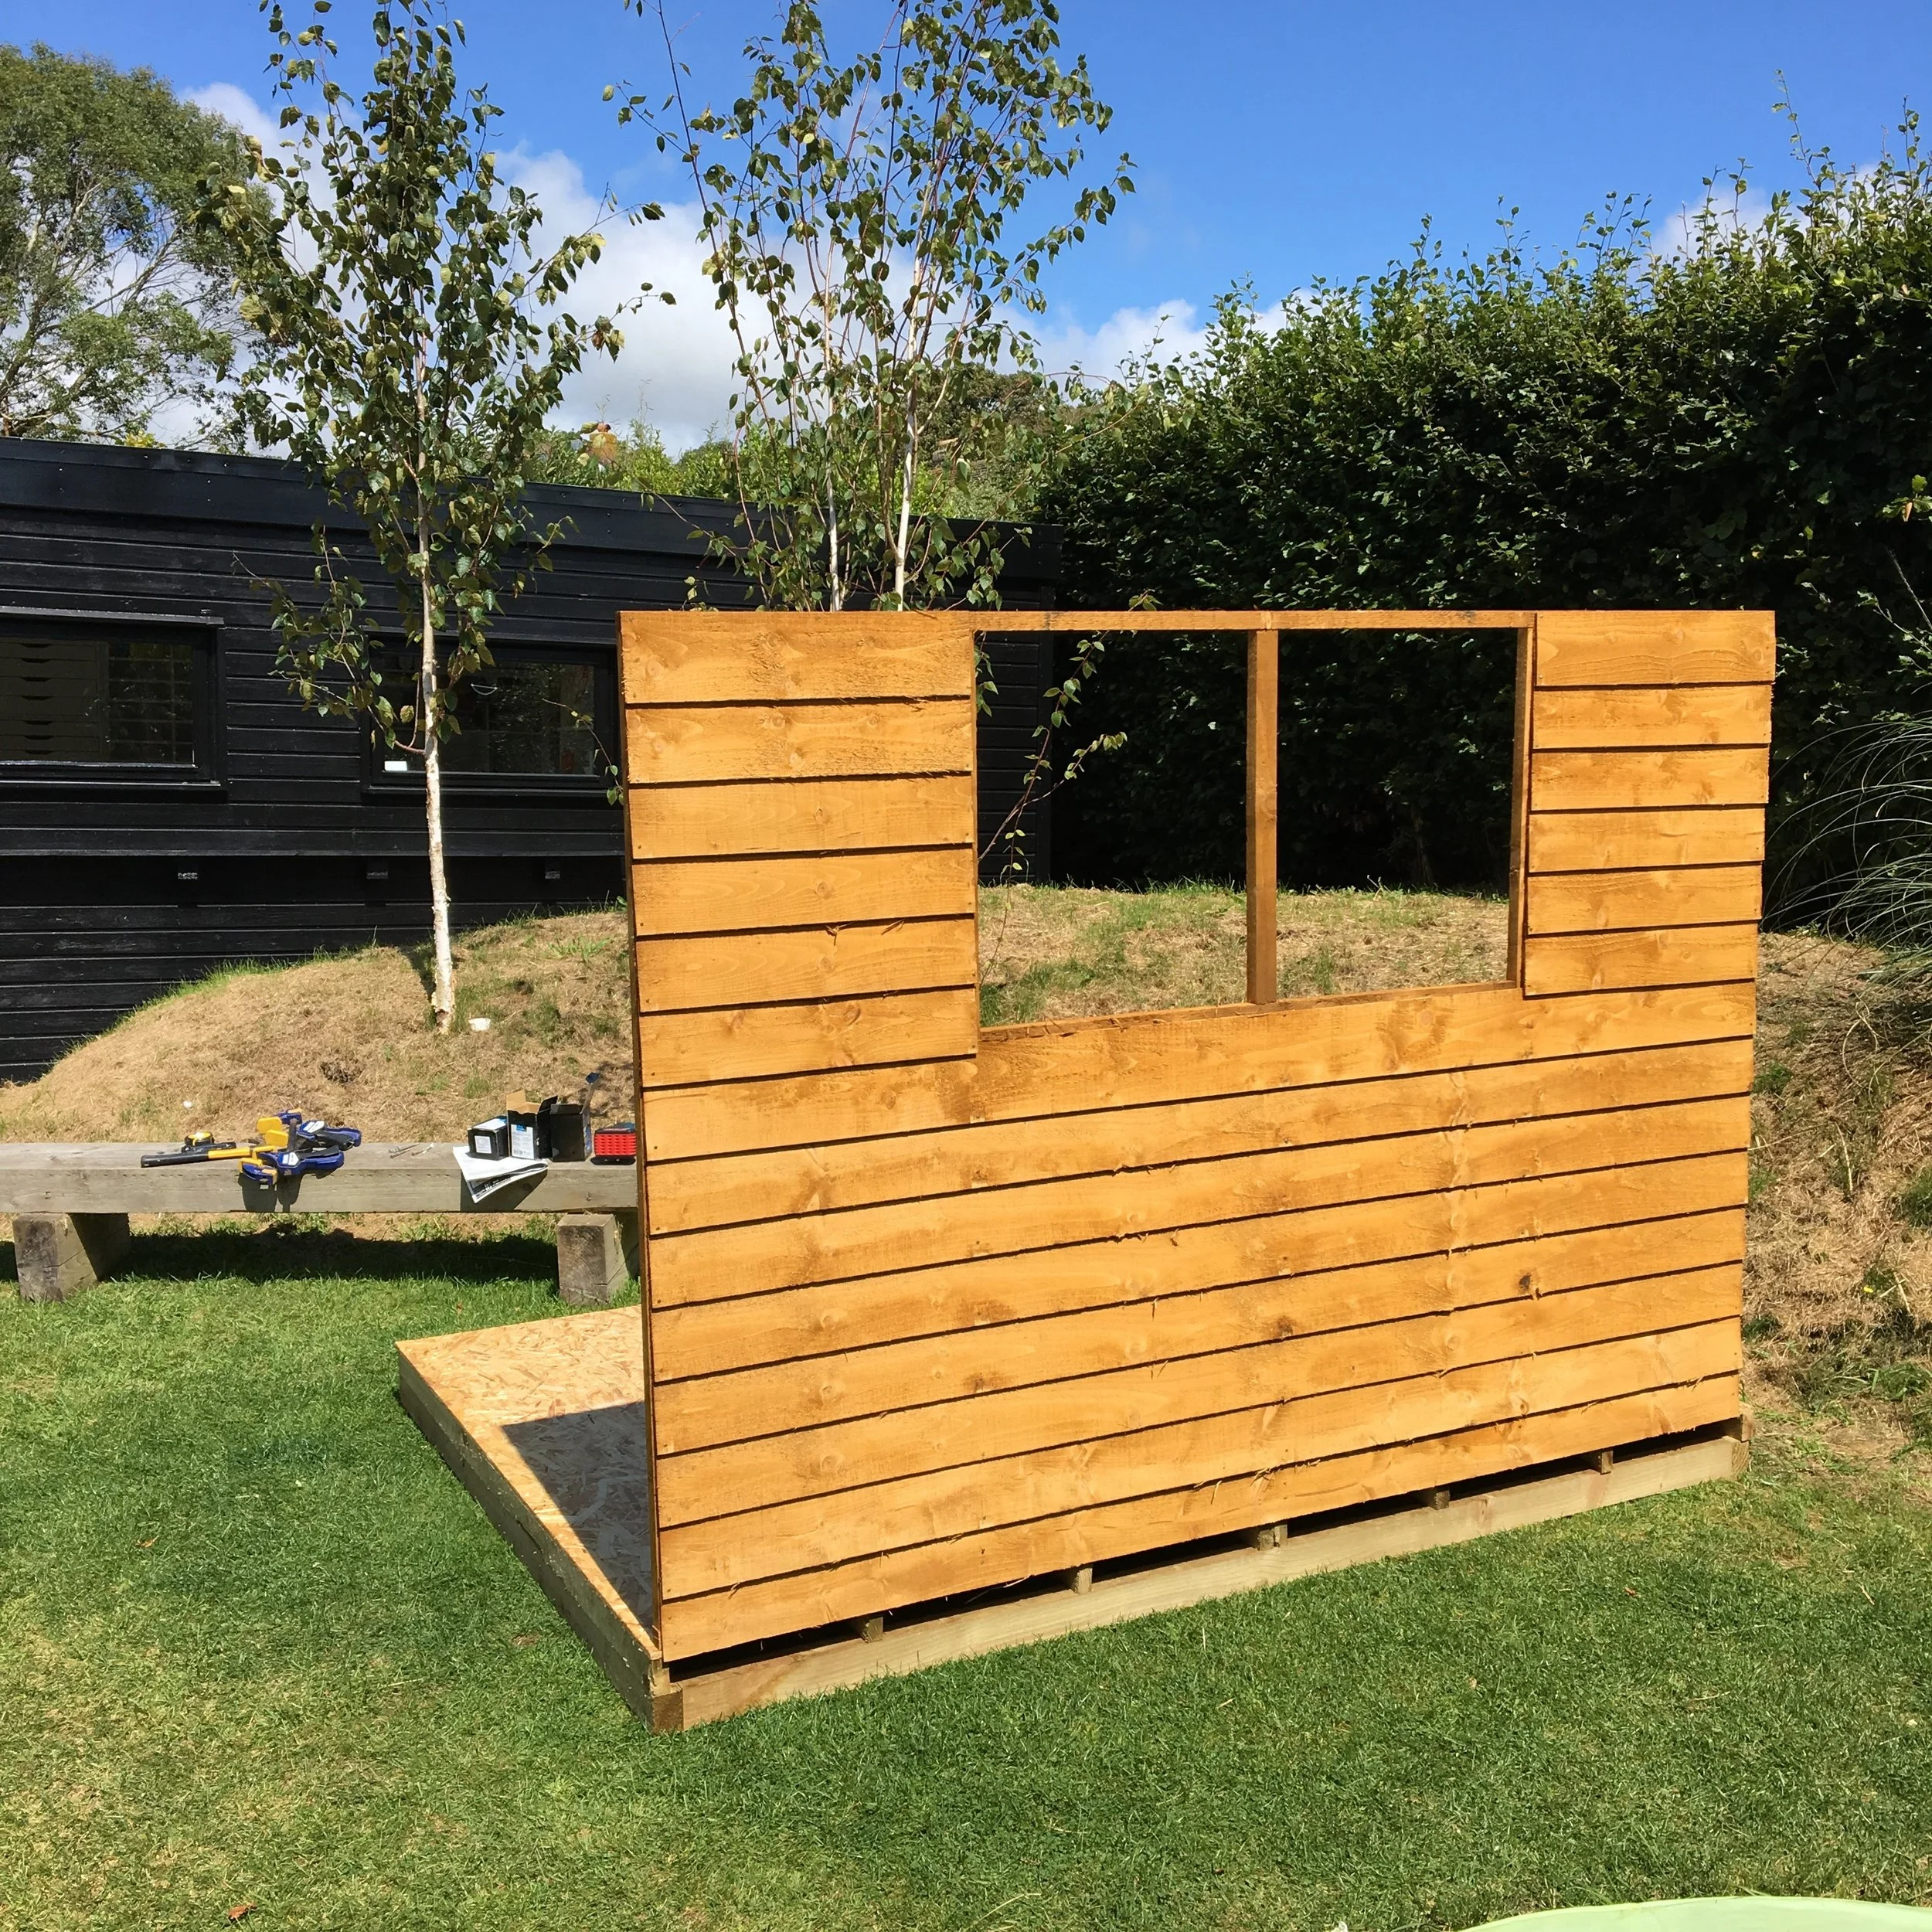
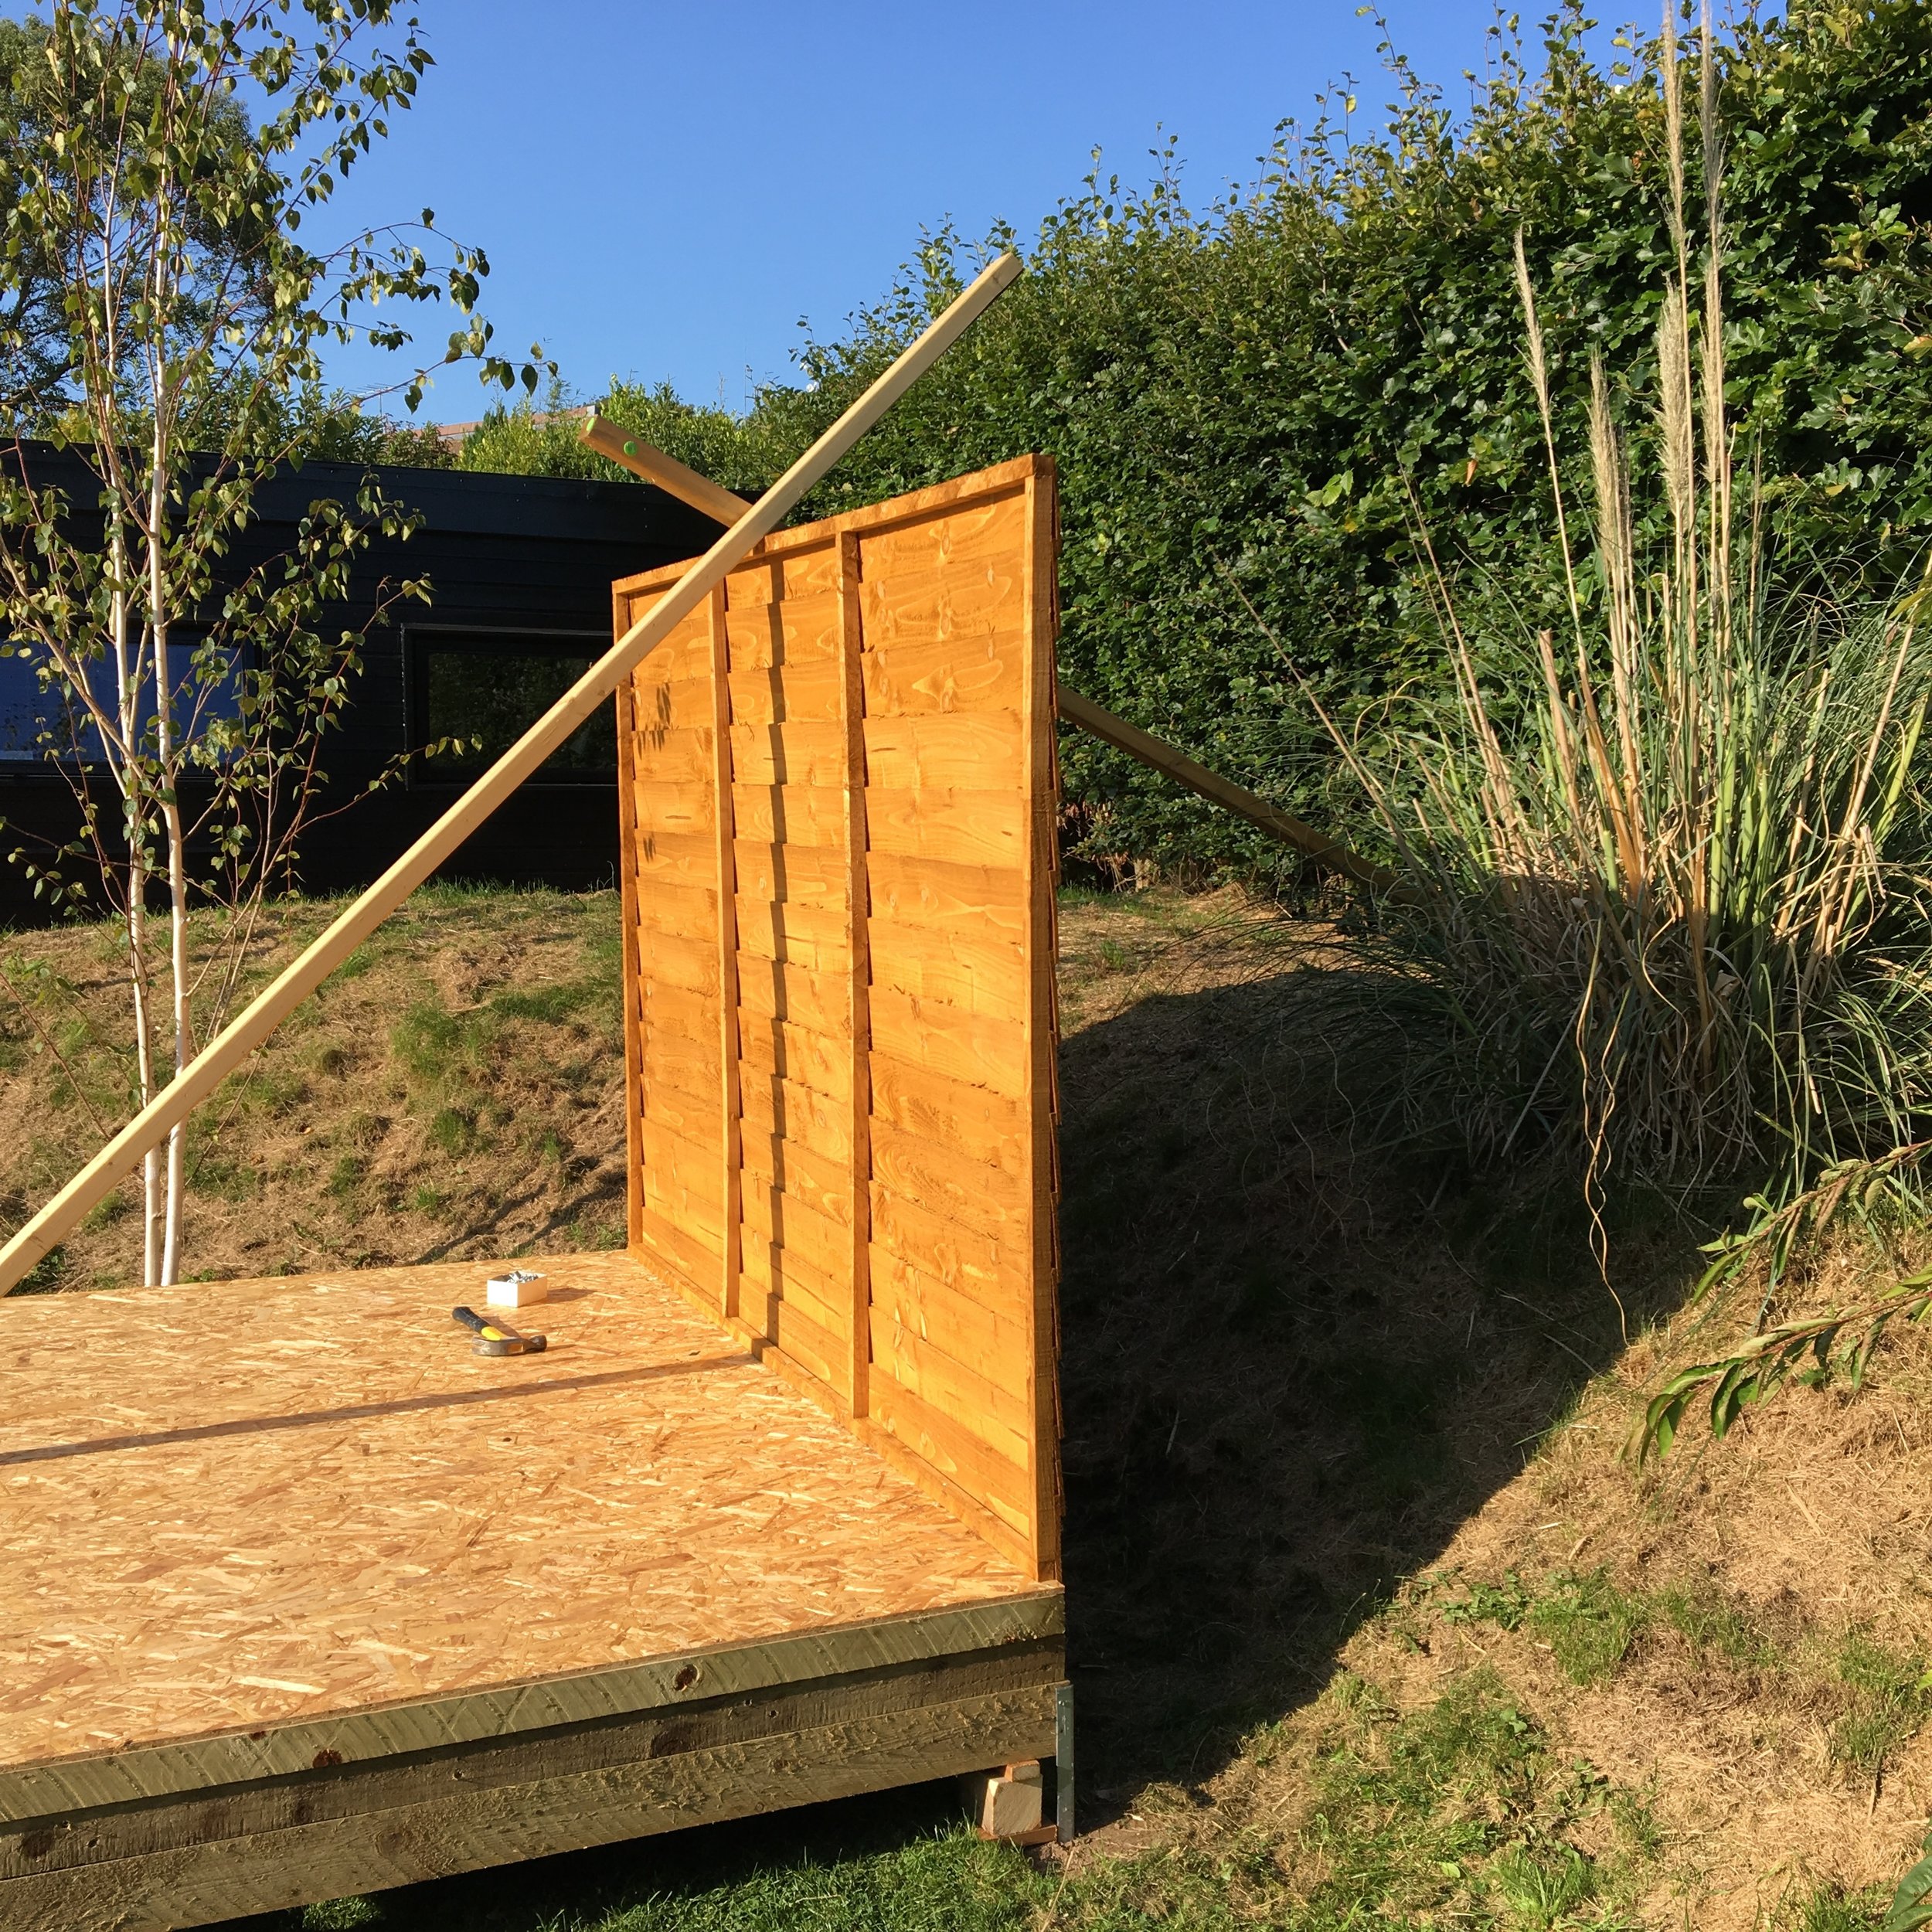
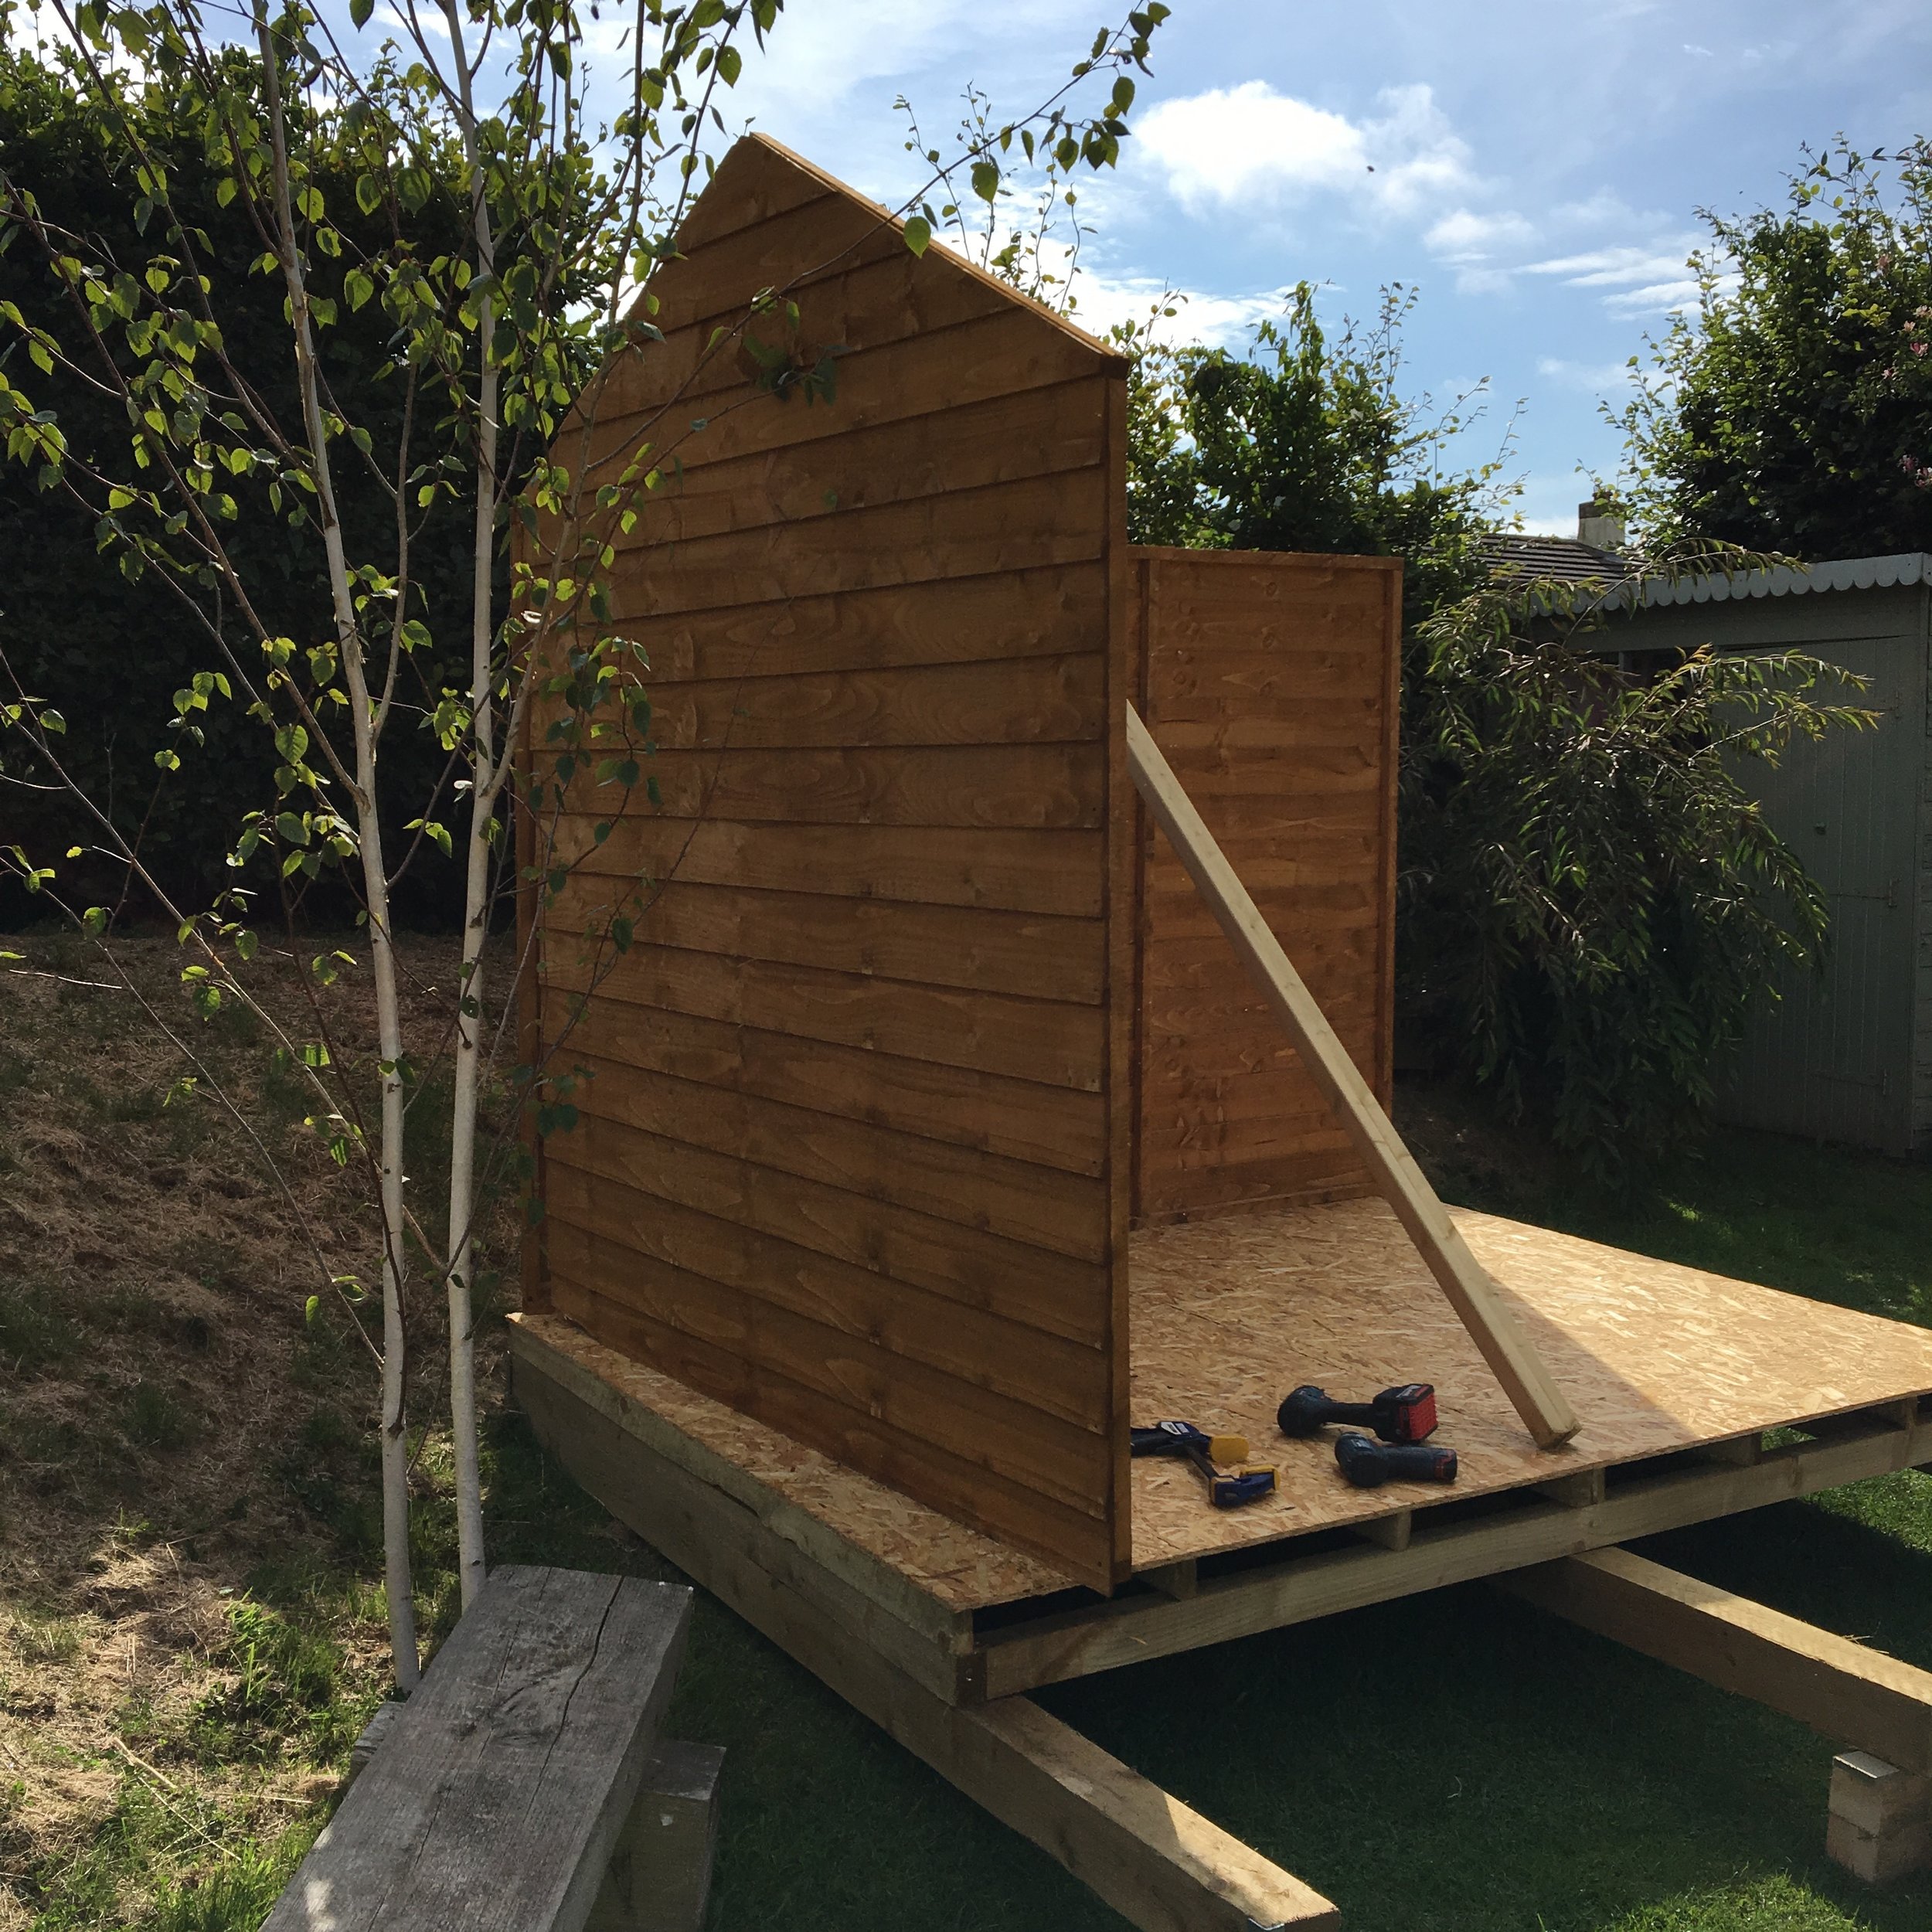
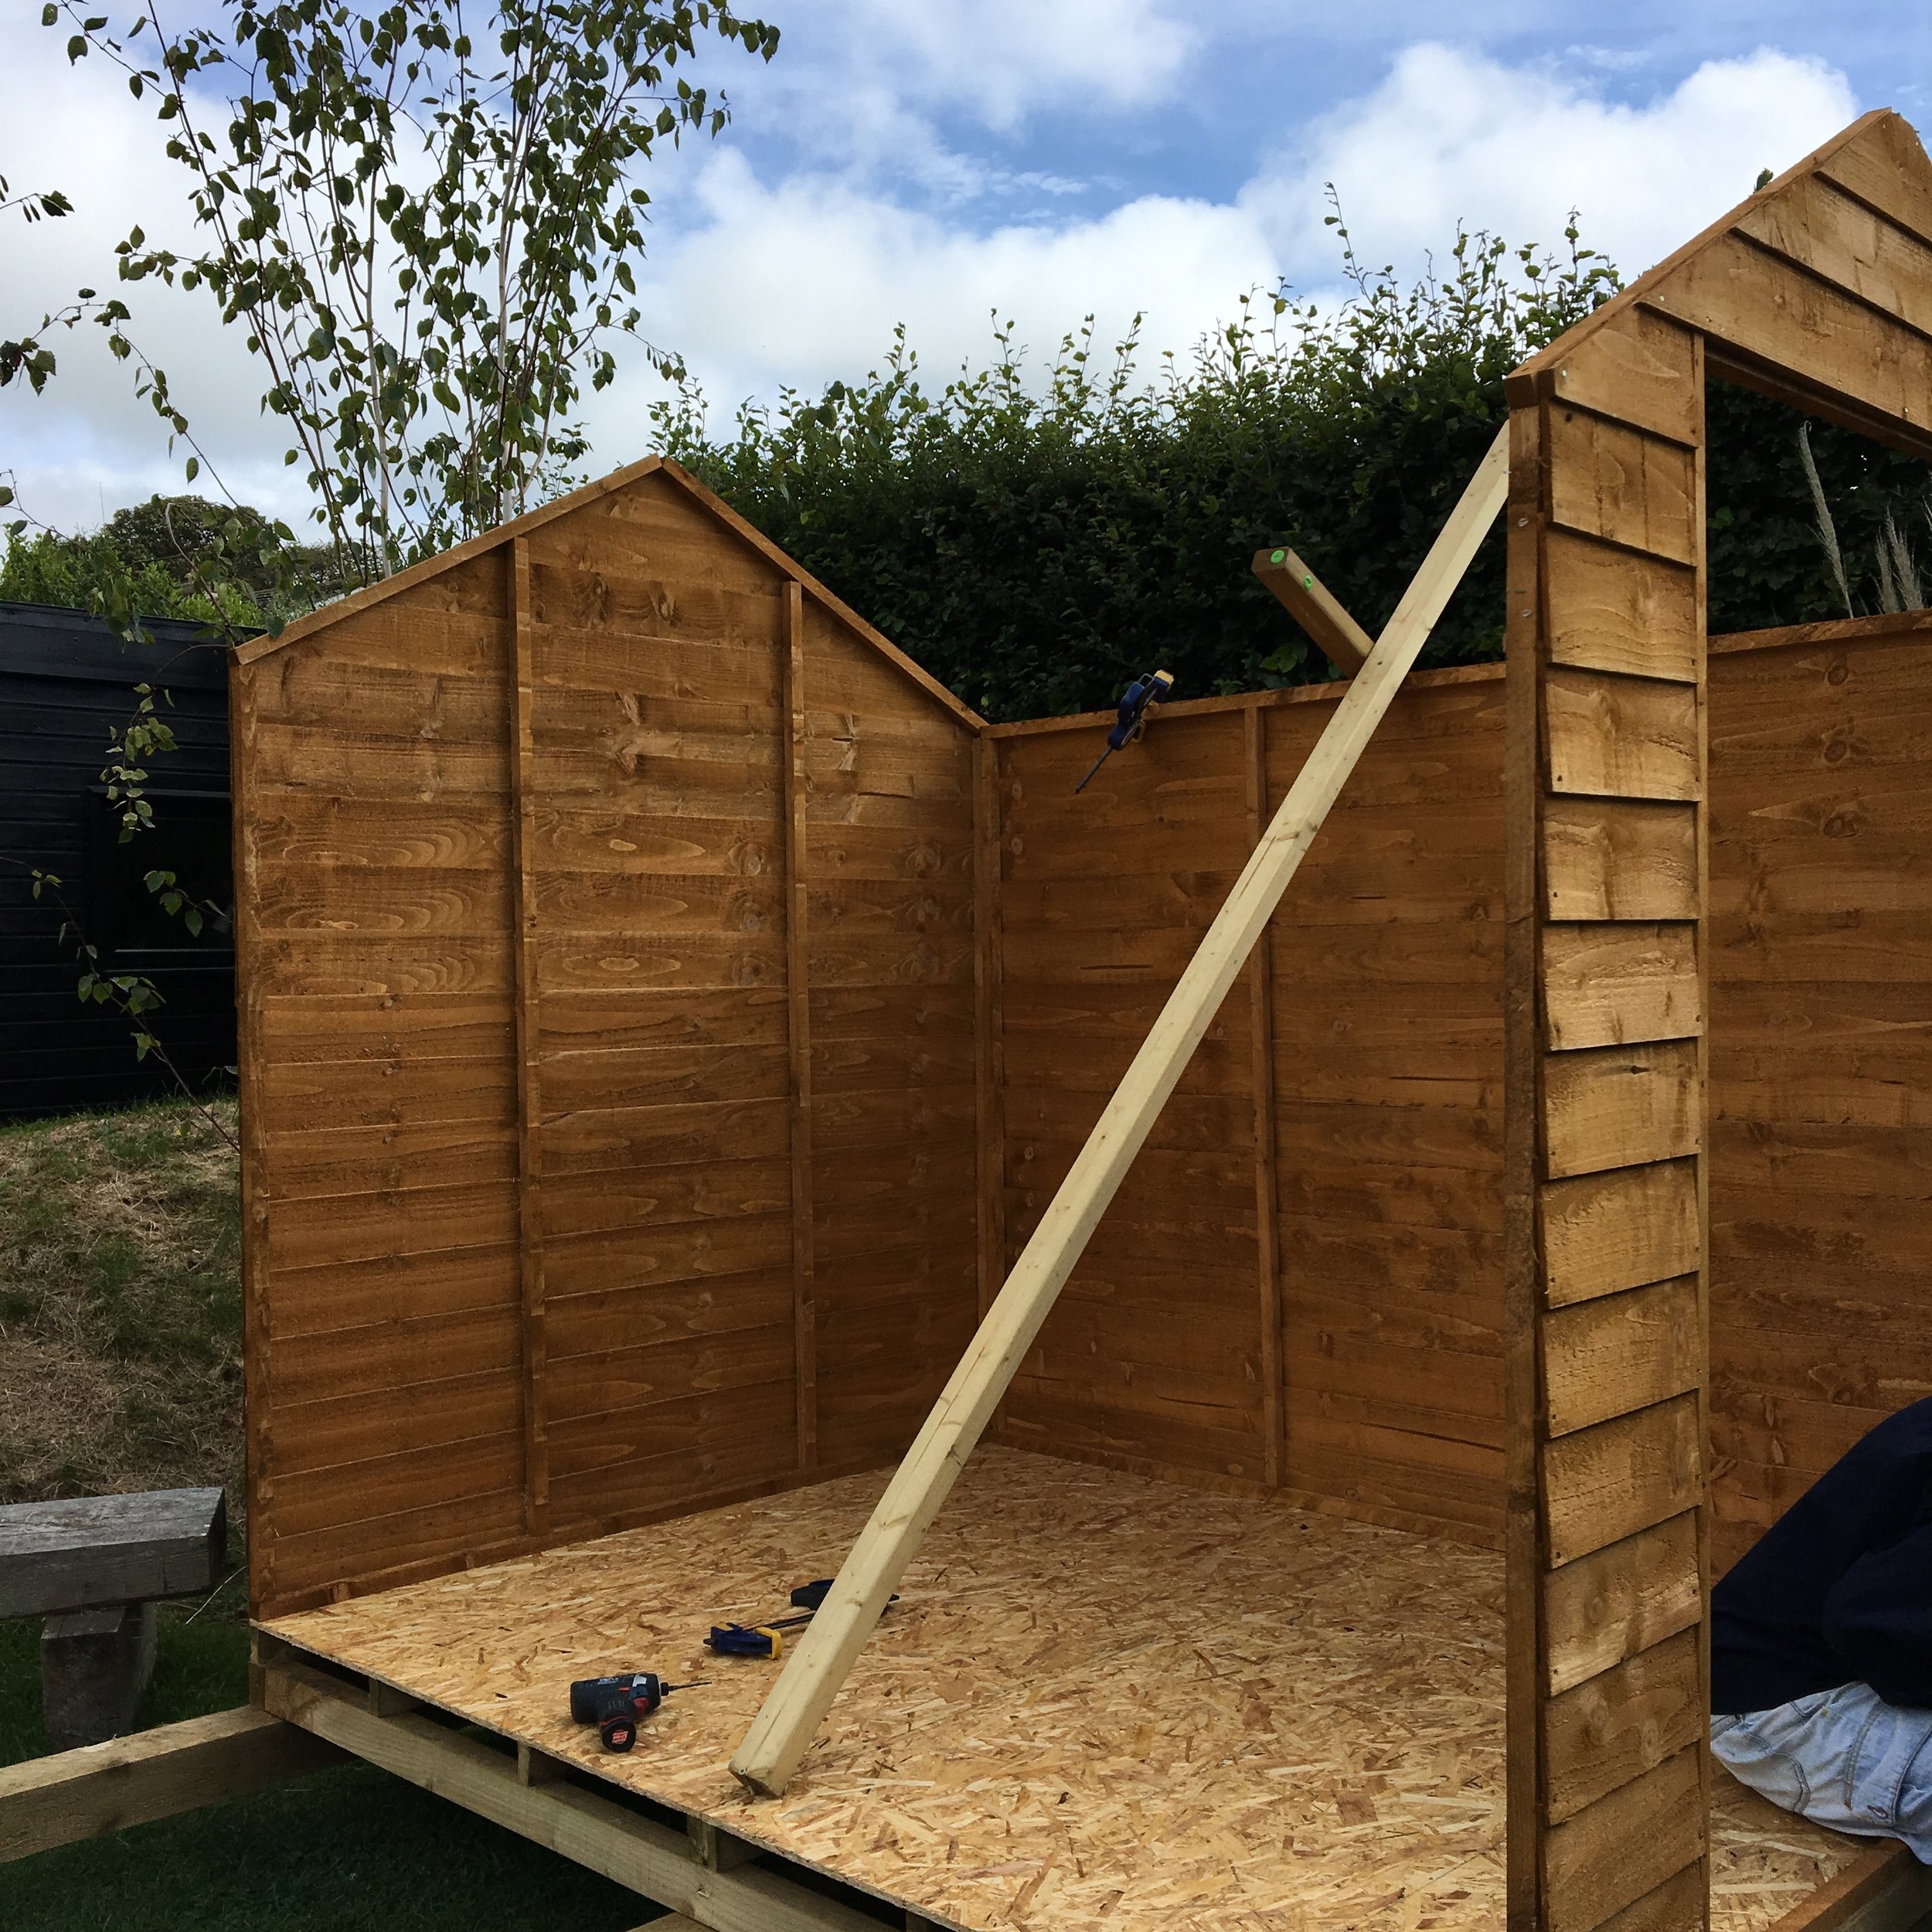
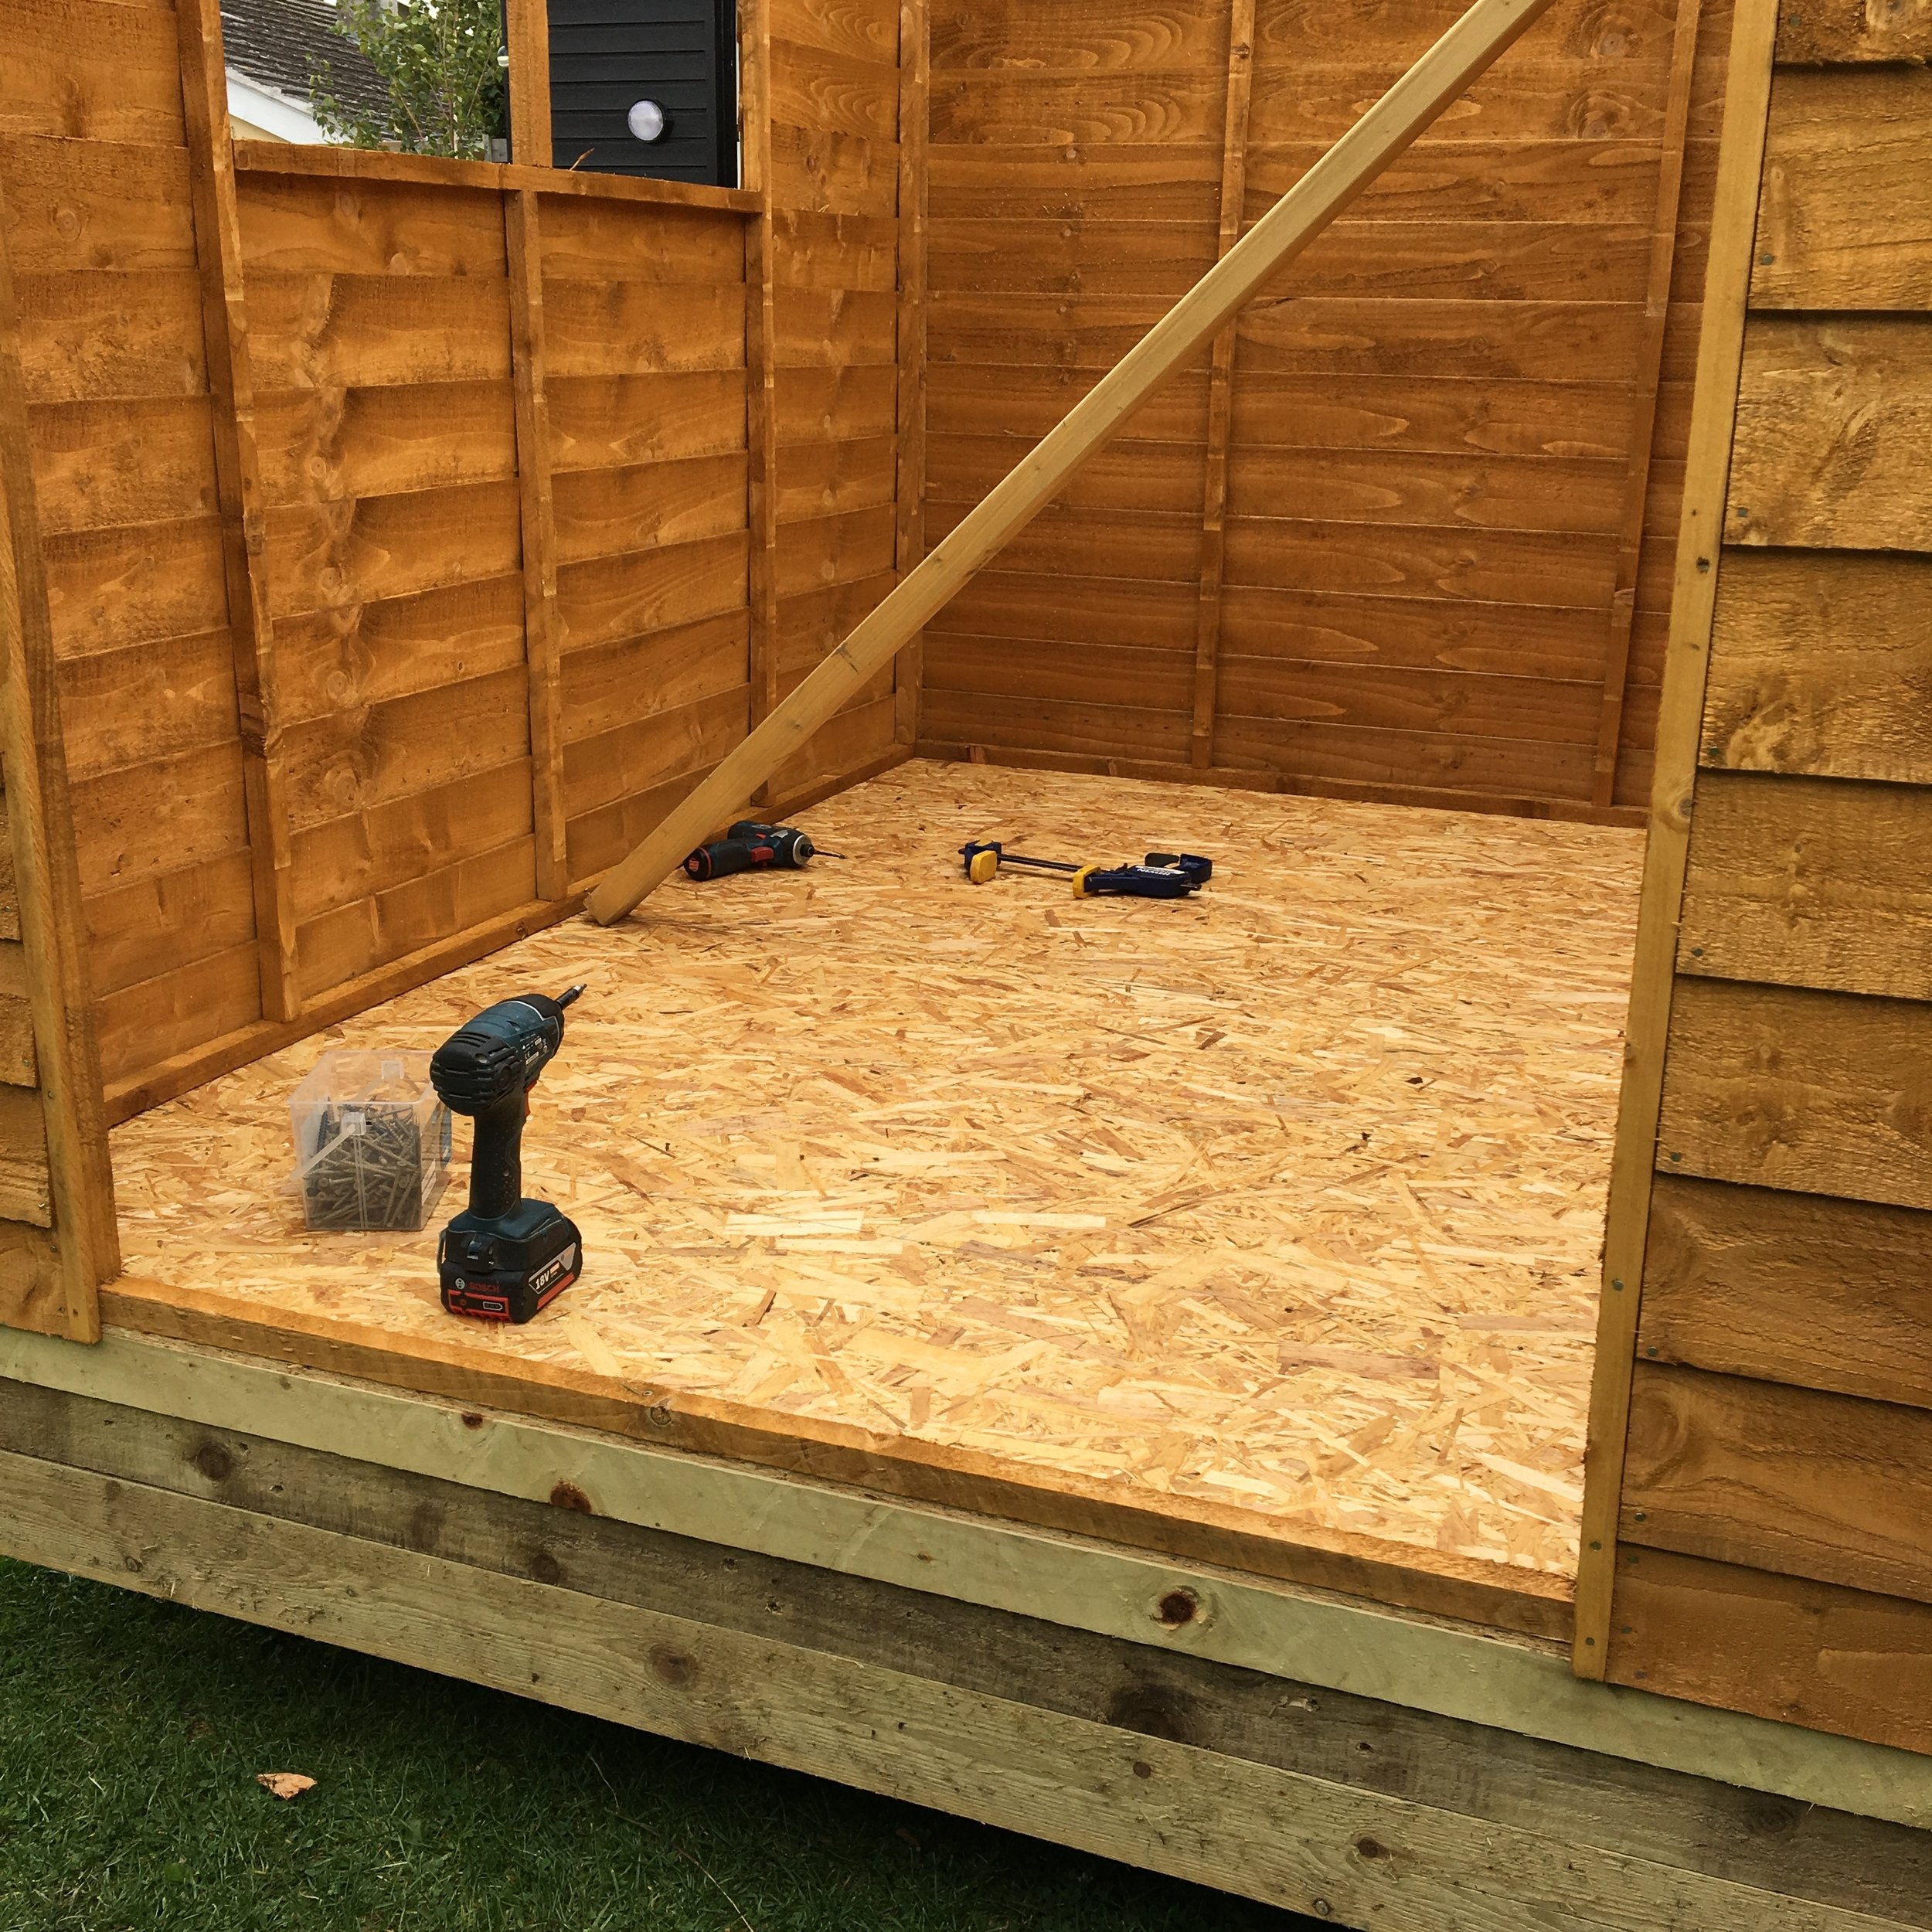
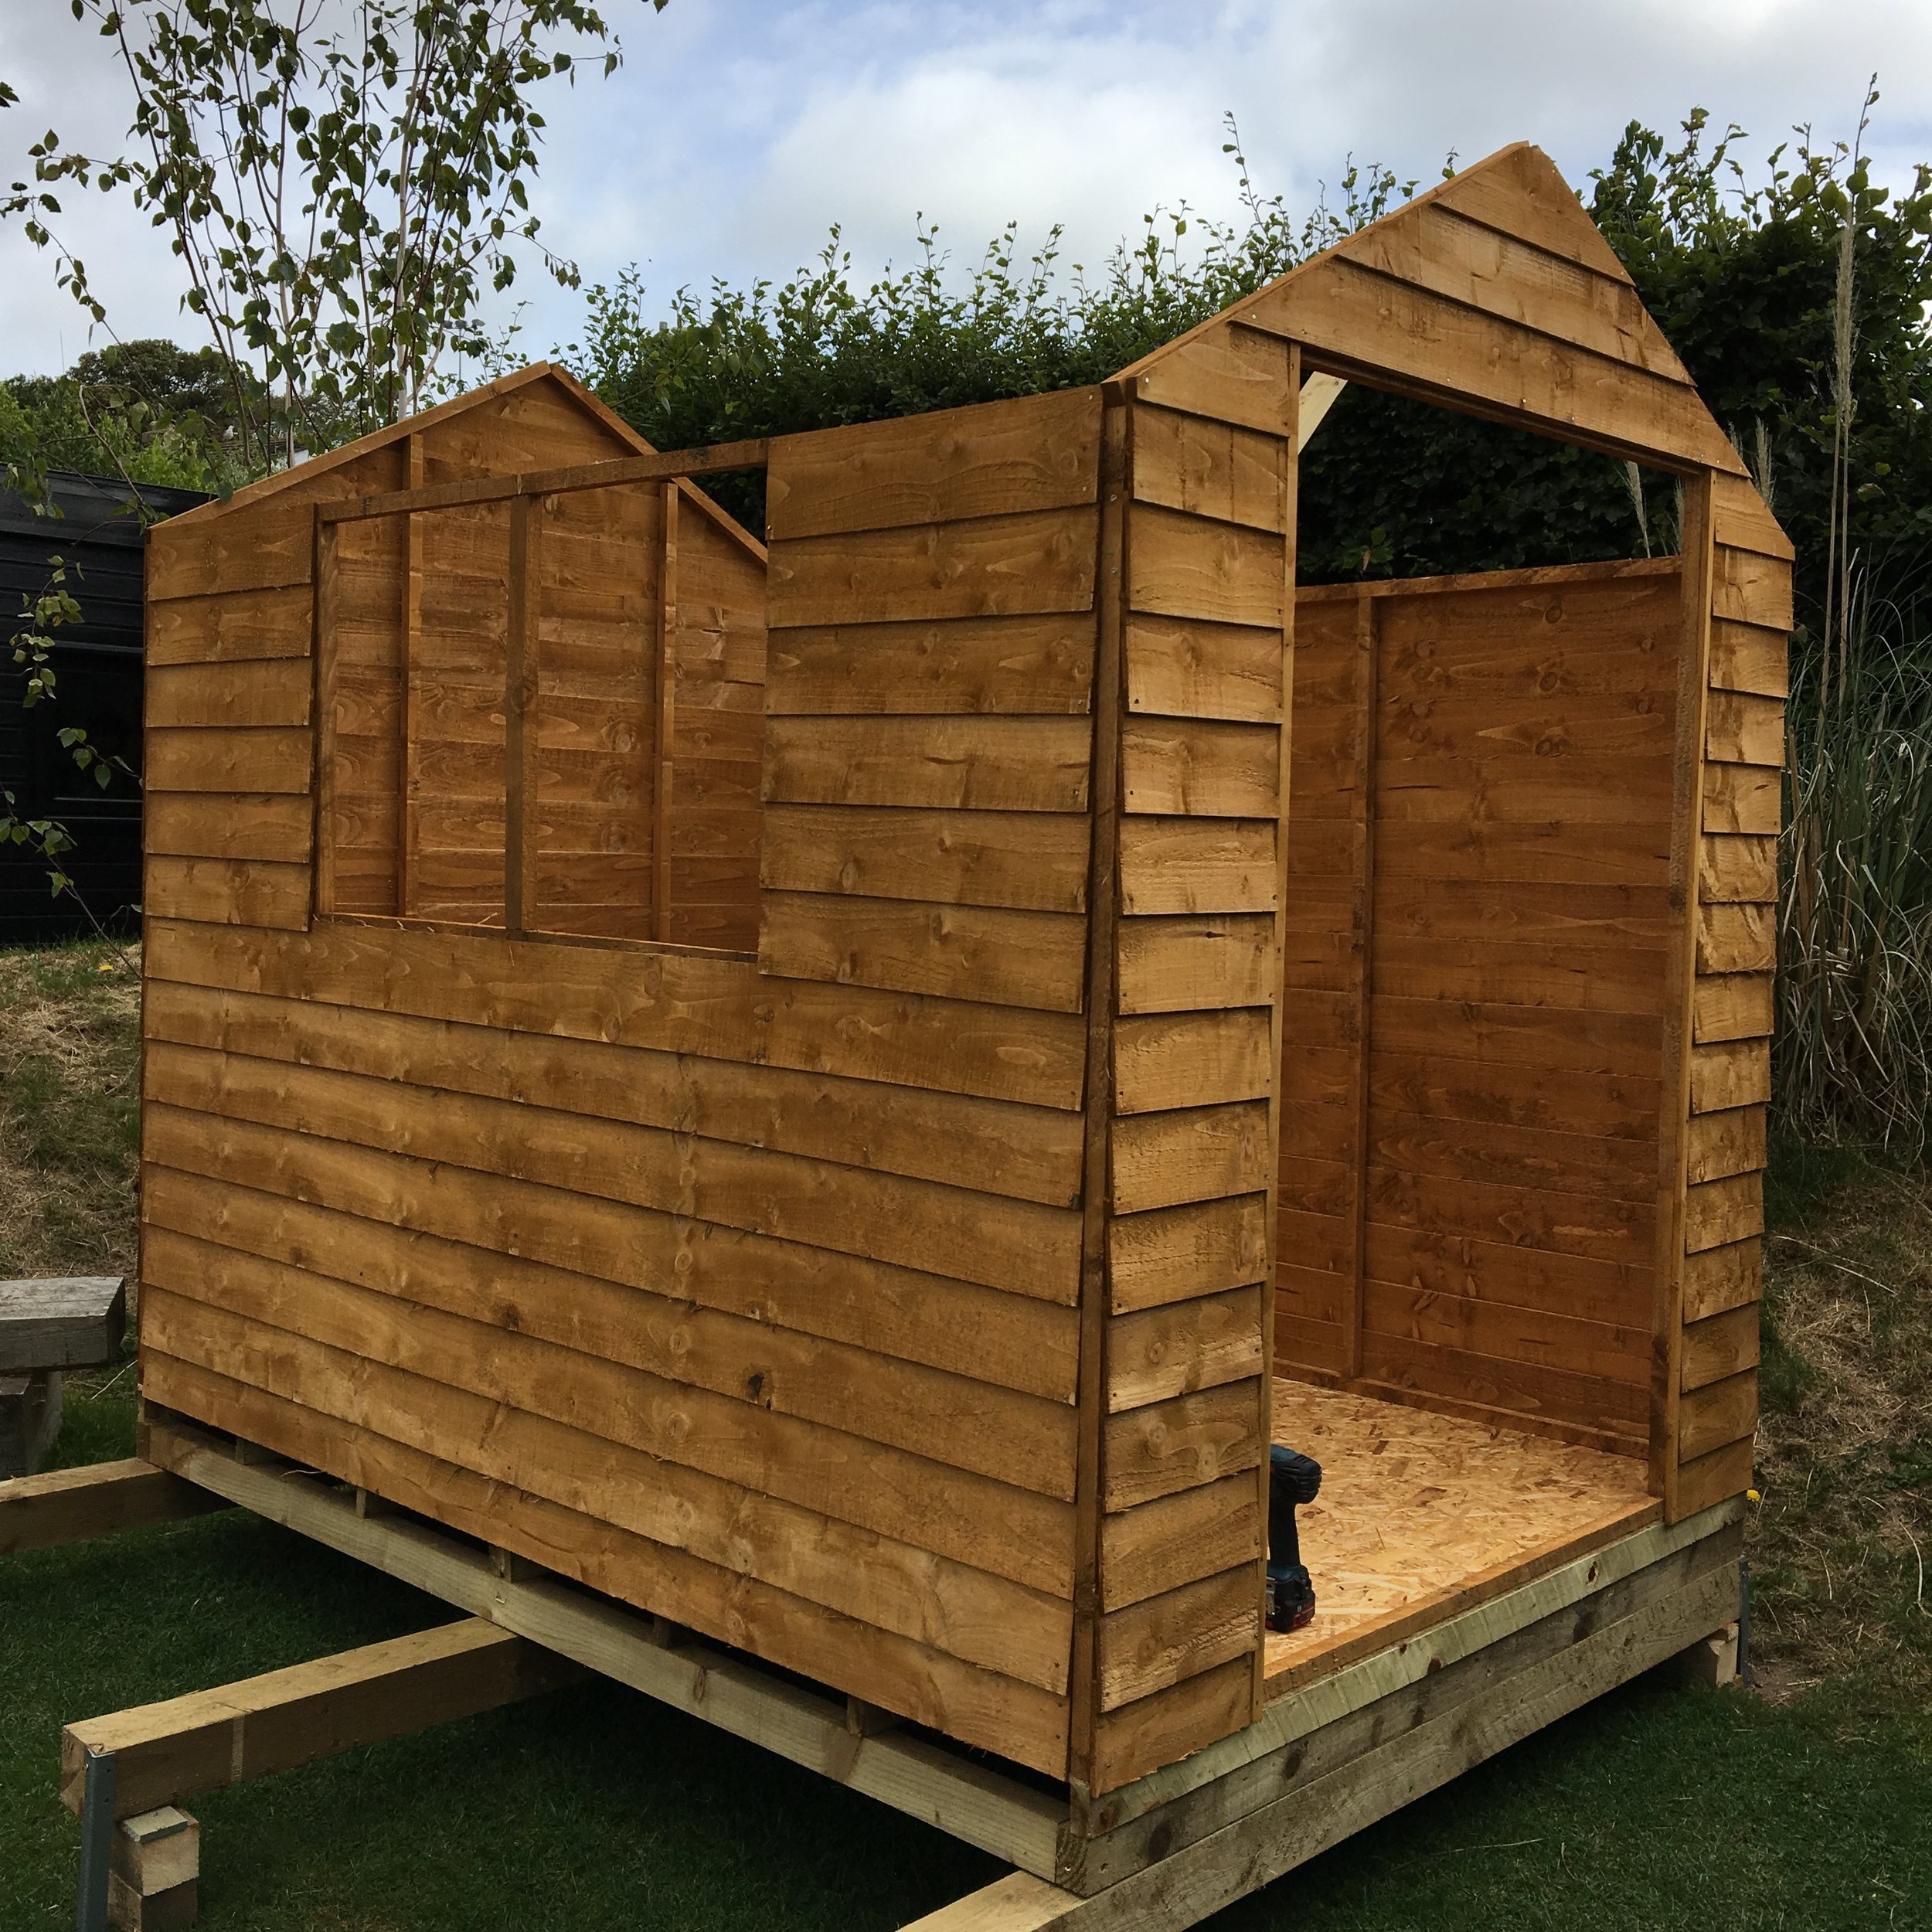
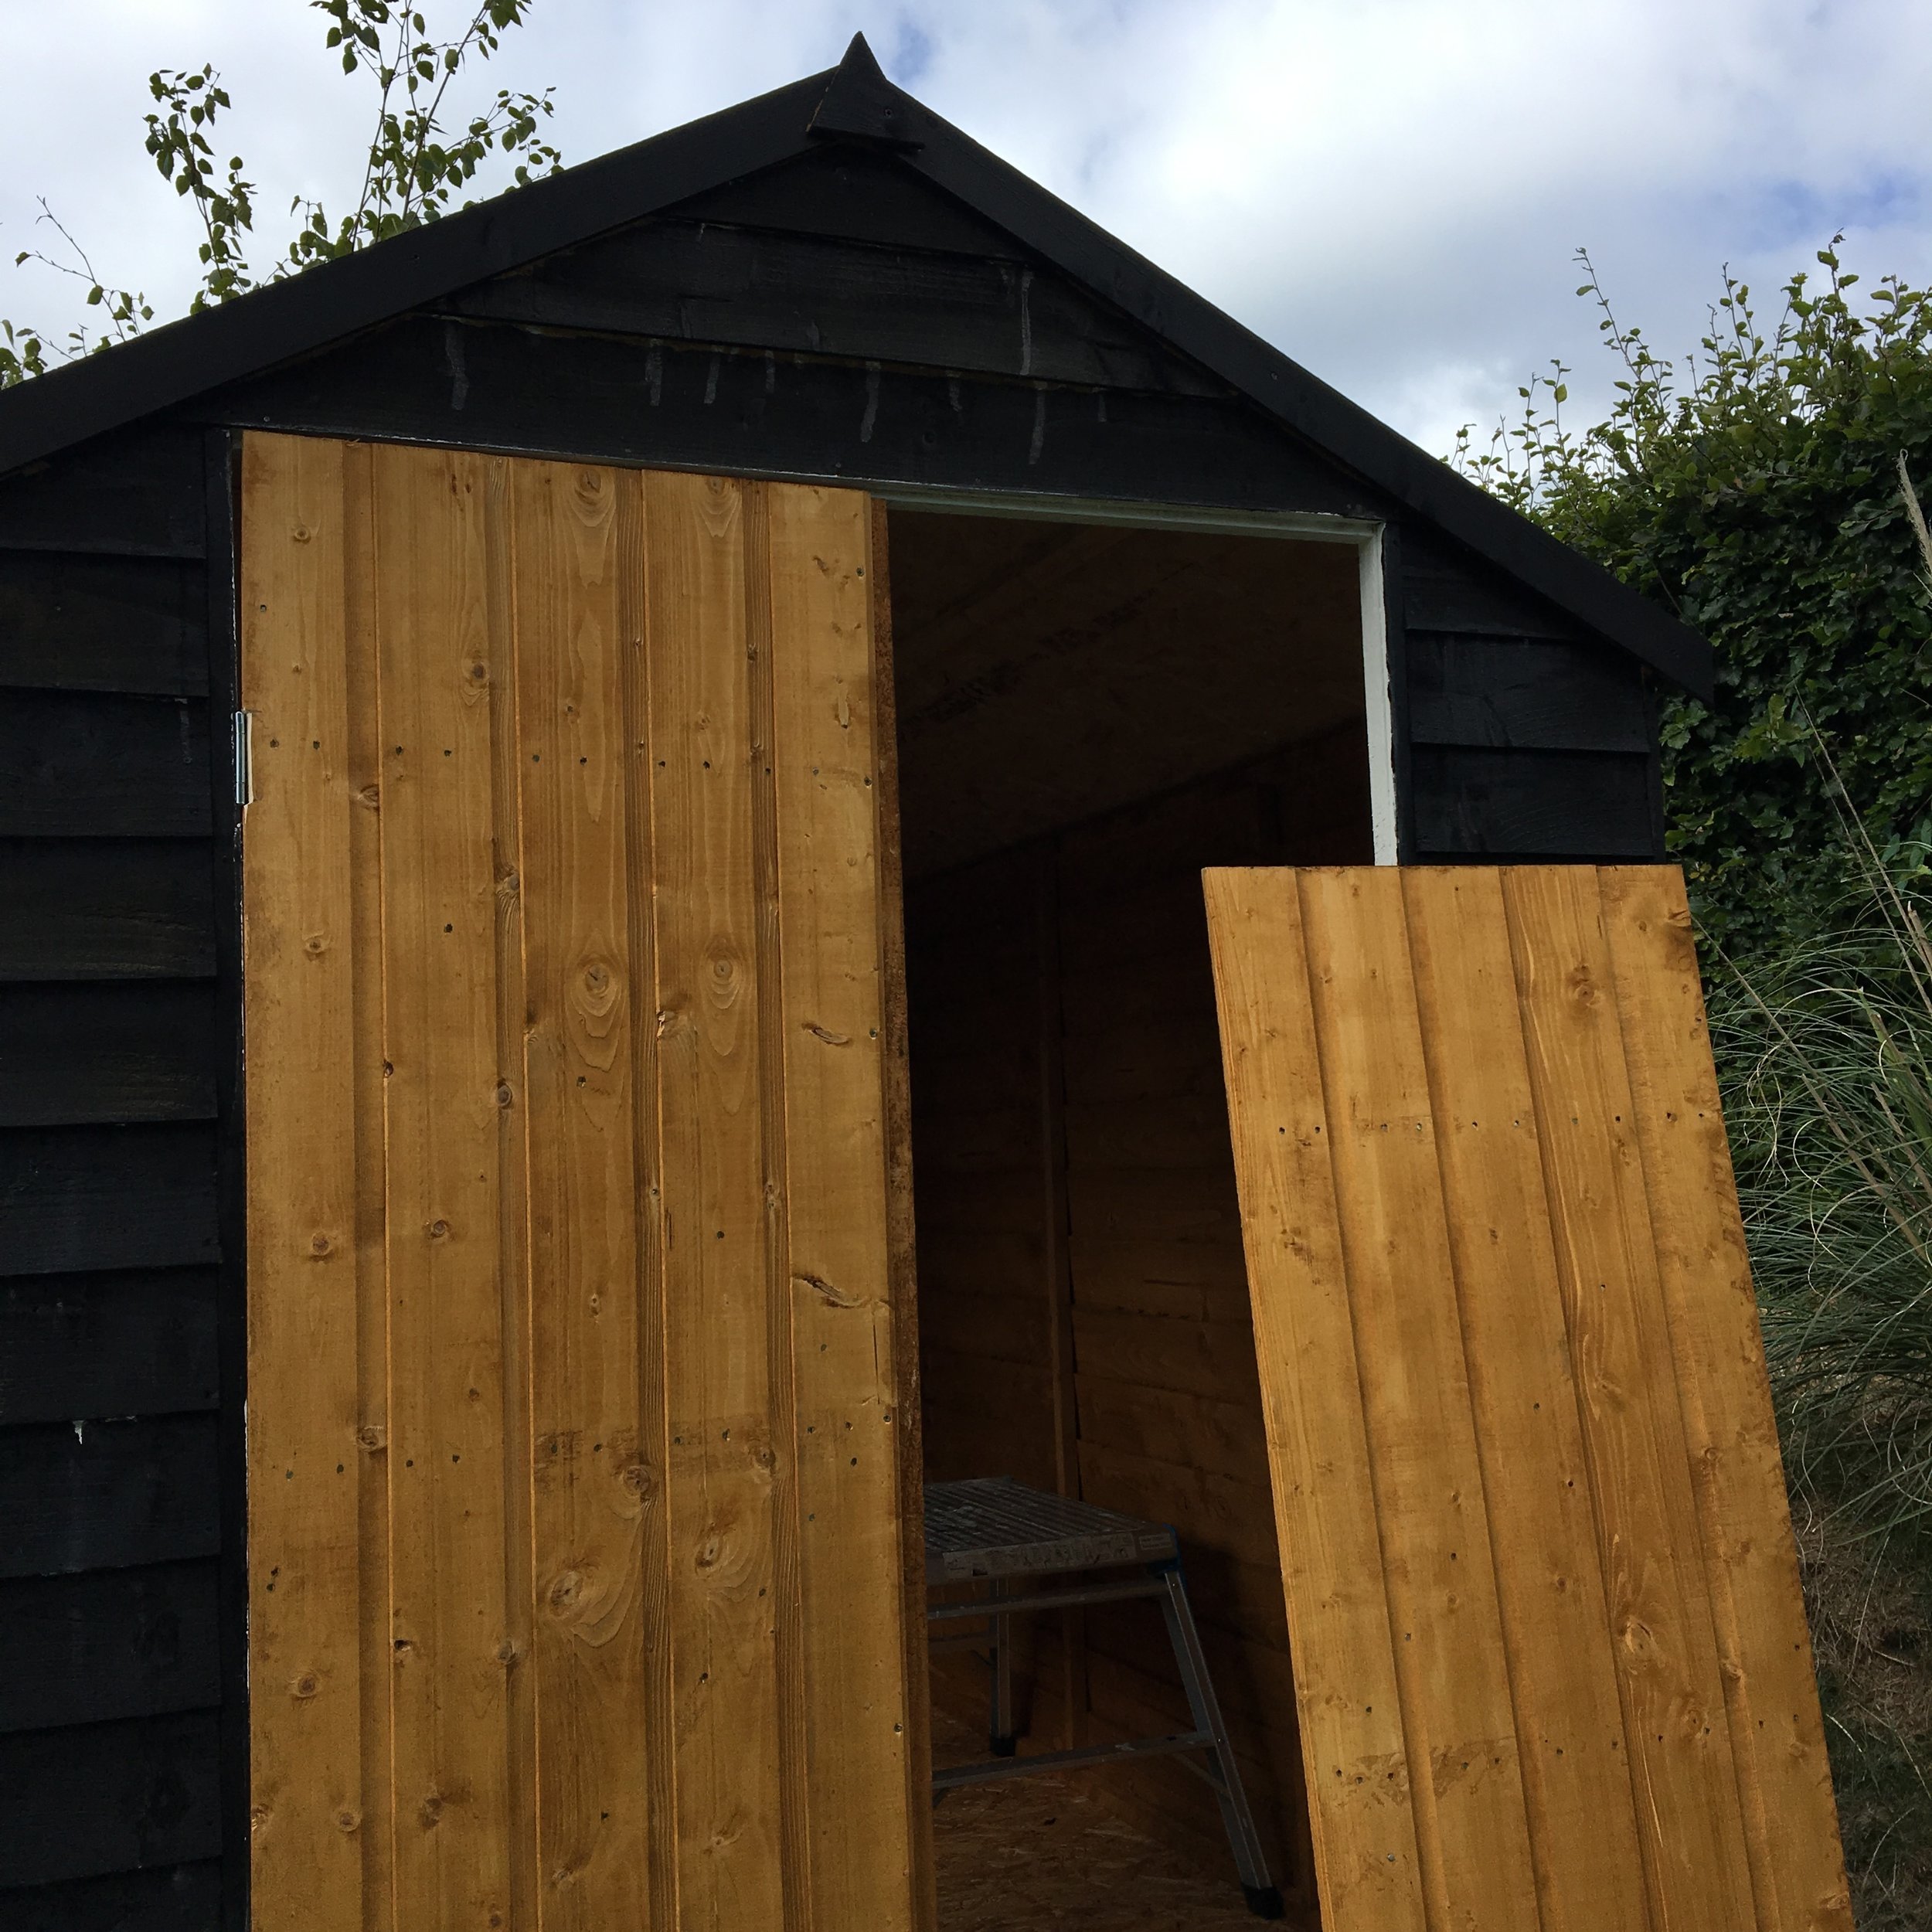
The shed panels arrived and our initial challenge was where to put it to give the best view. Once we'd decided, we started preparing a timber base for it to sit on so that air would be able to circulate underneath it and prevent any damp occurring.We gradually got the sides up and the remainder of the shed went up quite fast.


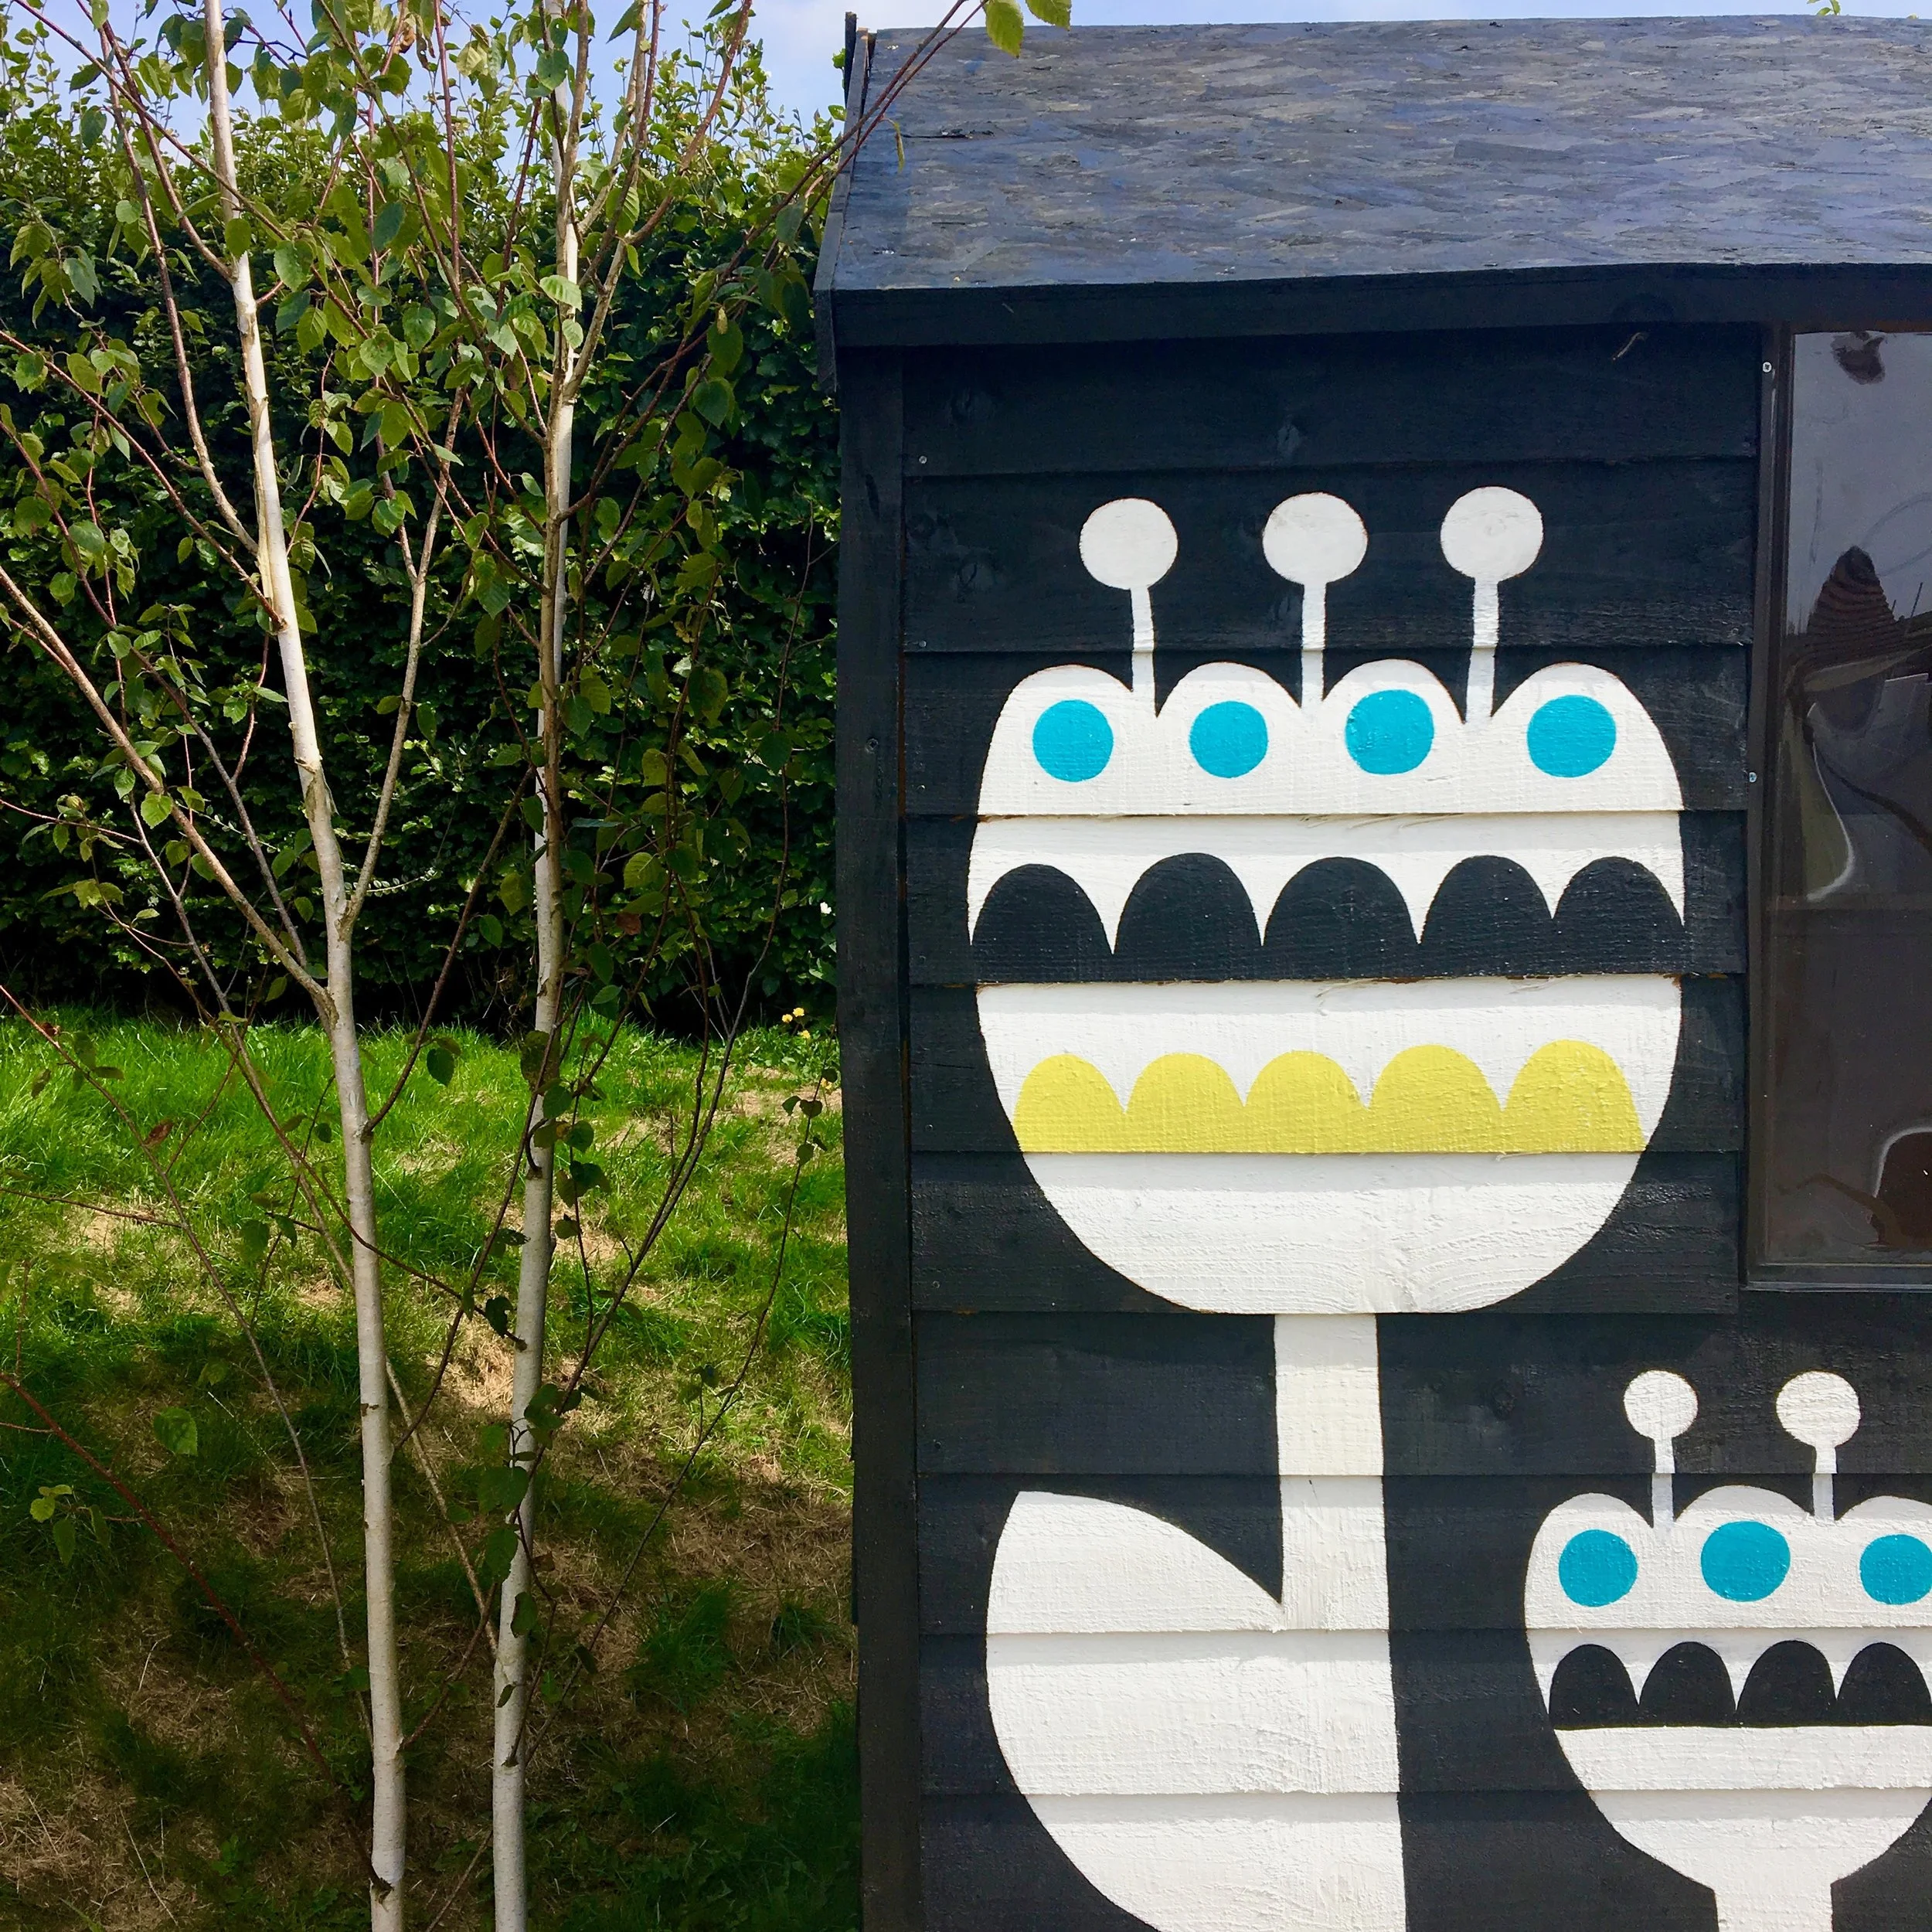
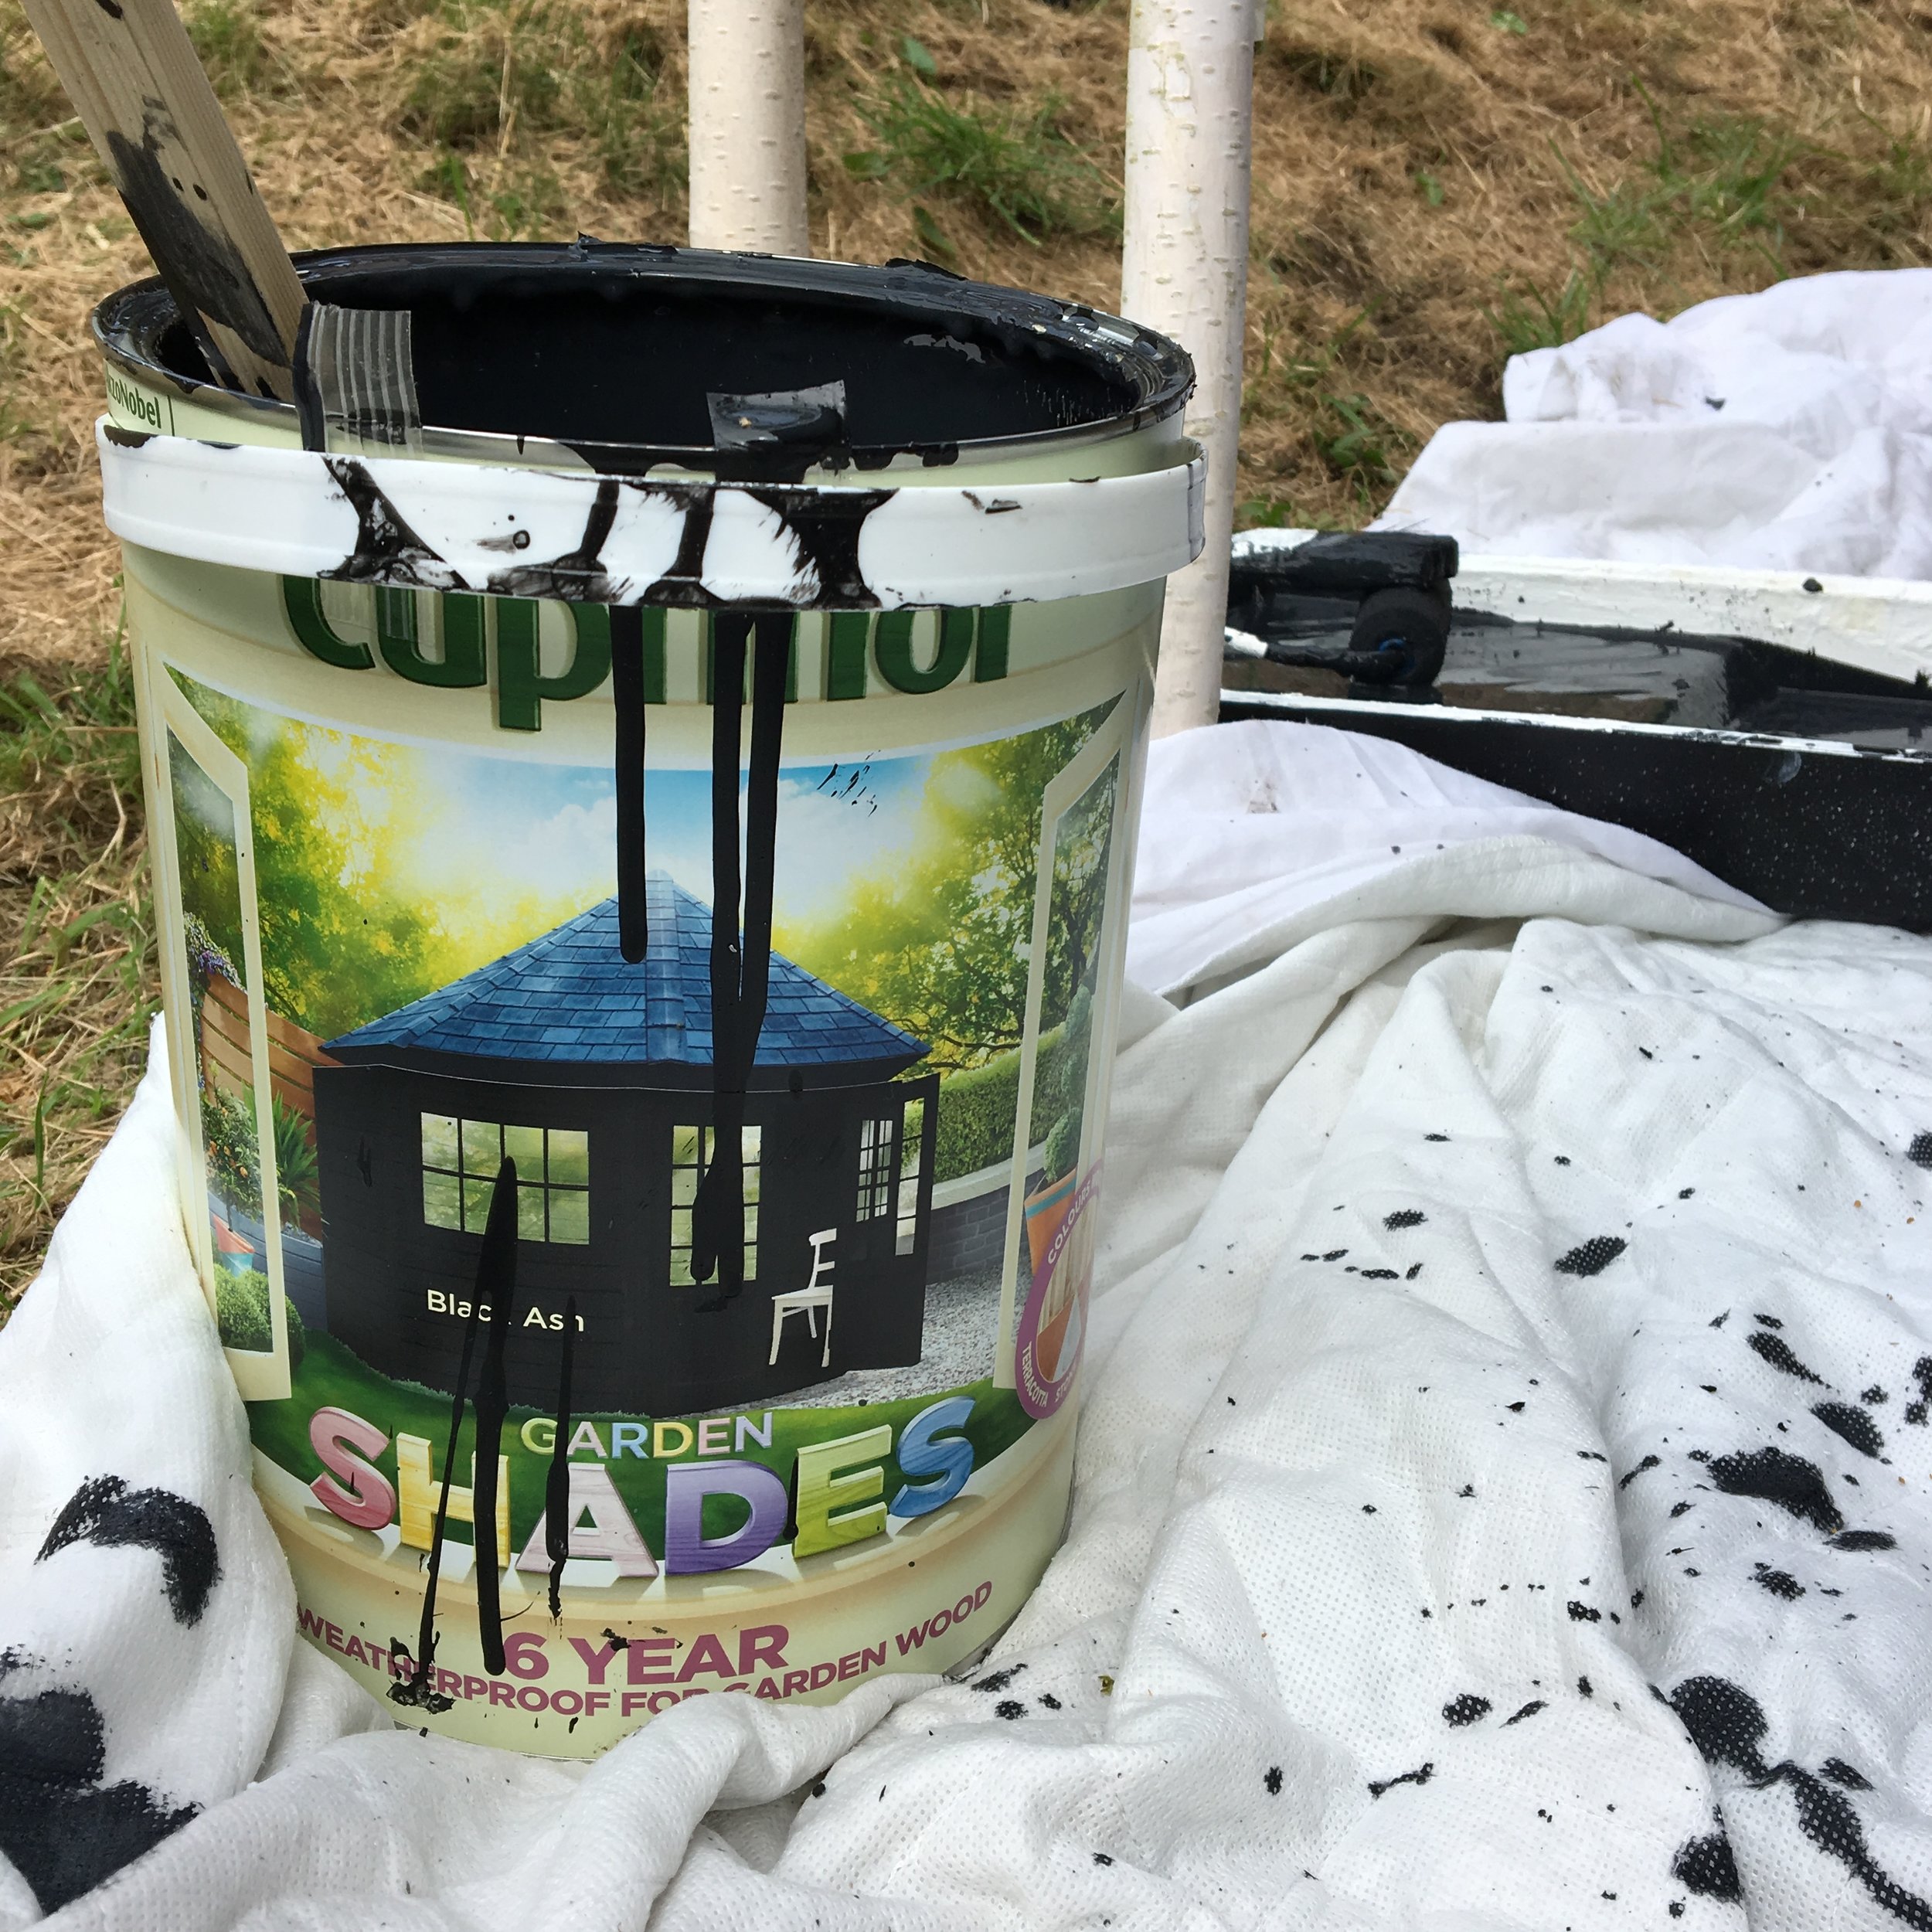
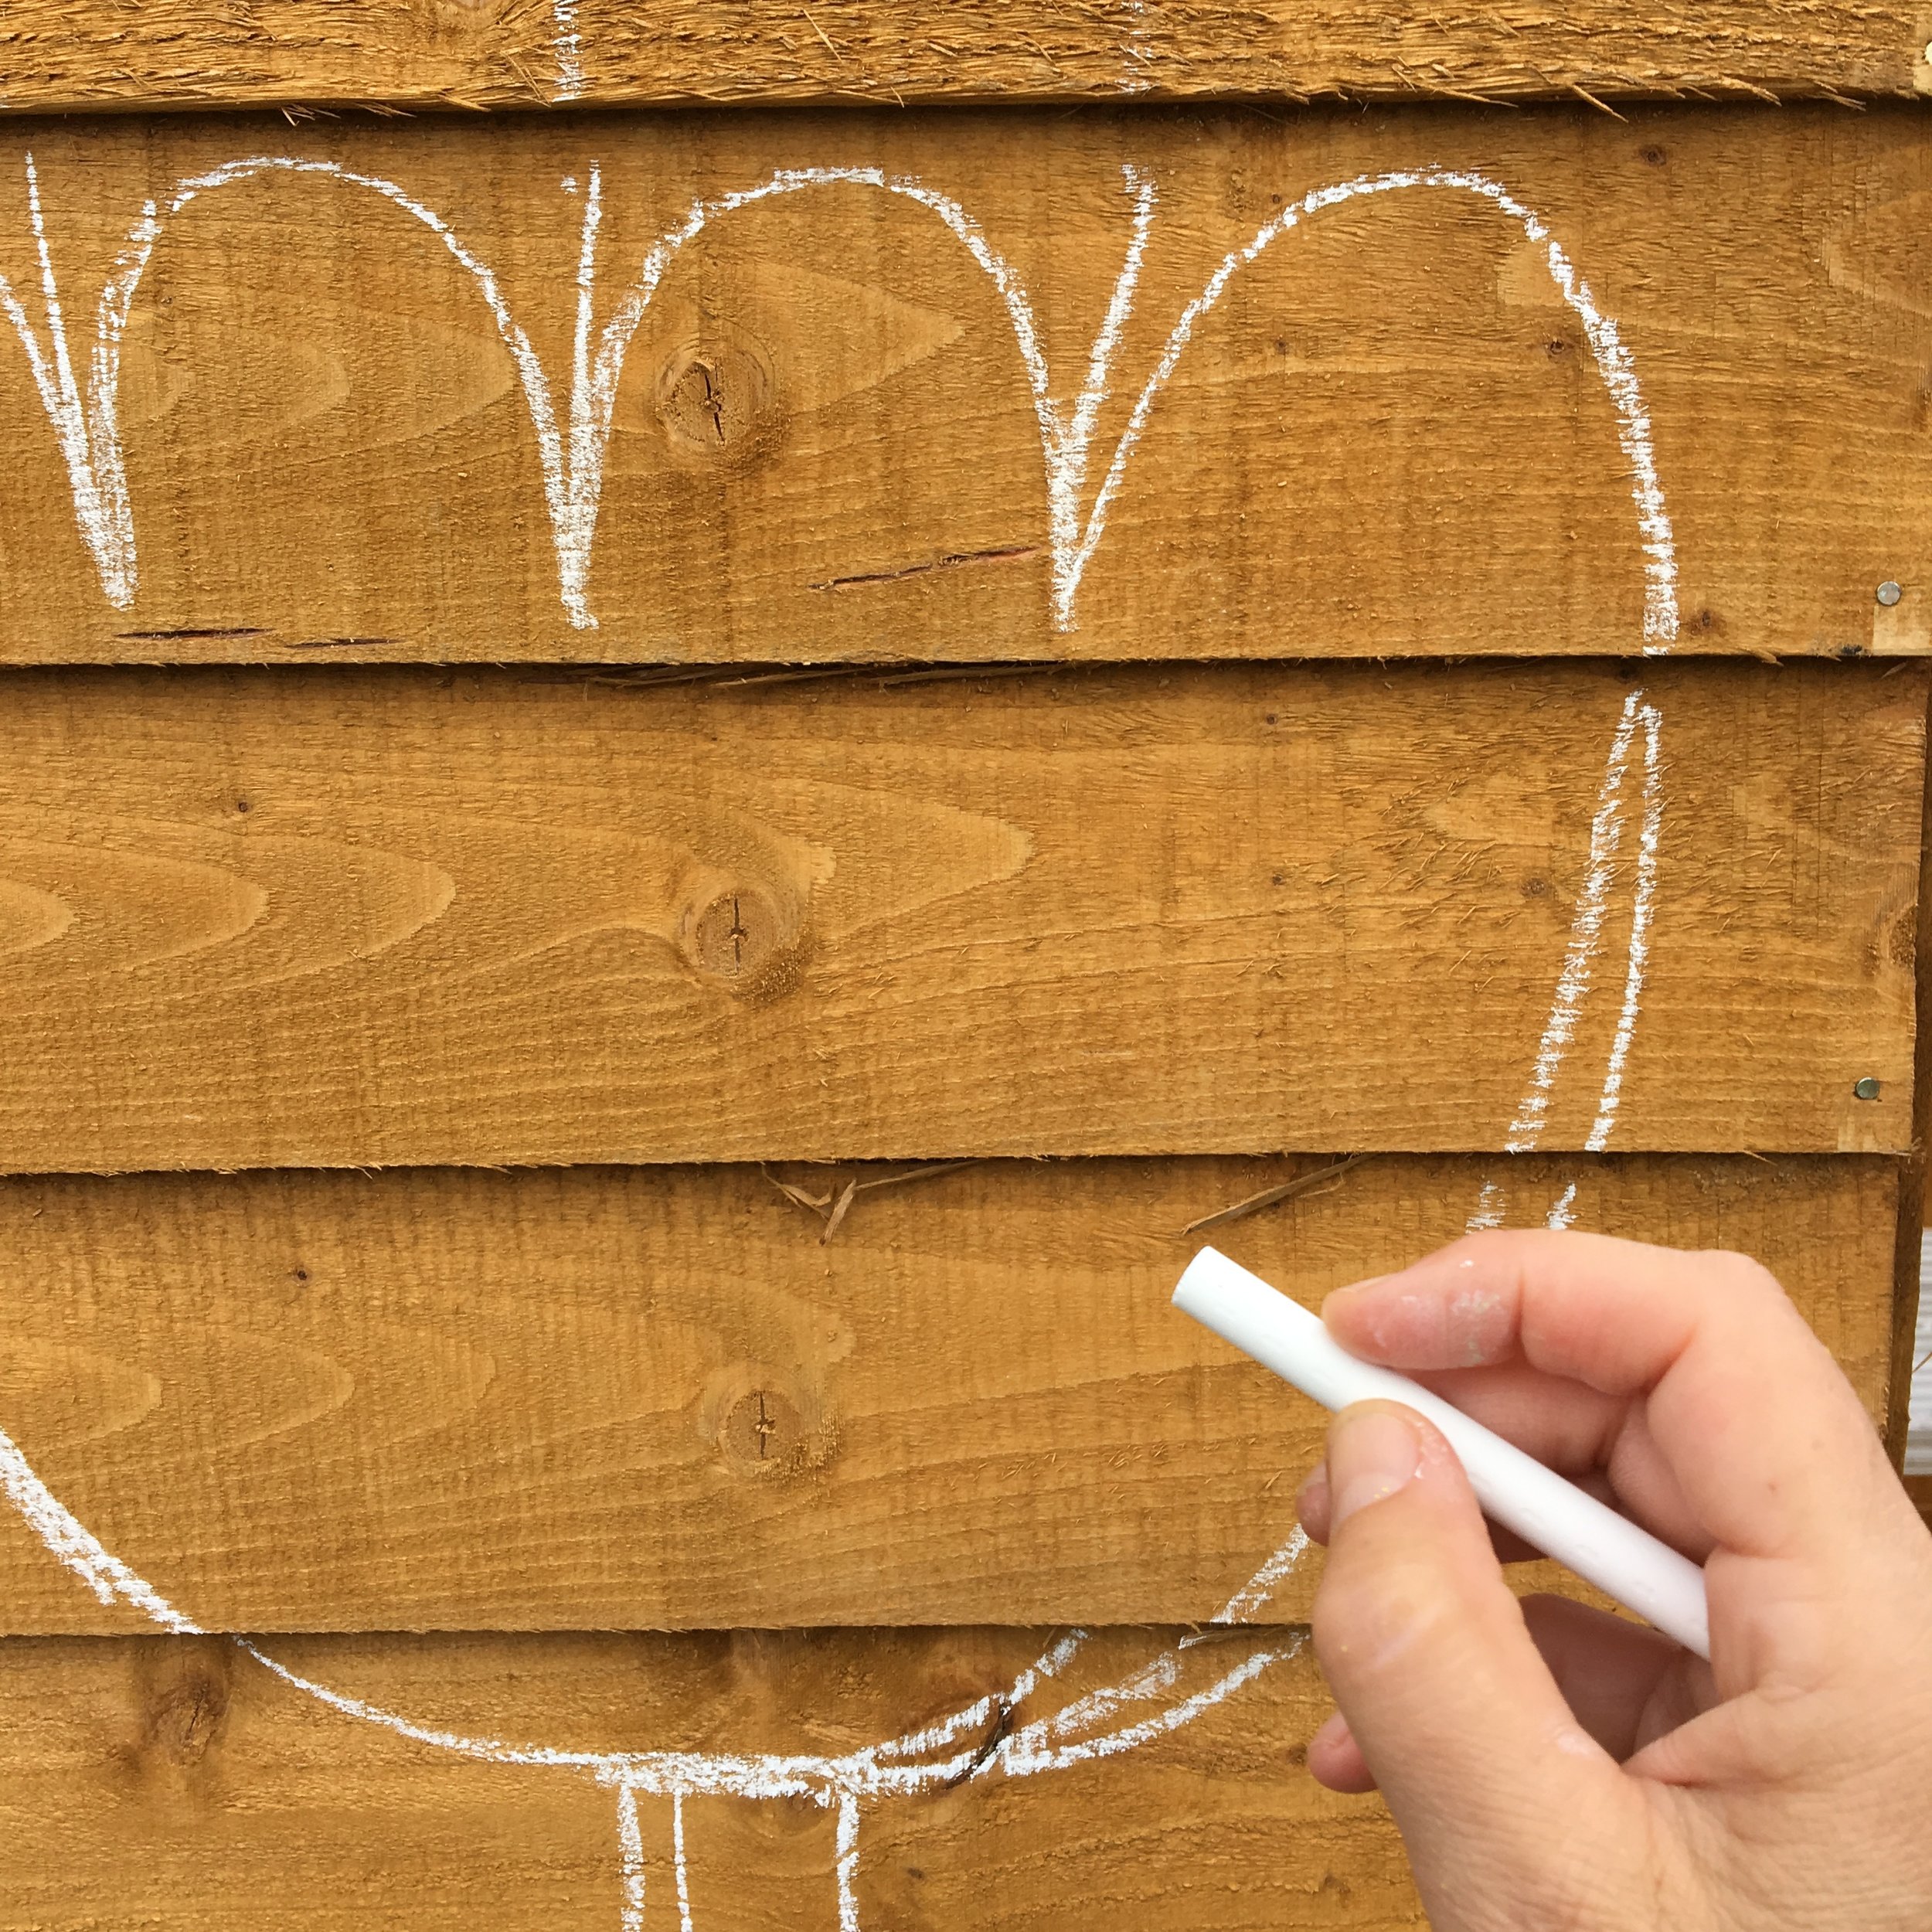
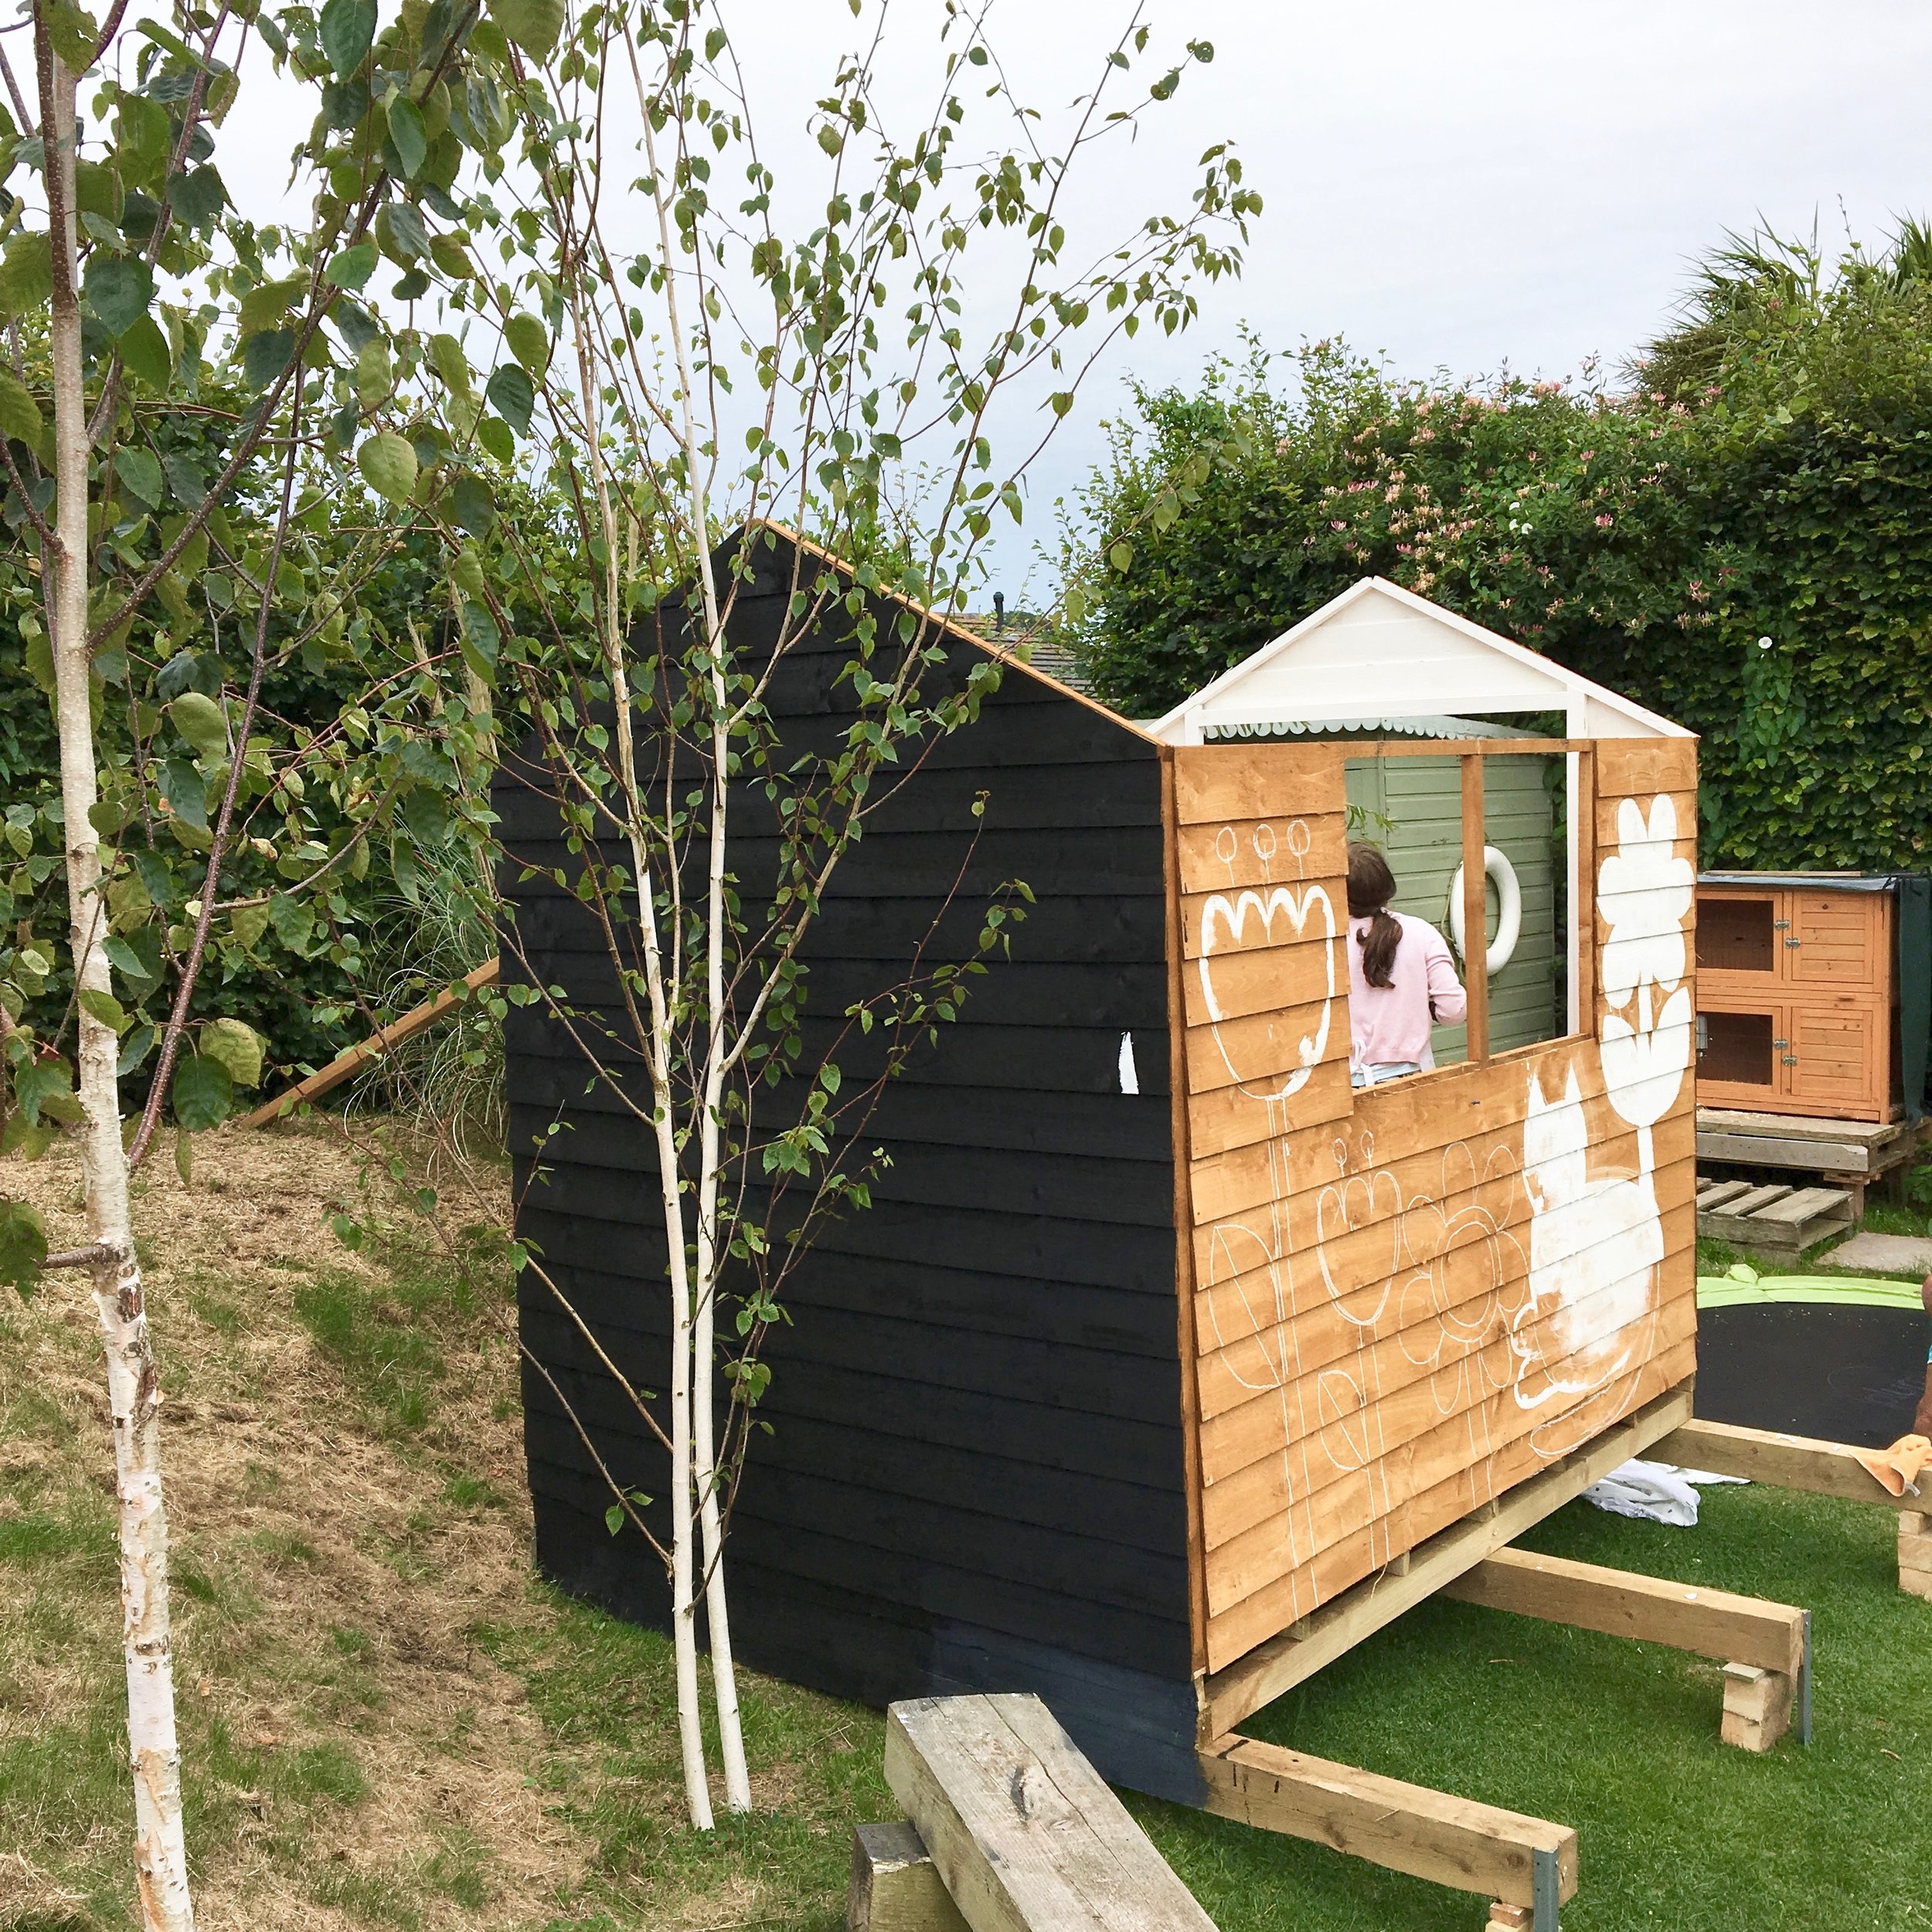
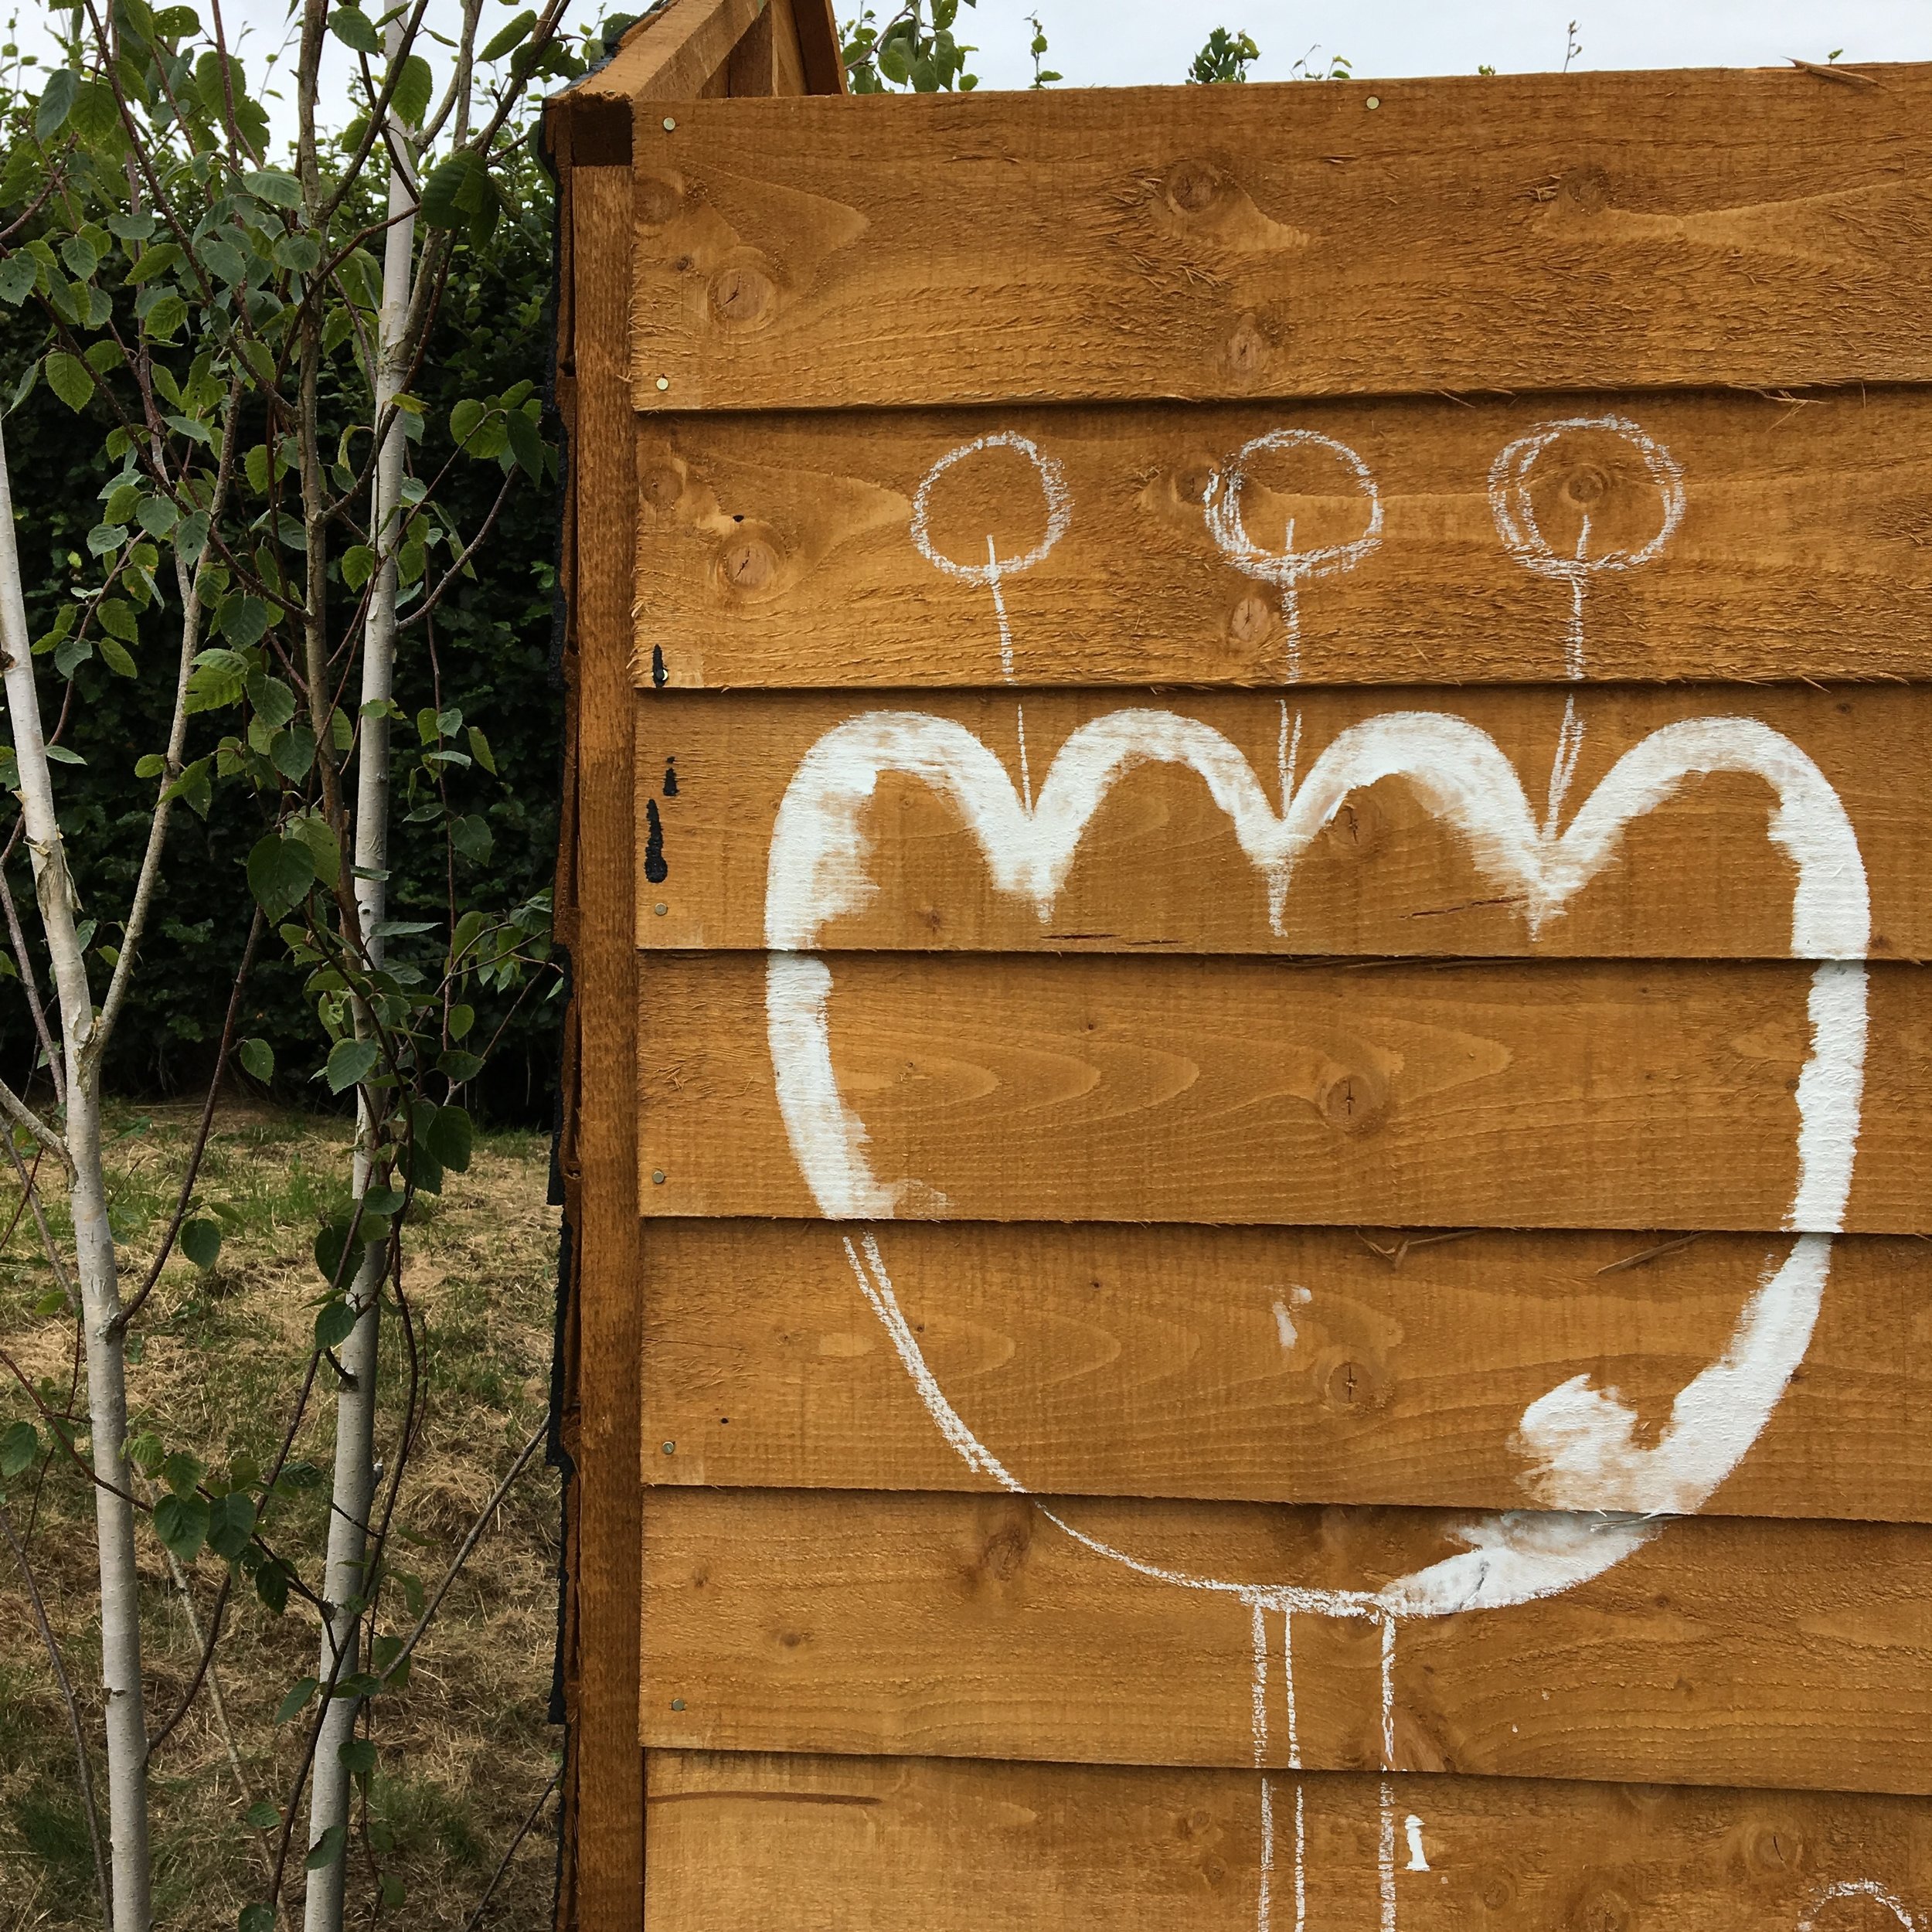
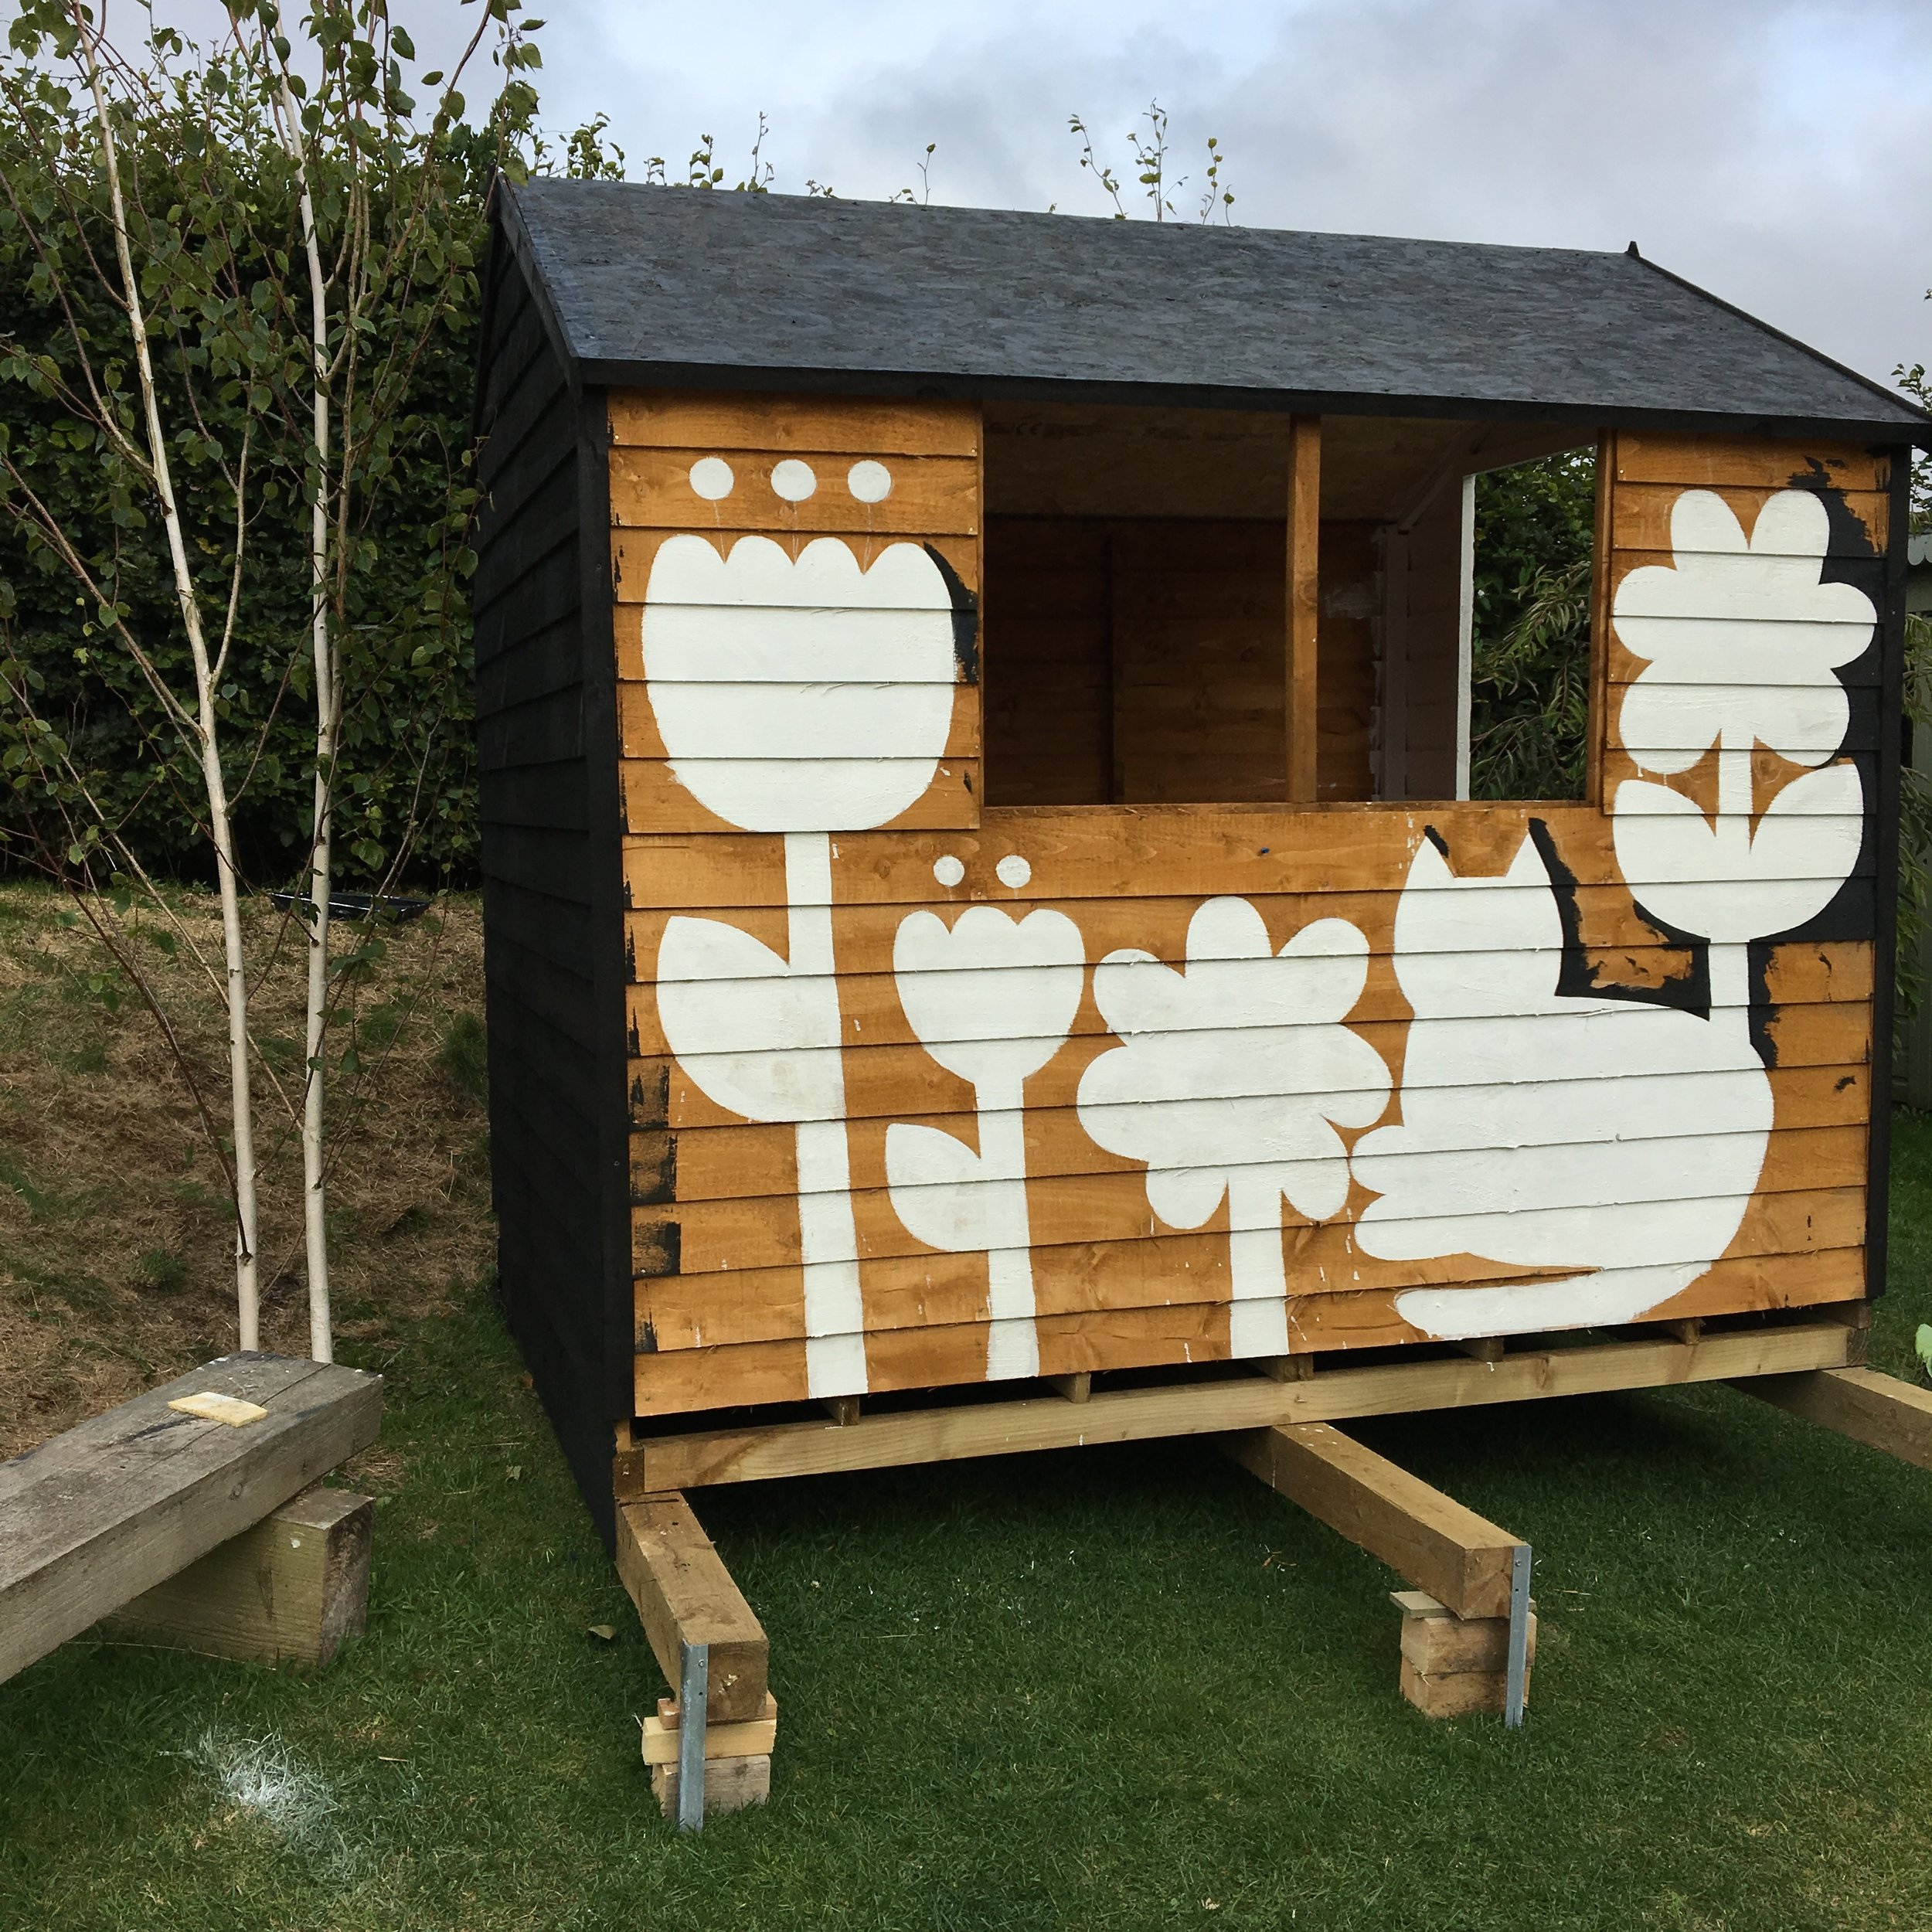
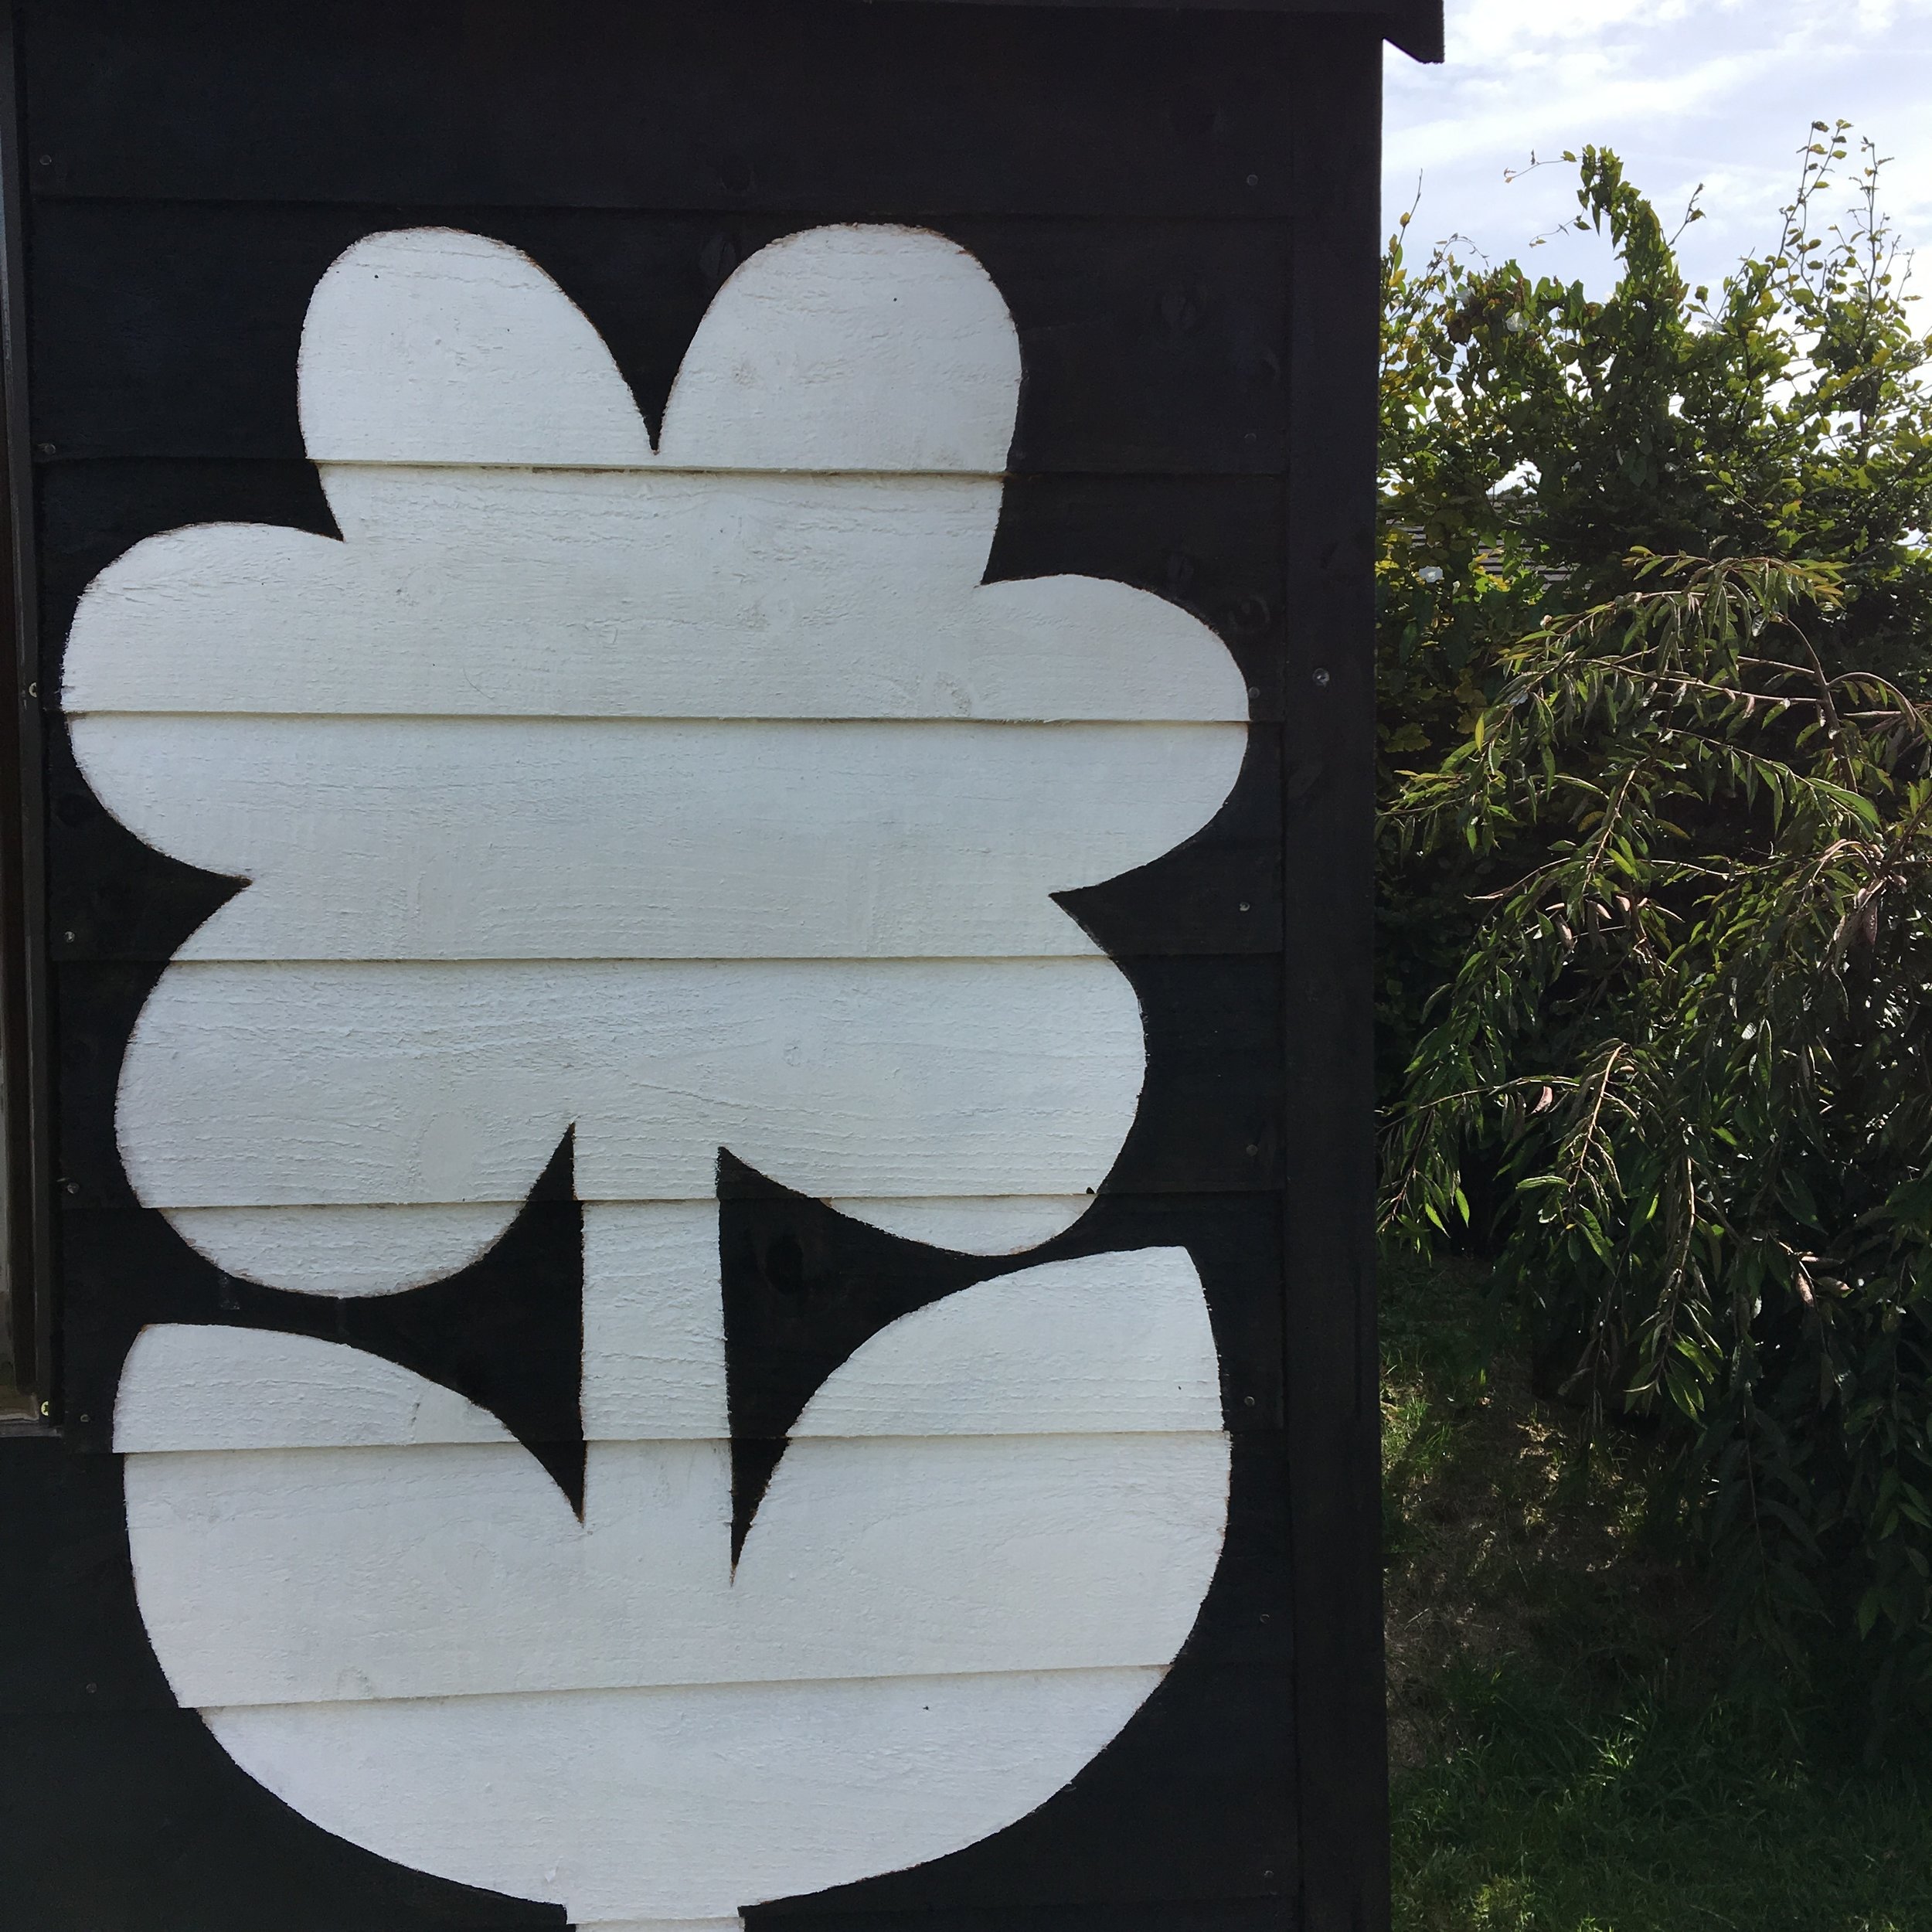
I started working on my illustrations before the roof went on and my daughter started to paint the back of the shed black with a tin of black Cuprinol paint provided called Black Ash from the Cuprinol Garden Shades range.I used some white chalk to sketch the outlines of my flowers and cat, making sure I kept stepping back and checking the design from a distance in case I wasn't happy with it. This has been the first time I've take on a project such as this - the last time I painted a design onto a vertical surface was when I was a teenager and my parents let me paint a mural on my bedroom wall!

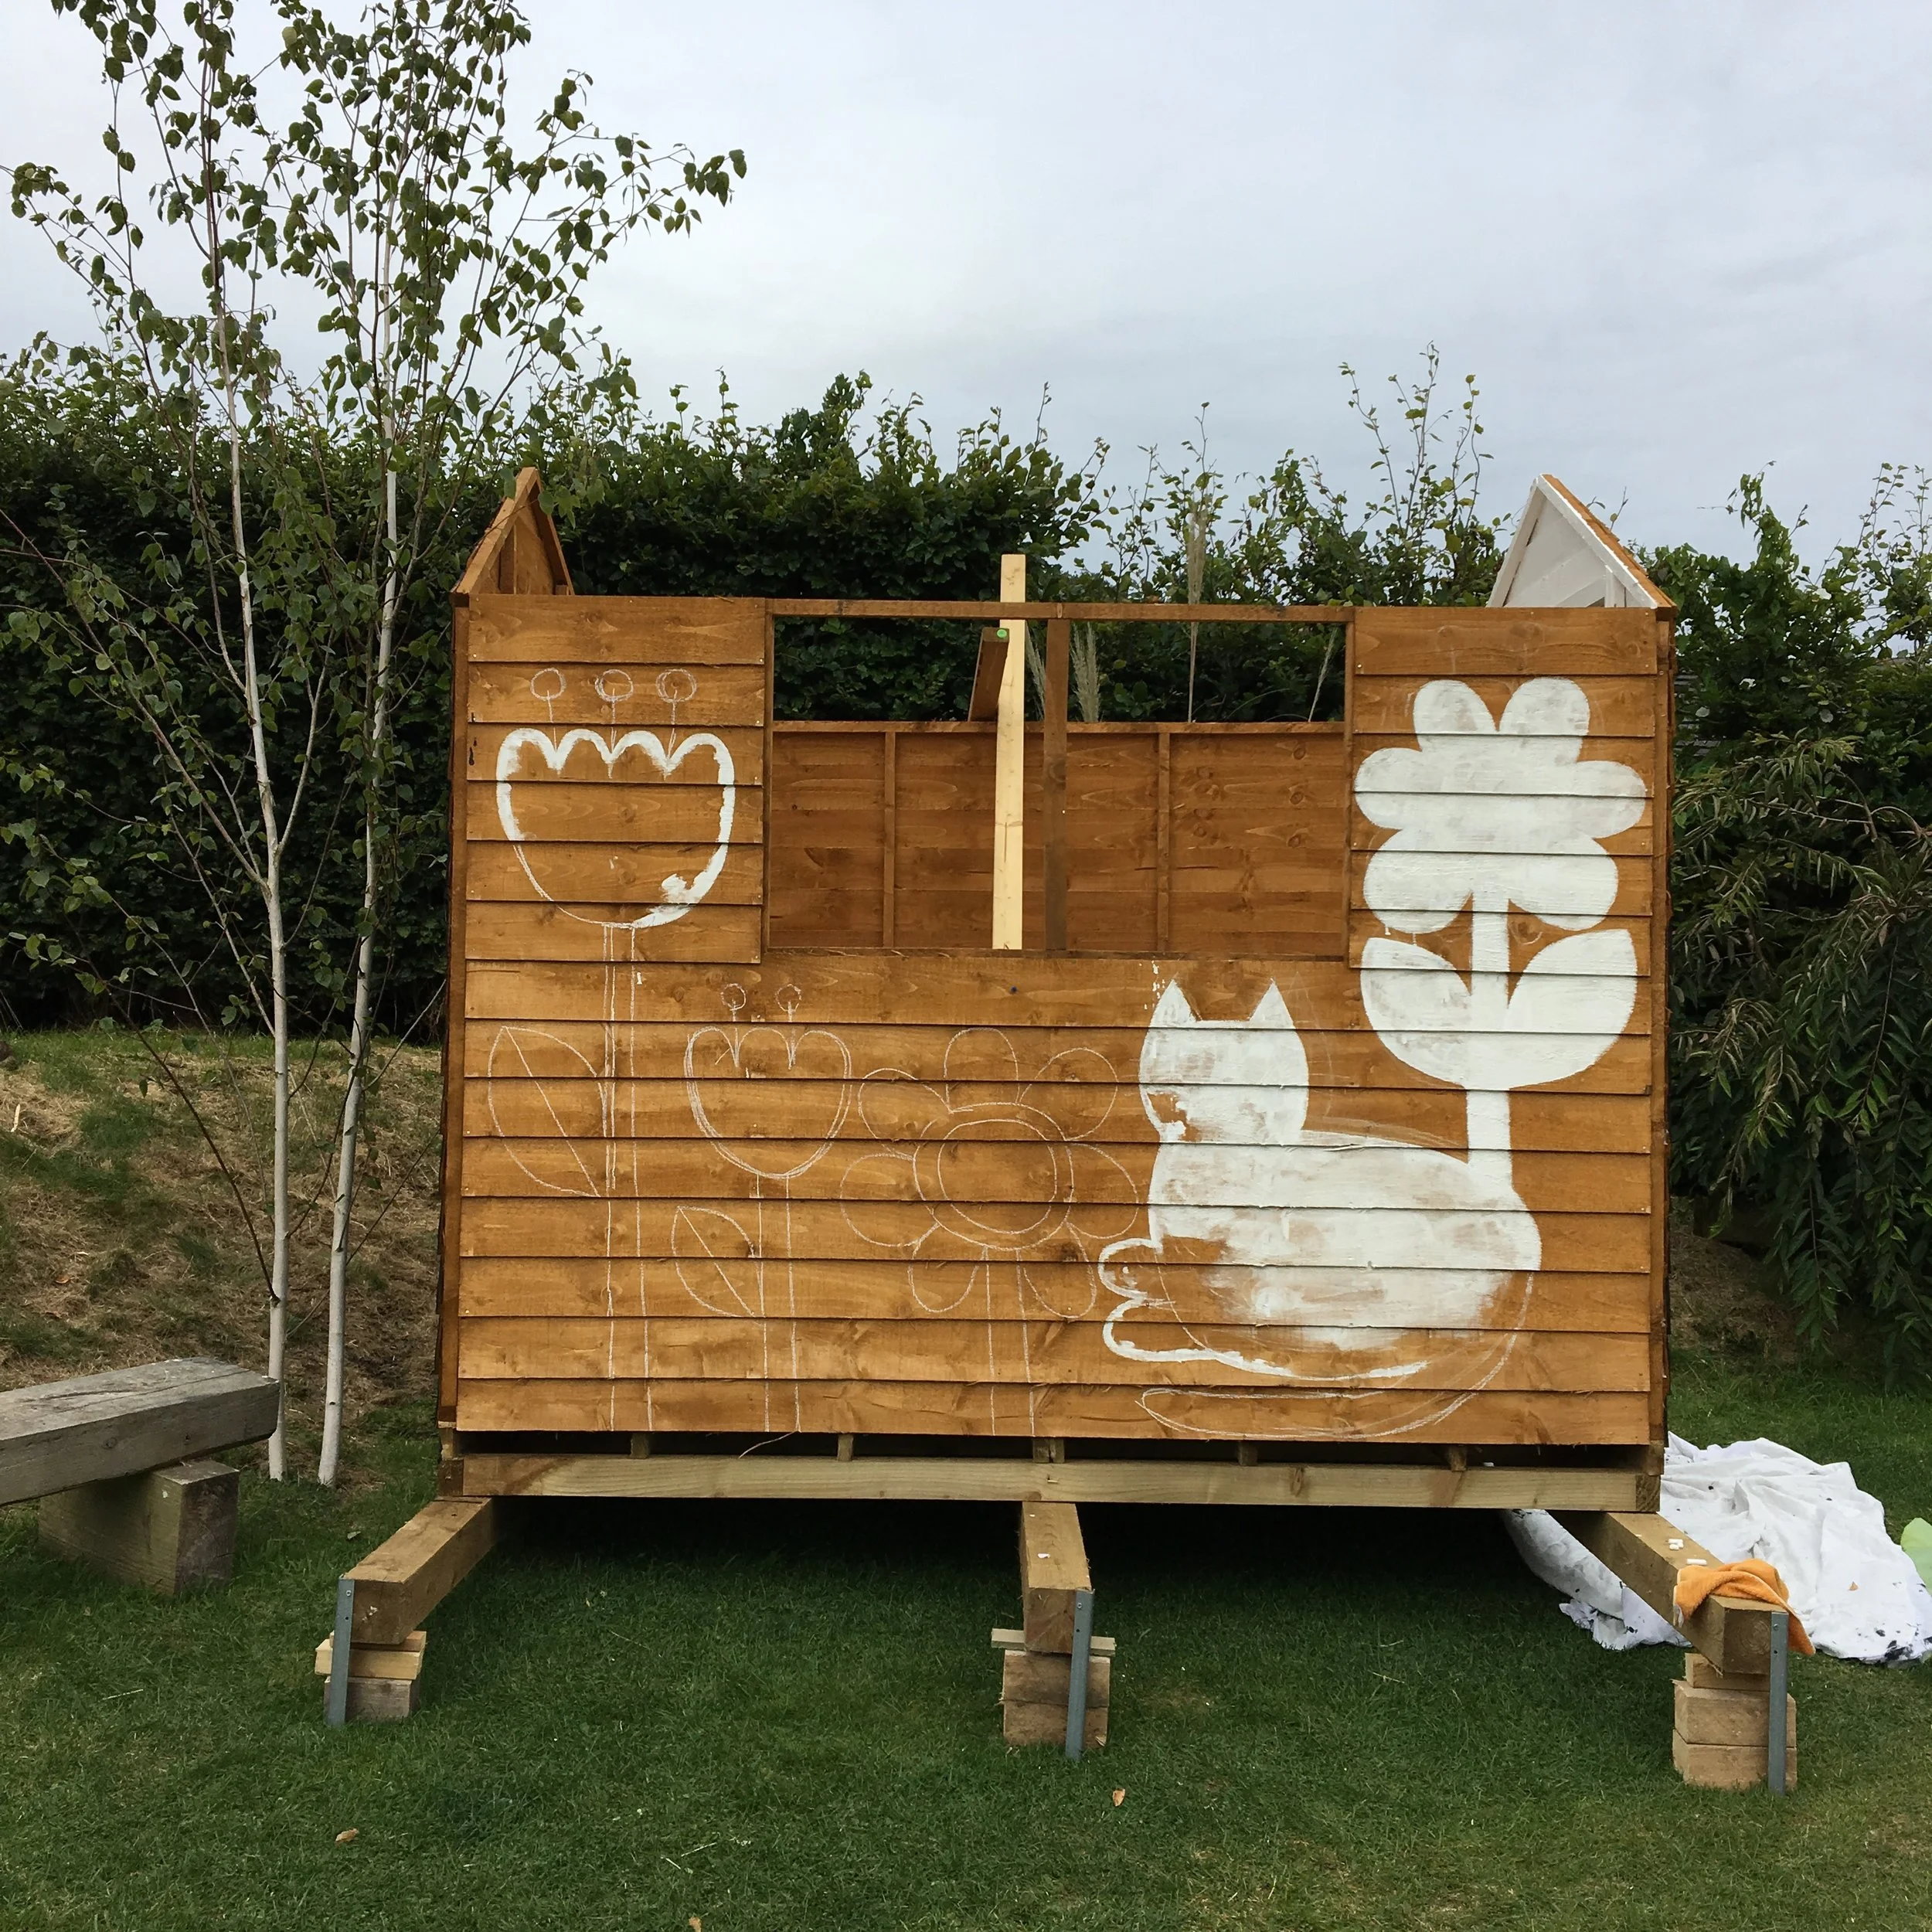
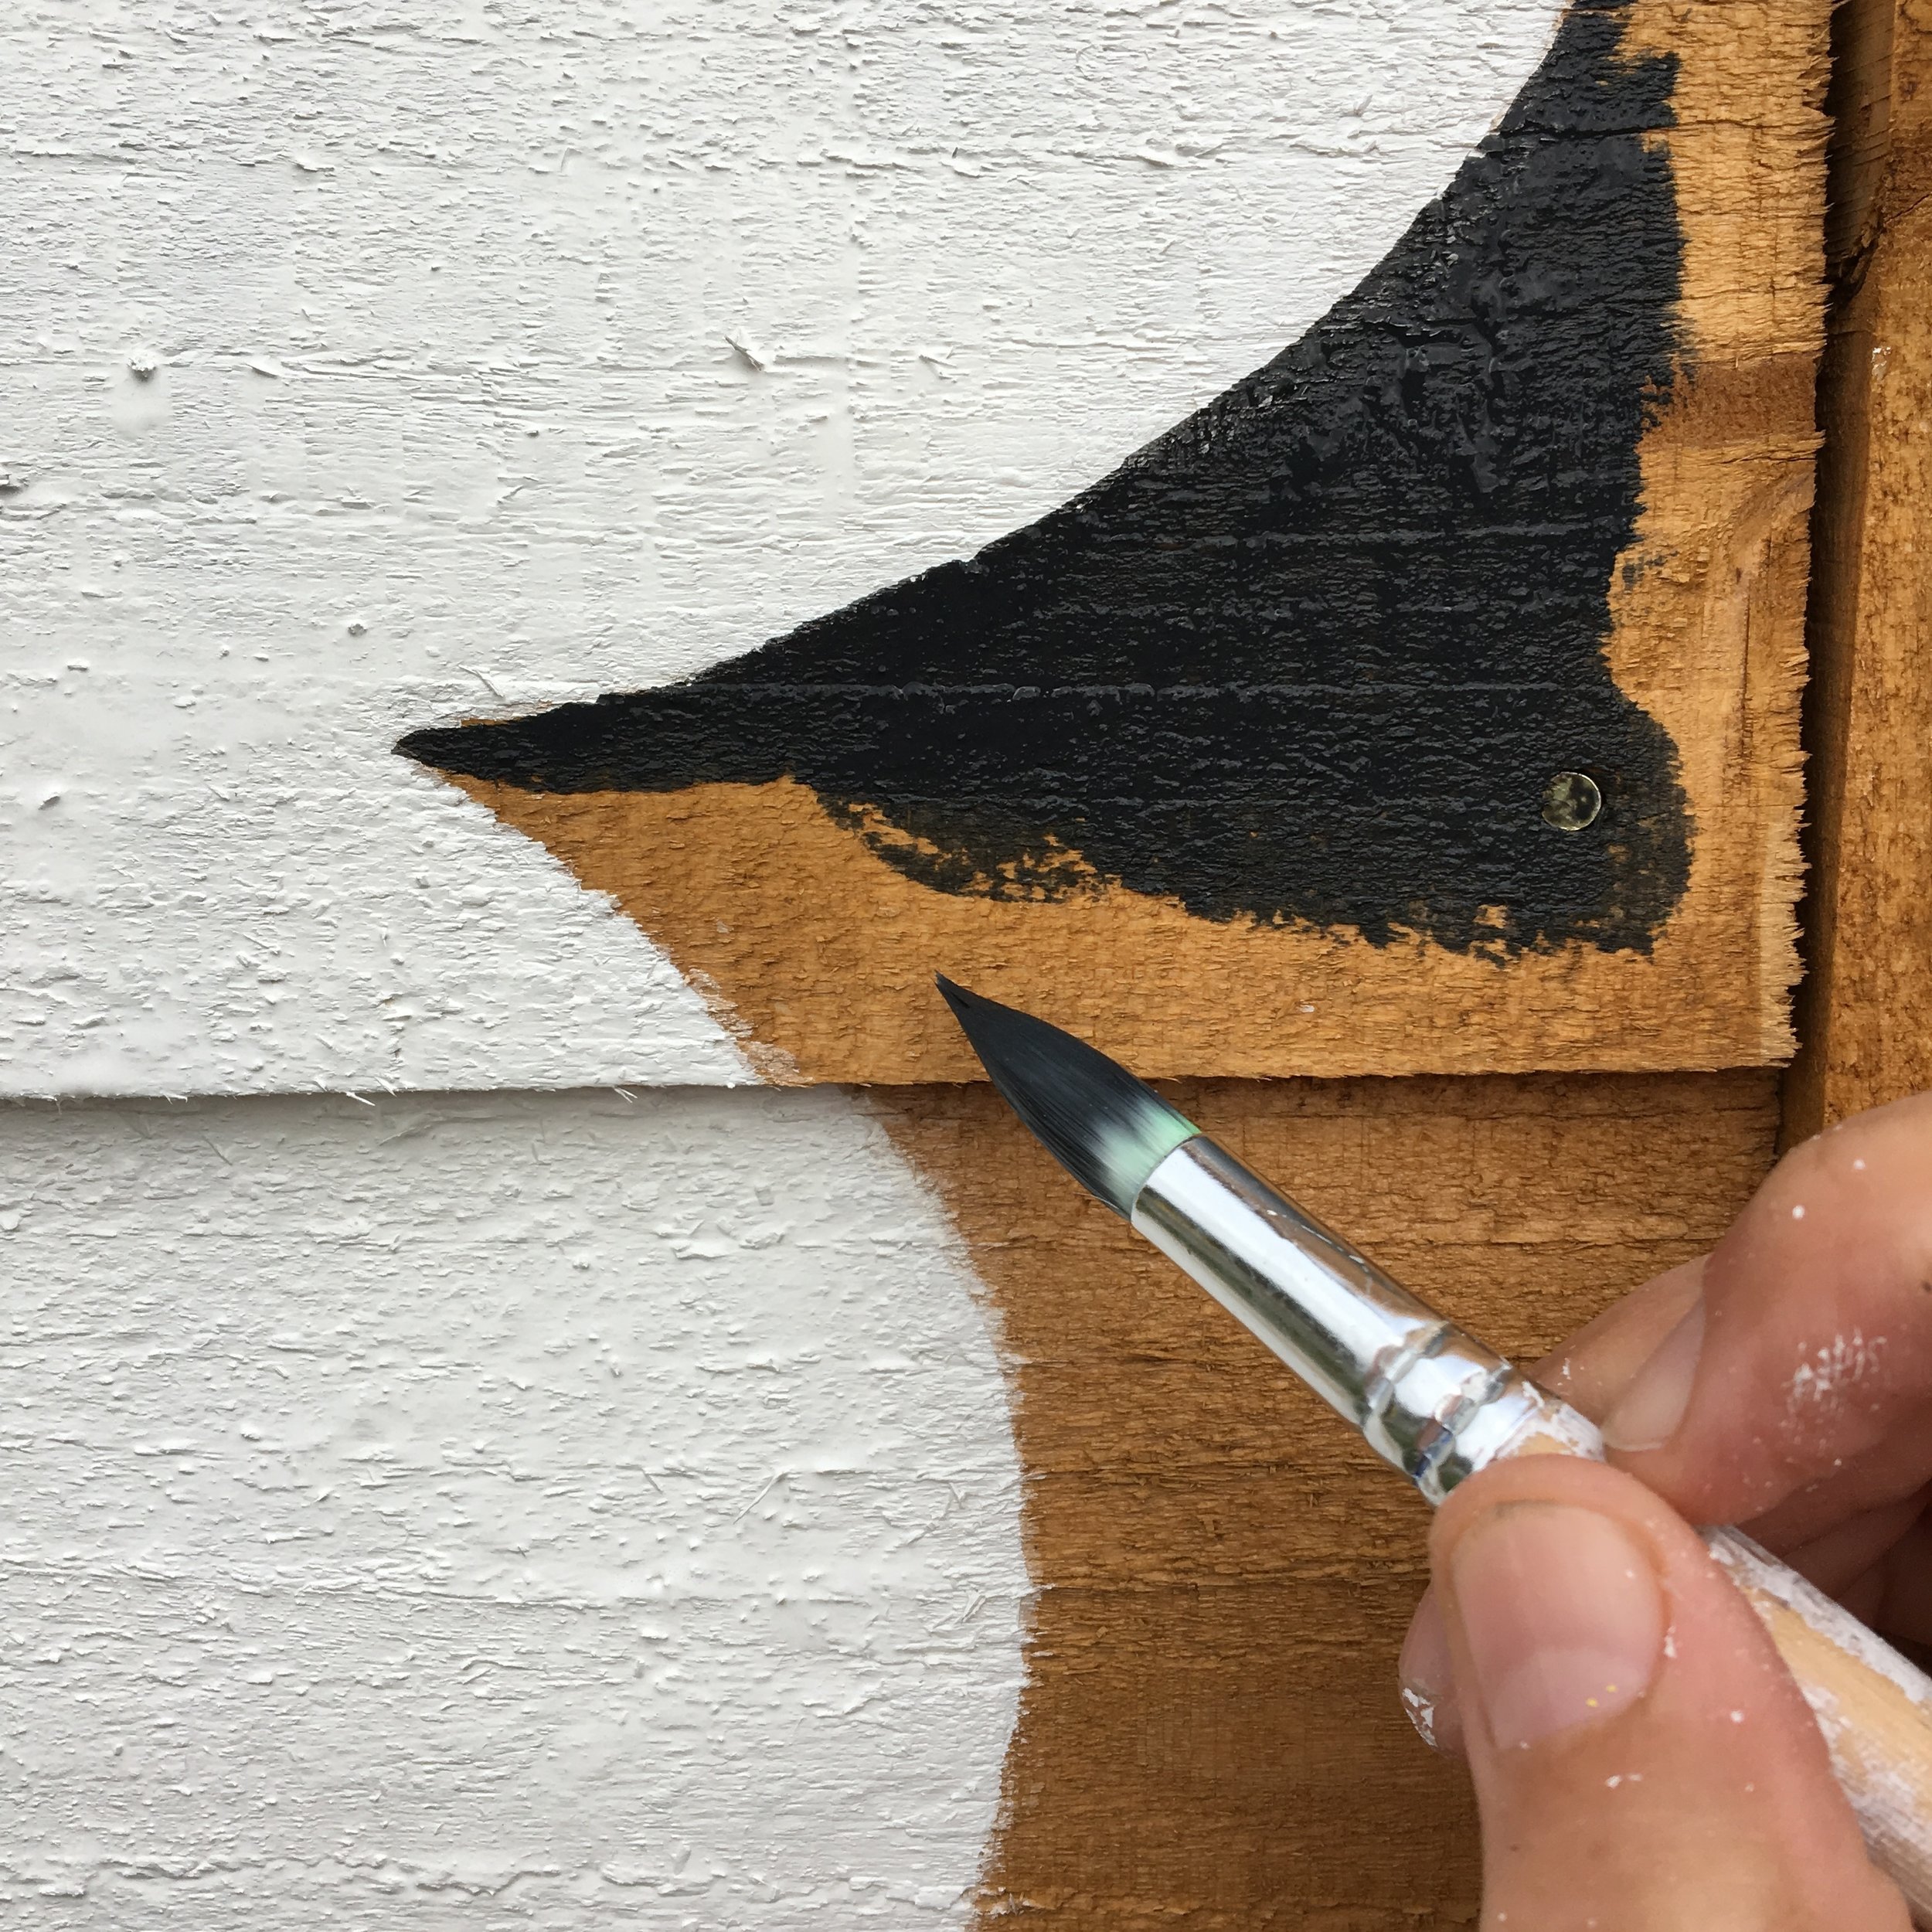
After I'd sketched my designs onto the side of the shed, I began the task of painting the cat and flower shapes with the white Cuprinol paint provided called White Daisy, also from the Cuprinol Garden Shades Range.I used a fine brush for the outlines as the wood wasn't very smooth and I wanted to be really neat. I then used a wider brush to fill in the gaps.

Painting the flower shape using Cuprinol's White Daisy shade of paint

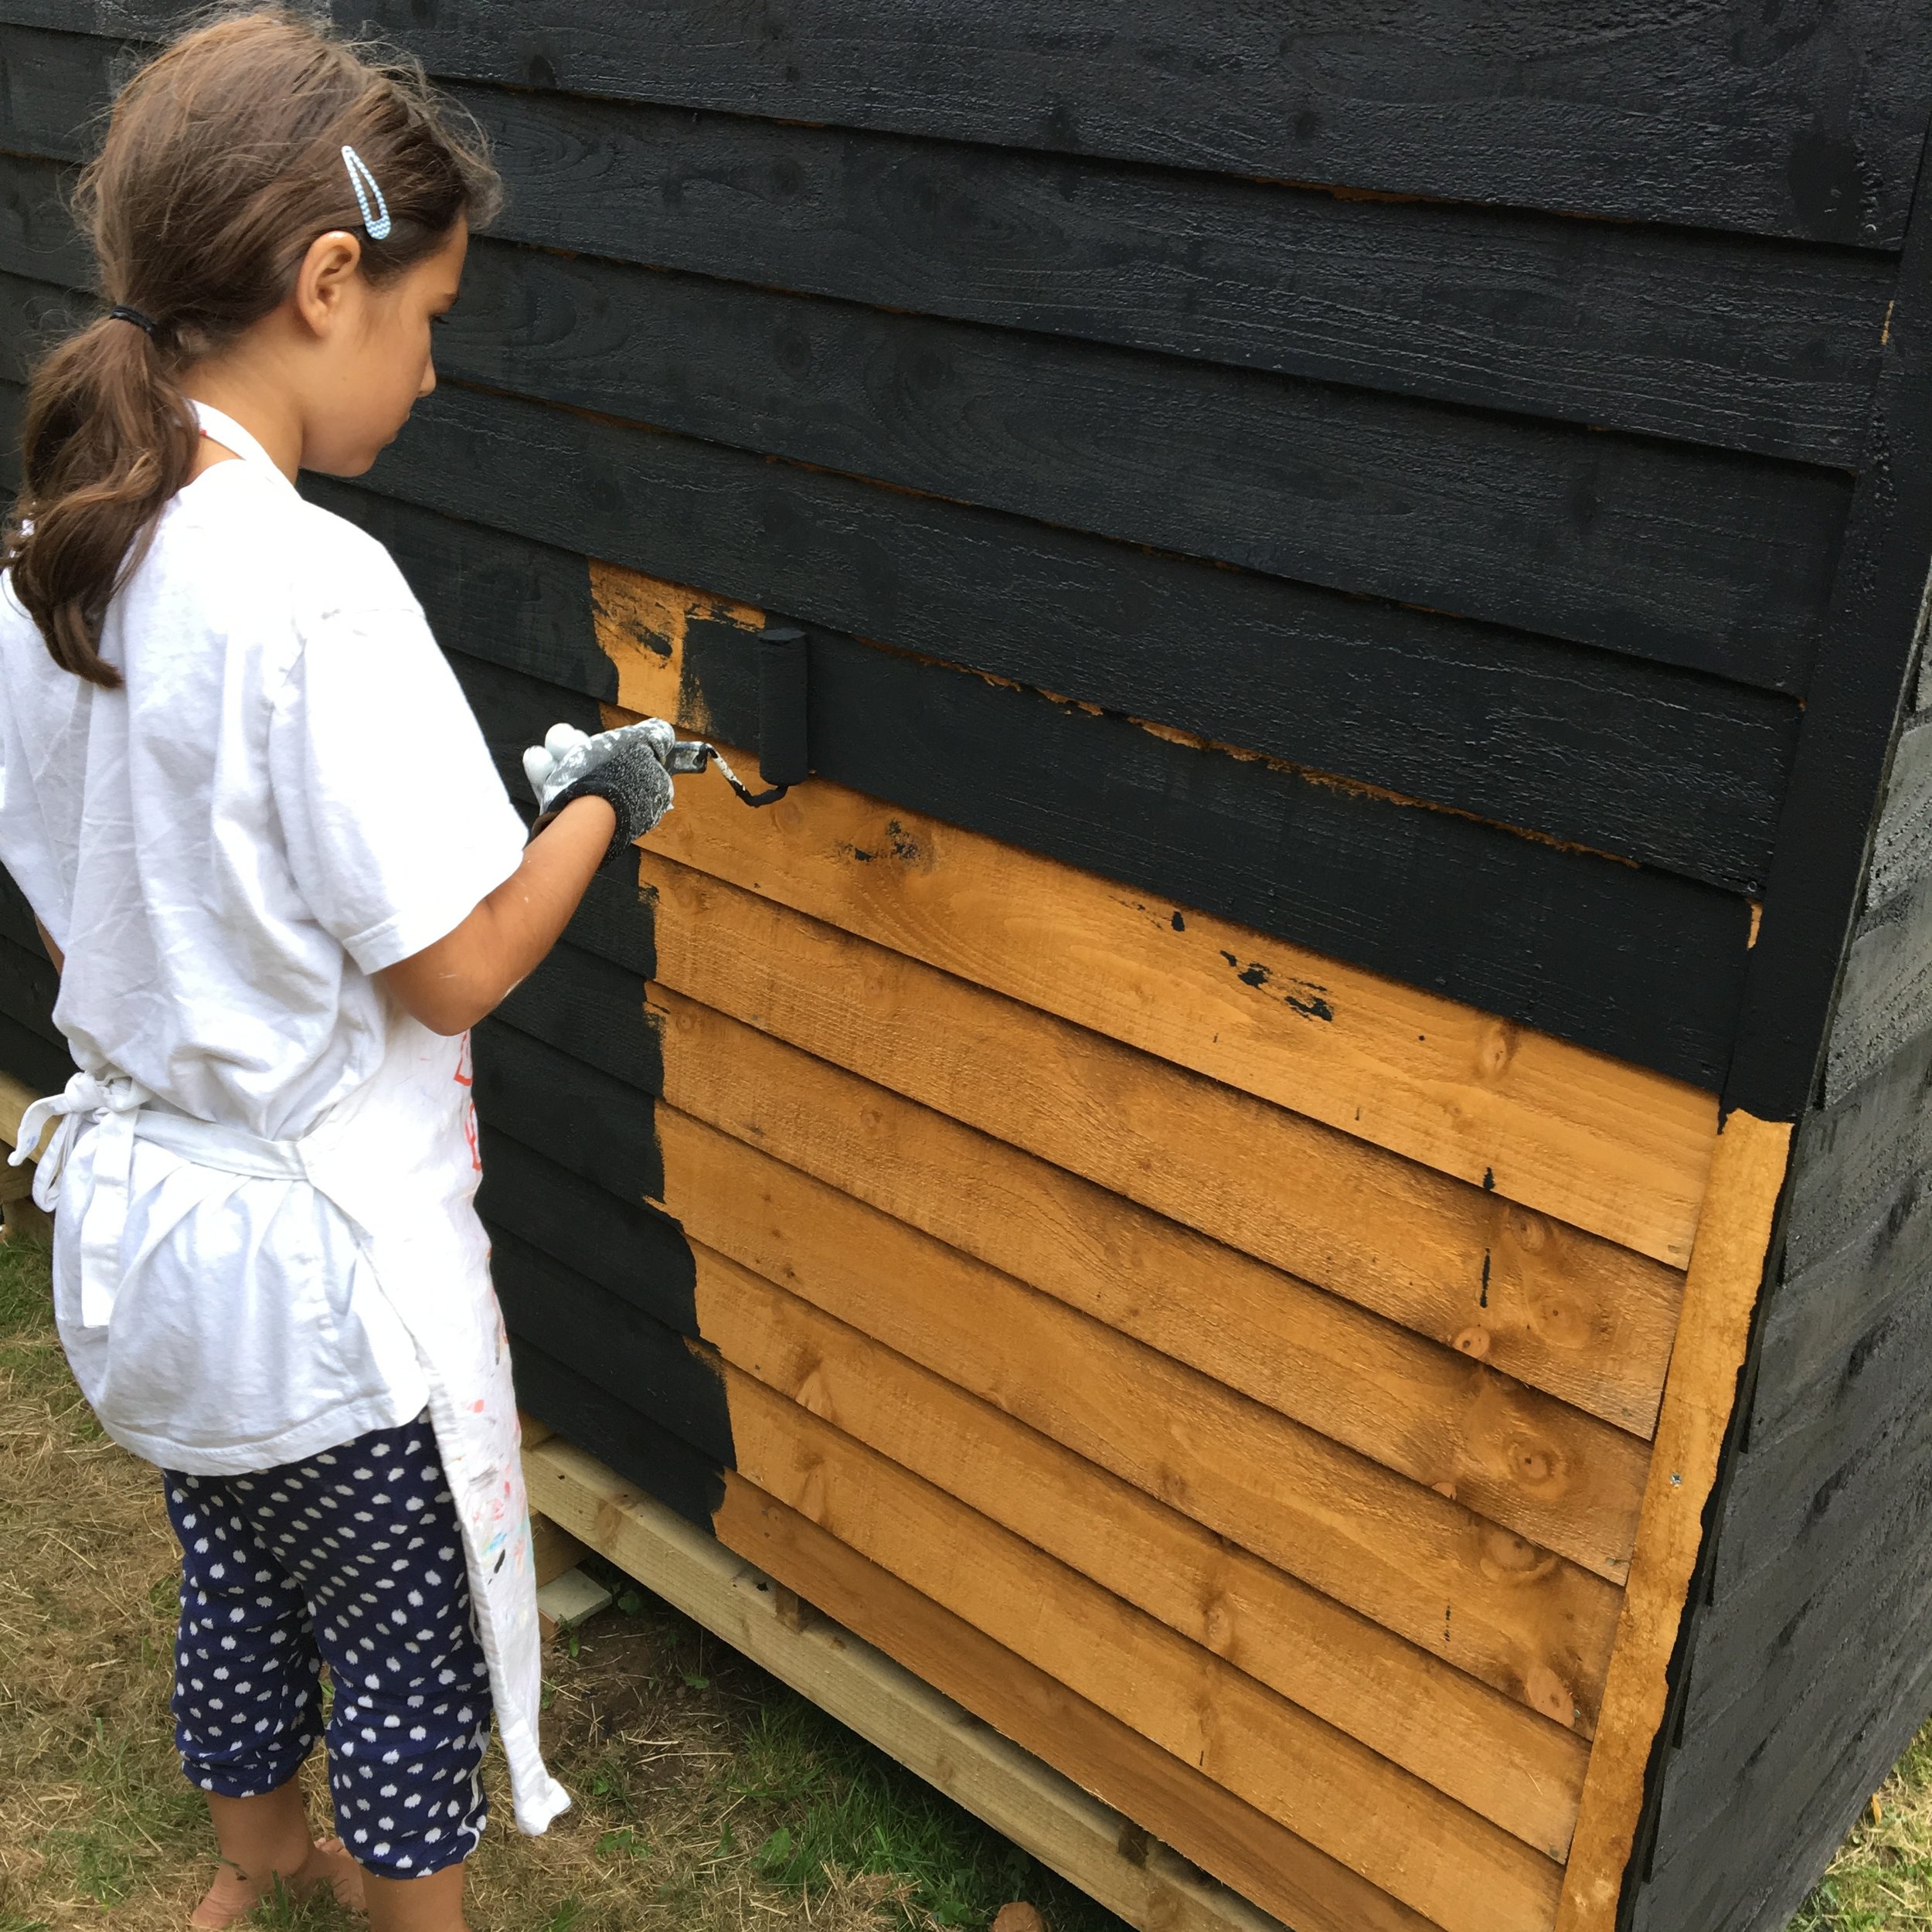
The roof and the doors went on whilst I continued to paint my designs and our daughter painted the back of the shed with a roller. I needed to paint two coats of White Daisy on the shed to create a bold white. I then hand painted around the white shapes with a thin brush before using a wider brush for the larger parts. Cuprinol recommends two coats of paint but I was happy with one coat of the Black Ash.

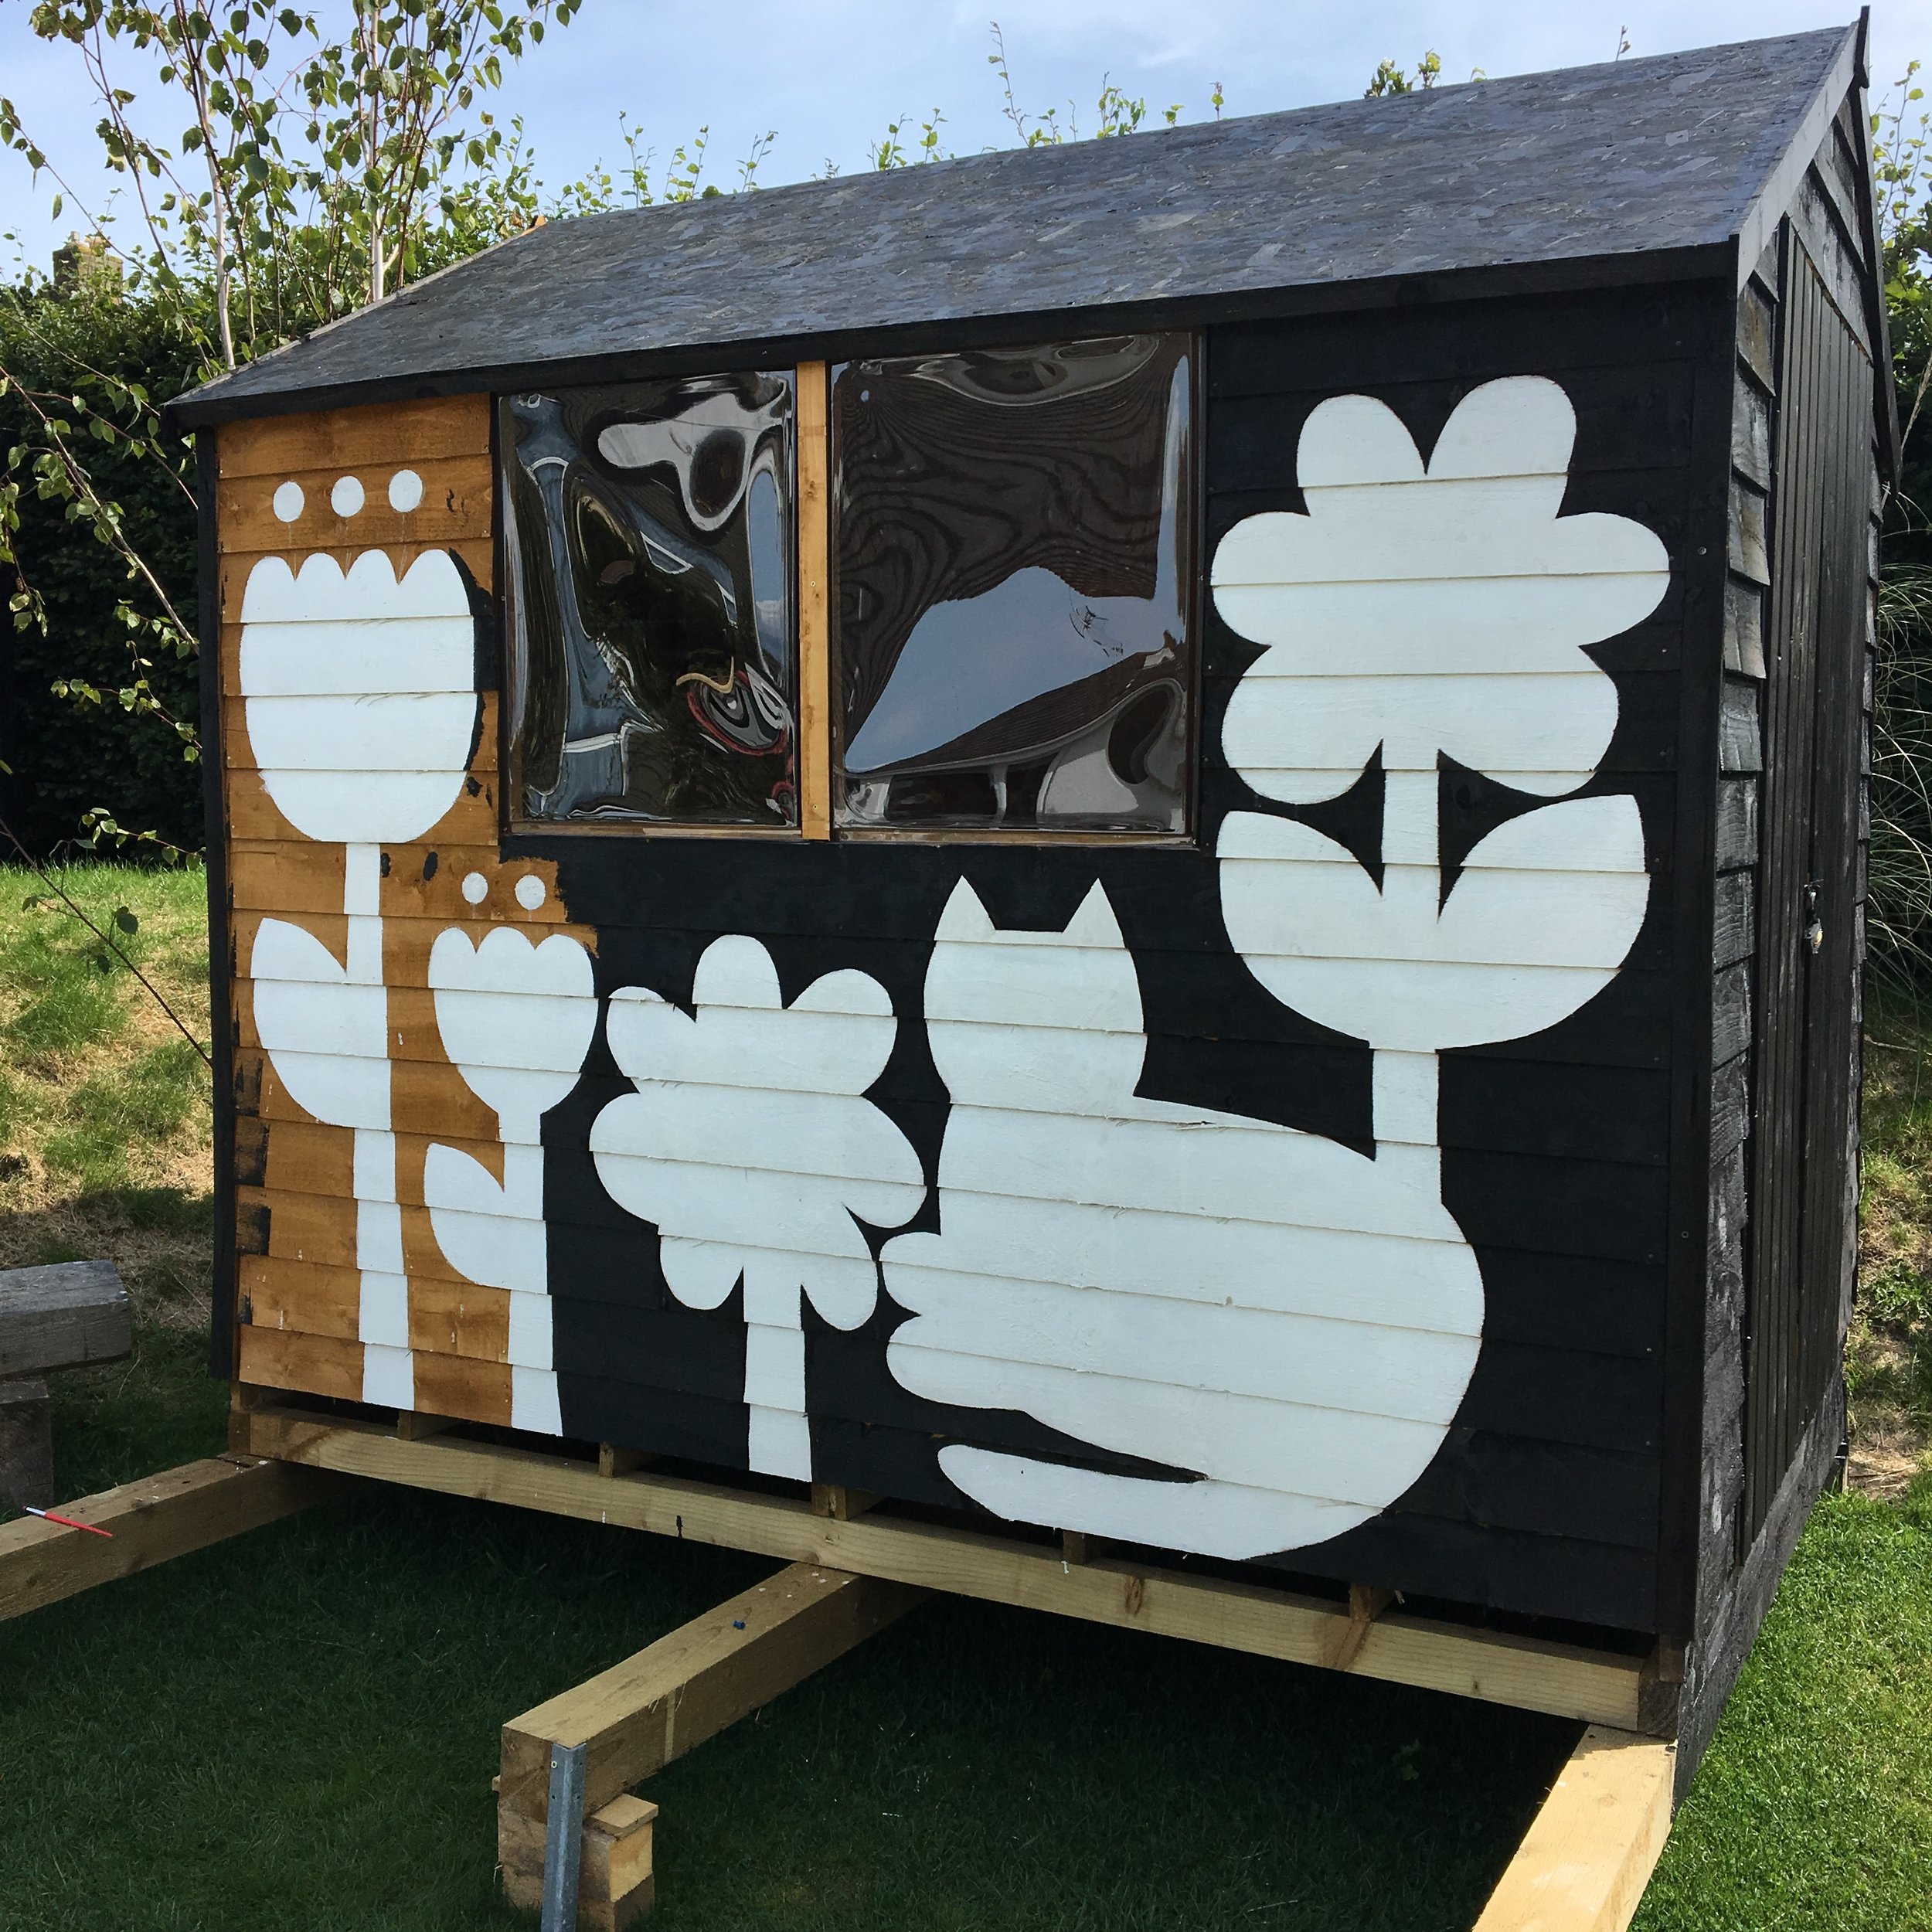
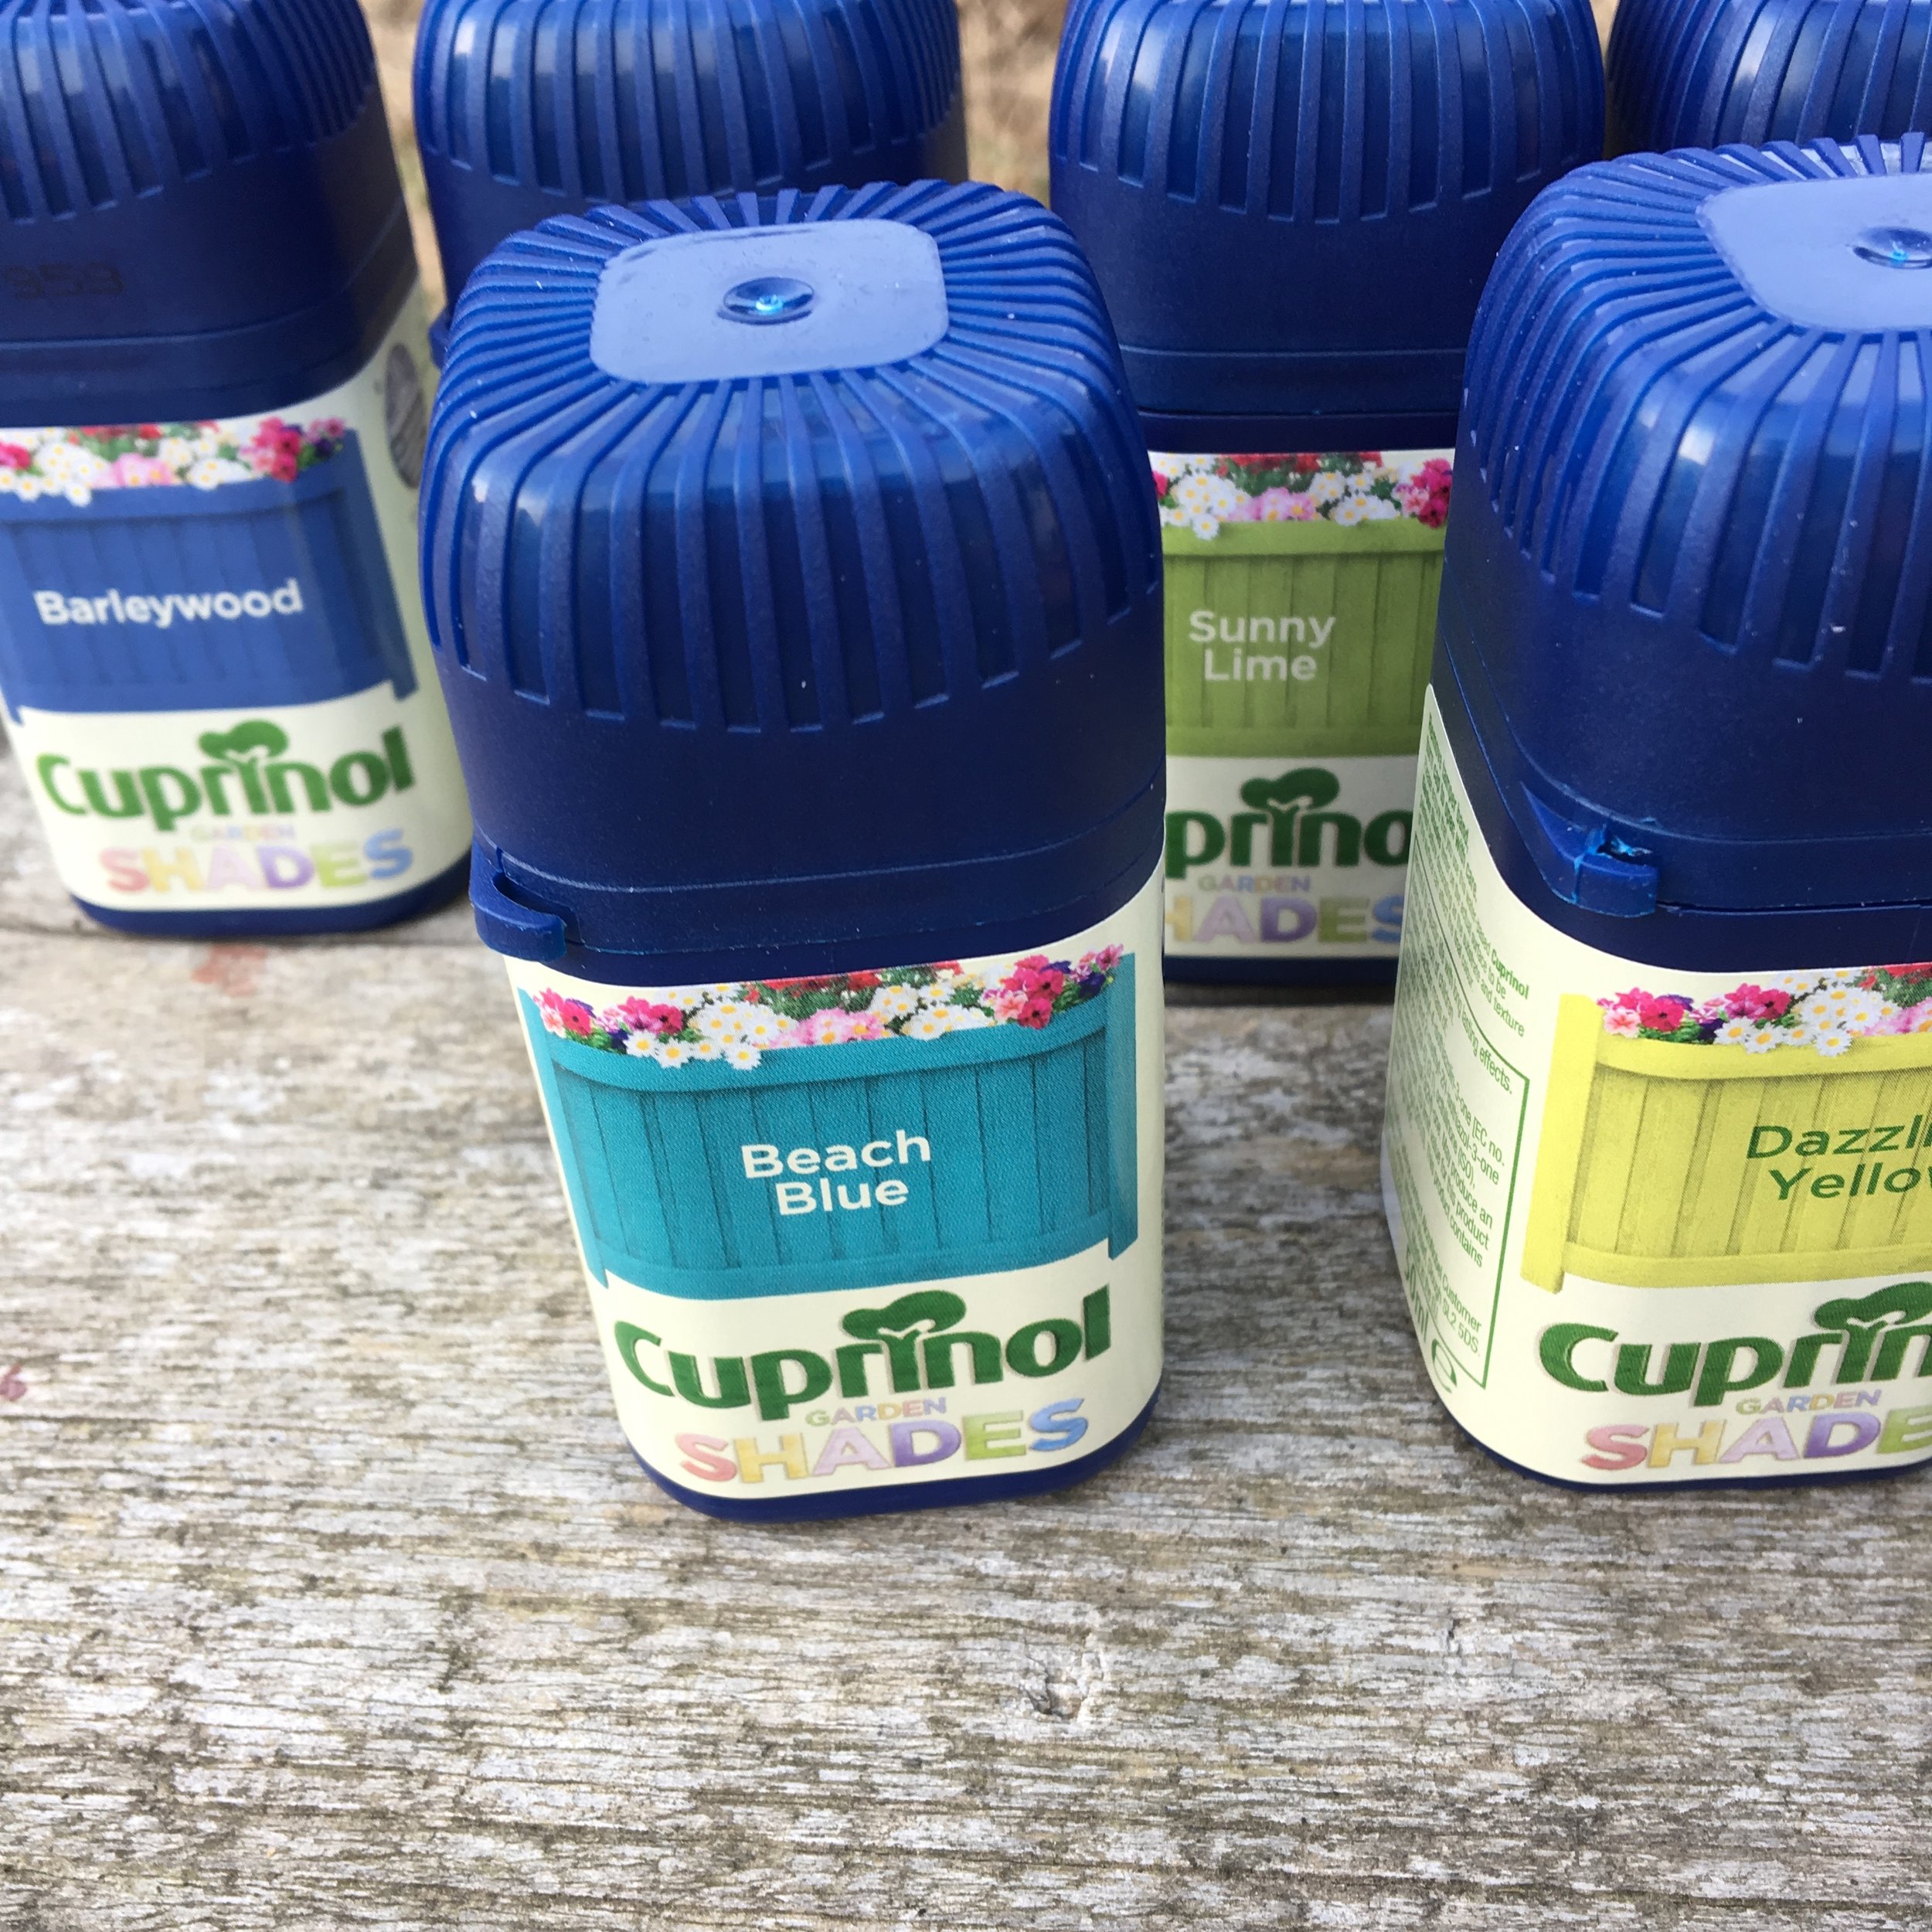
My next stage was to sketch the patterns on my white shapes with a pencil. (Again, the parts that were to be painted with a new colour needed to be primed first). The two other colours I chose to use from the Cuprinol Garden Shades range were Beach Blue and Dazzling Yellow. Cuprinol offer a very wide range of beautiful colours but I chose to limit my colour palette to four colours as this fits in with my Scandi aesthetic.

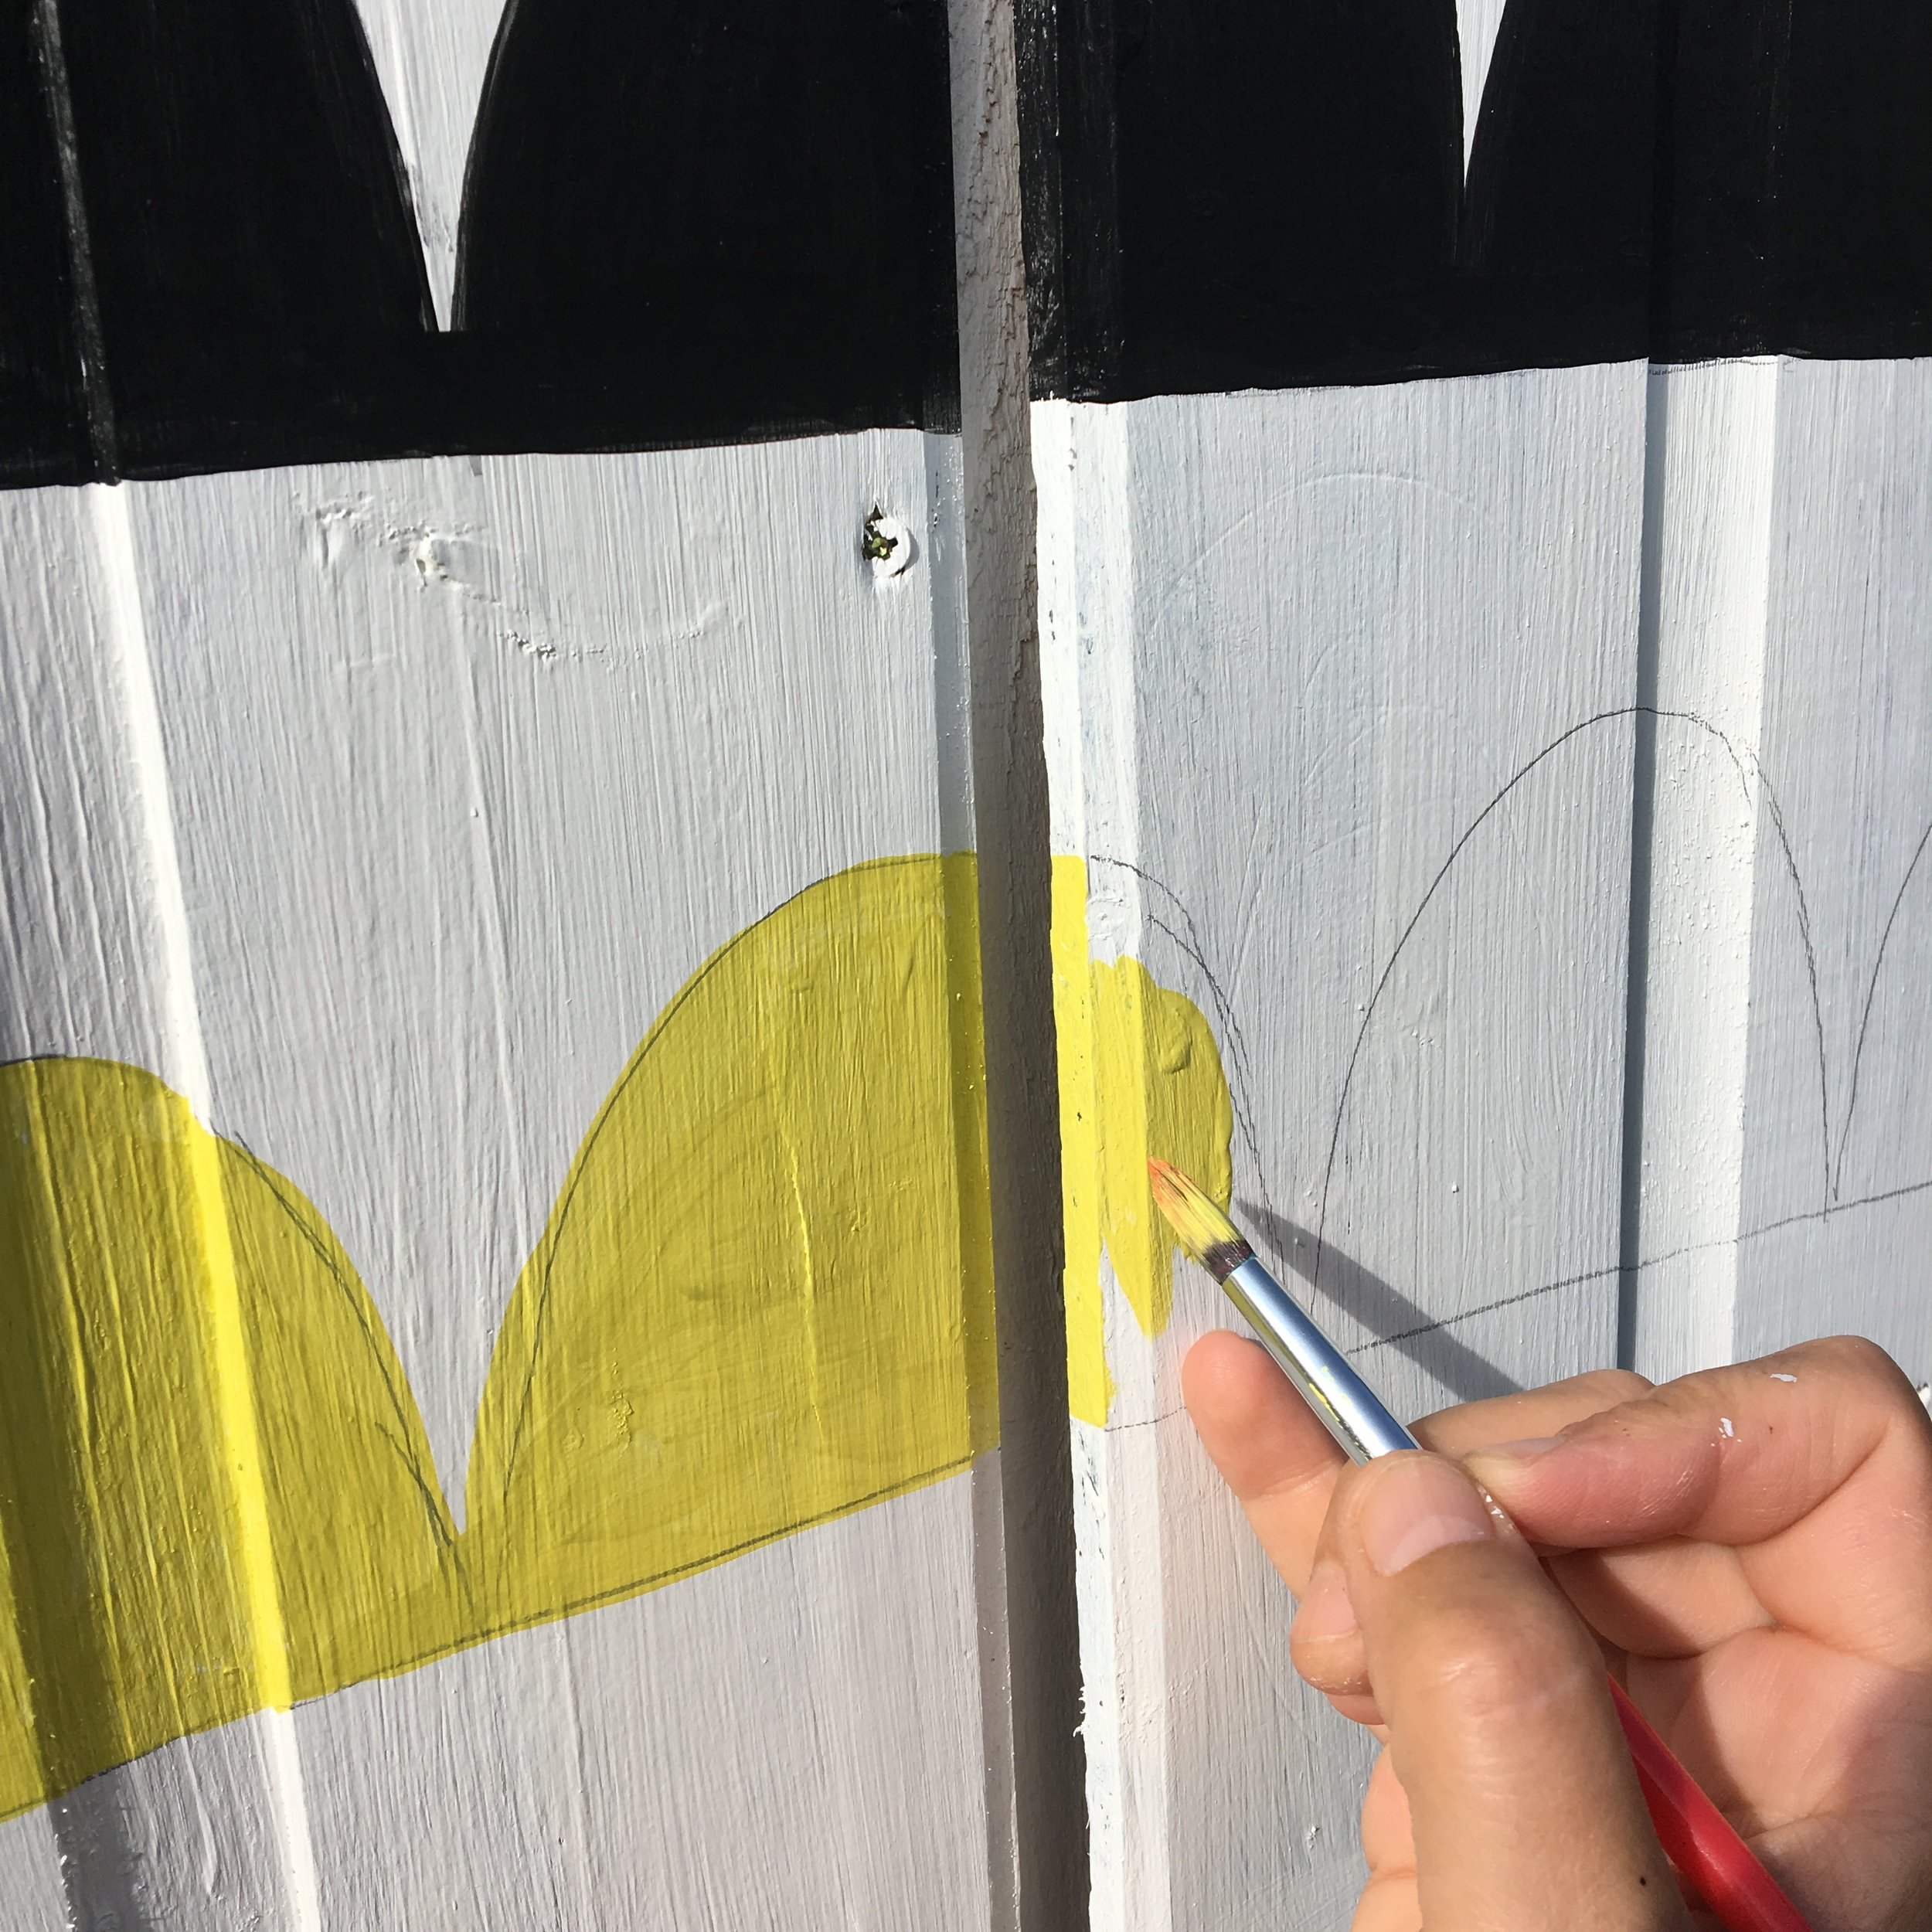
Using a pencil to draw the patterns on the flowers.

Painting with Dazzling Yellow

The shed doors after the first coat of colours.

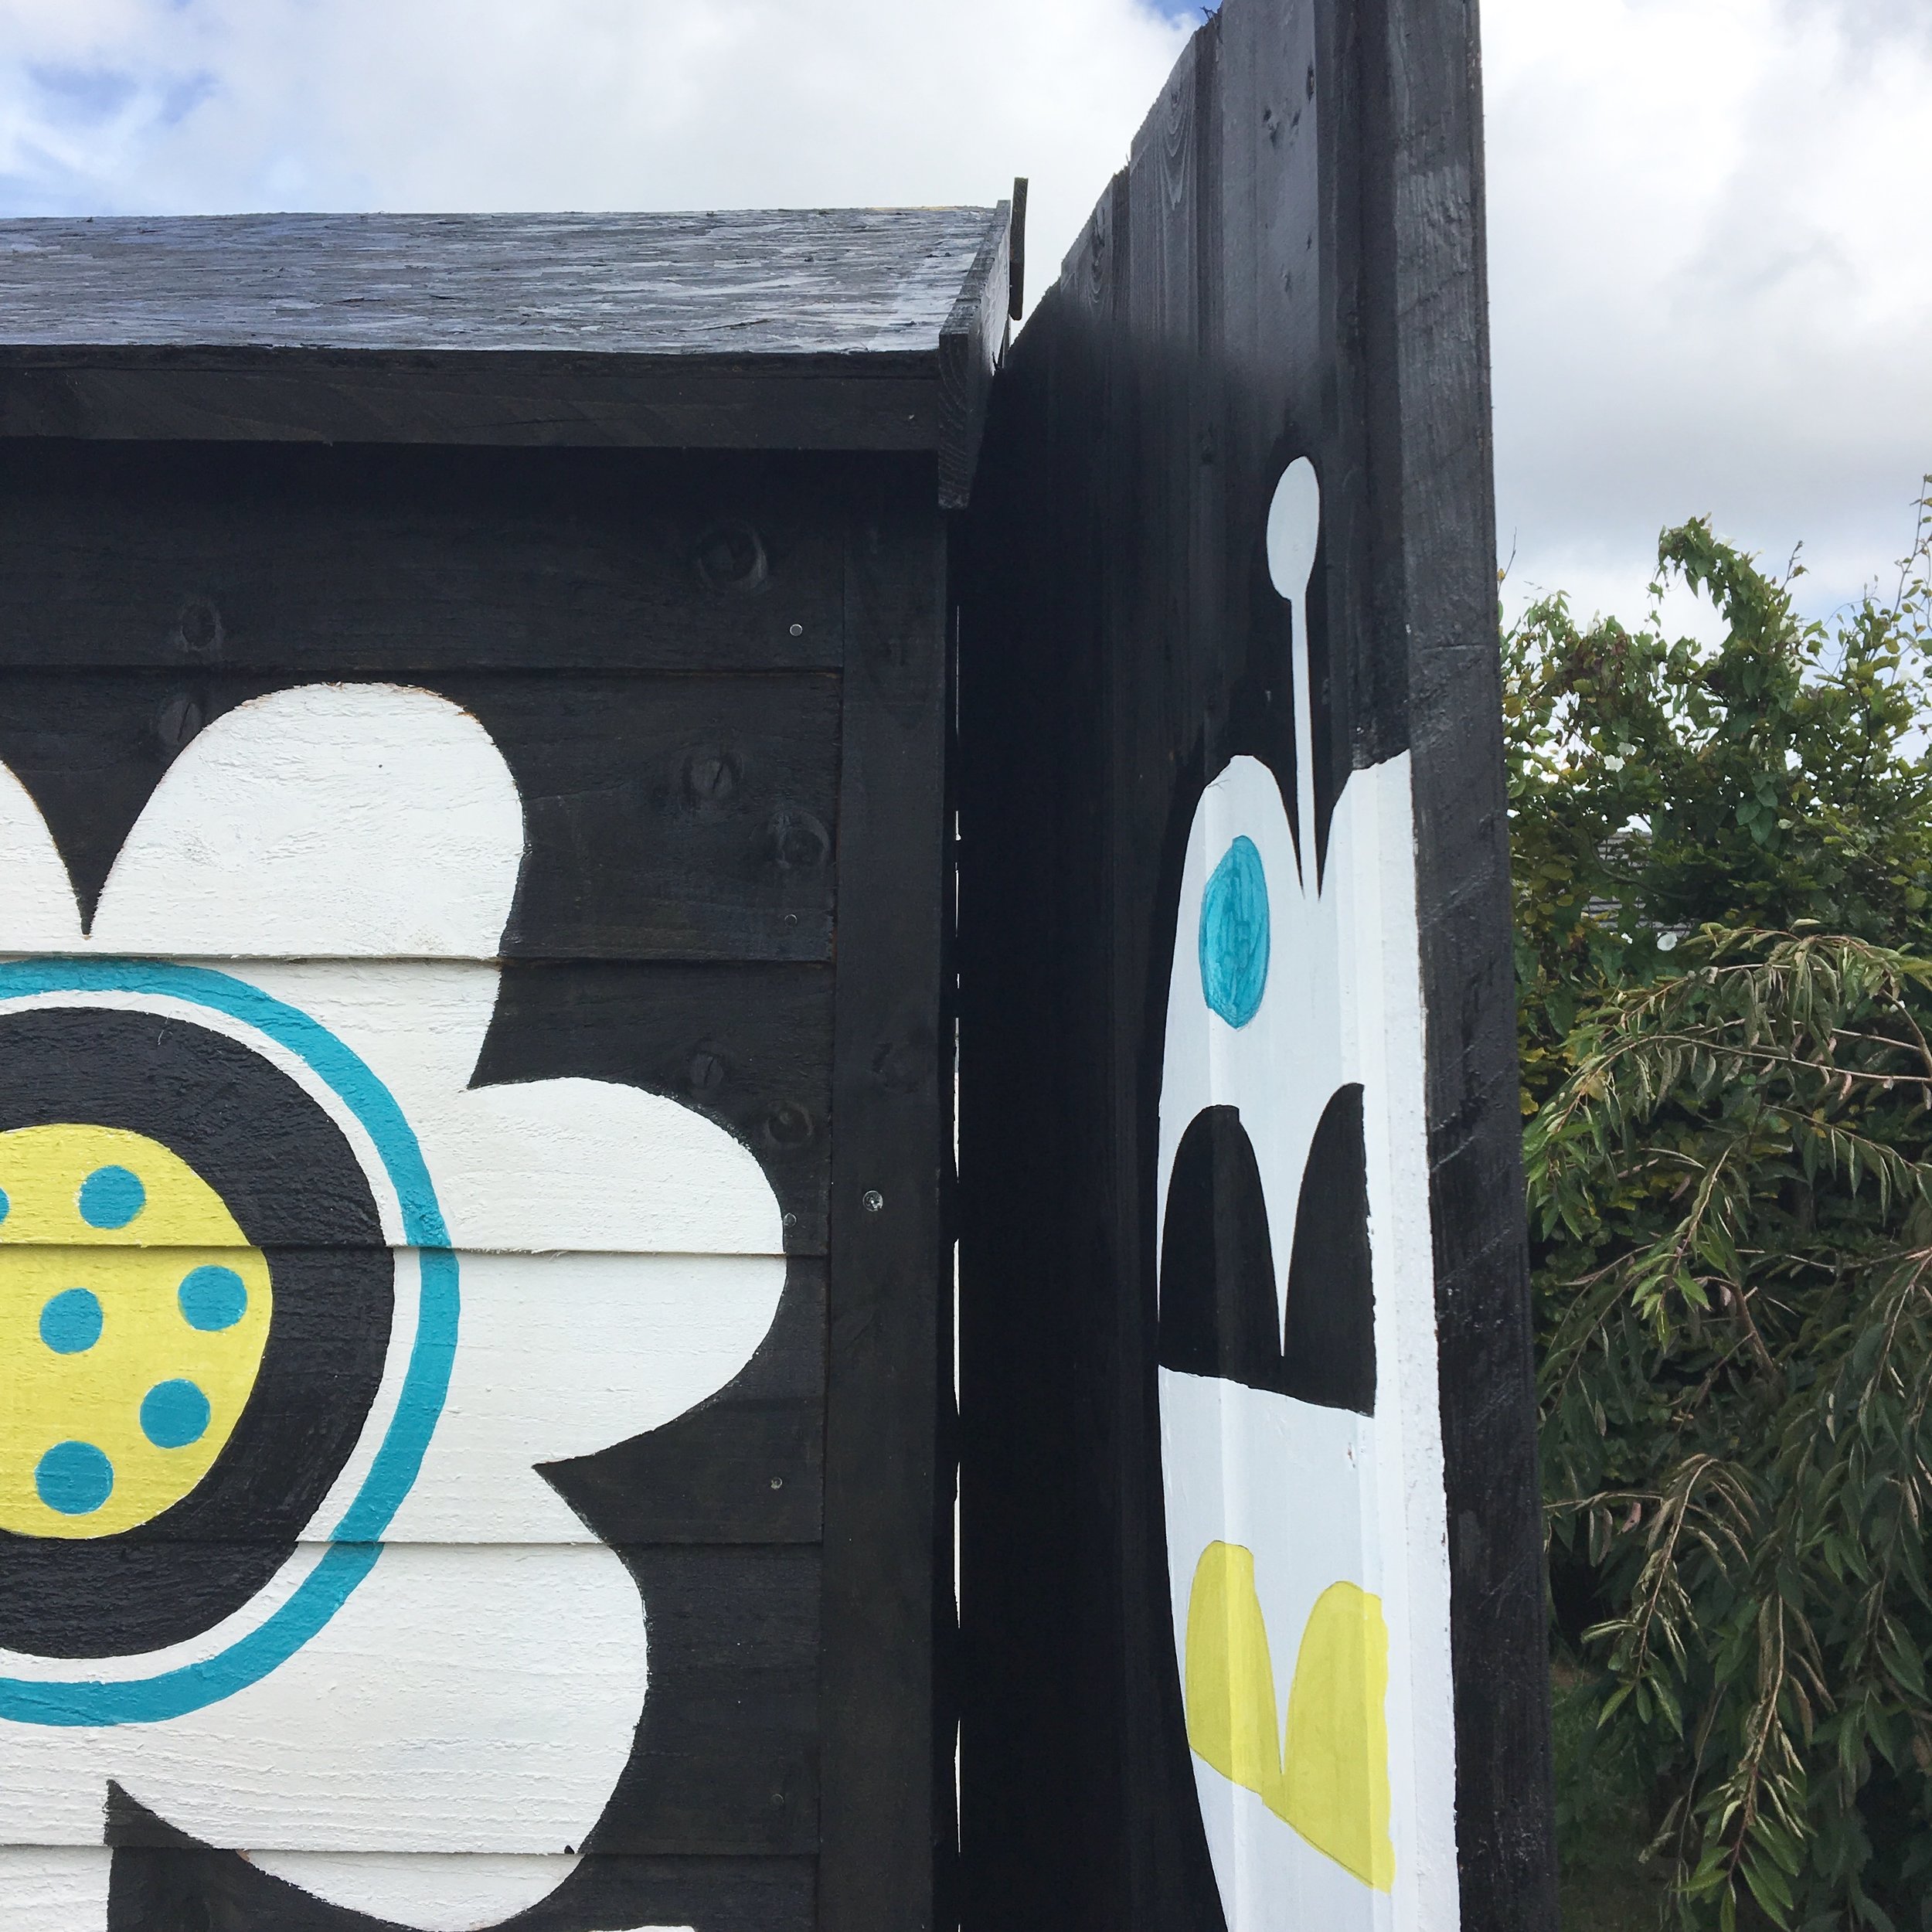
The painted shed doors.

I decided to paint a large tulip over the doors so they'd look a bit more interesting when closed. This was quite easy to paint as the surface on the doors was smooth.
I changed my mind a few times with regards to how I wanted to decorate the cat - it was striped at one point but then I decided it looked better with small dashes of black.


My daughter inspecting the shed!
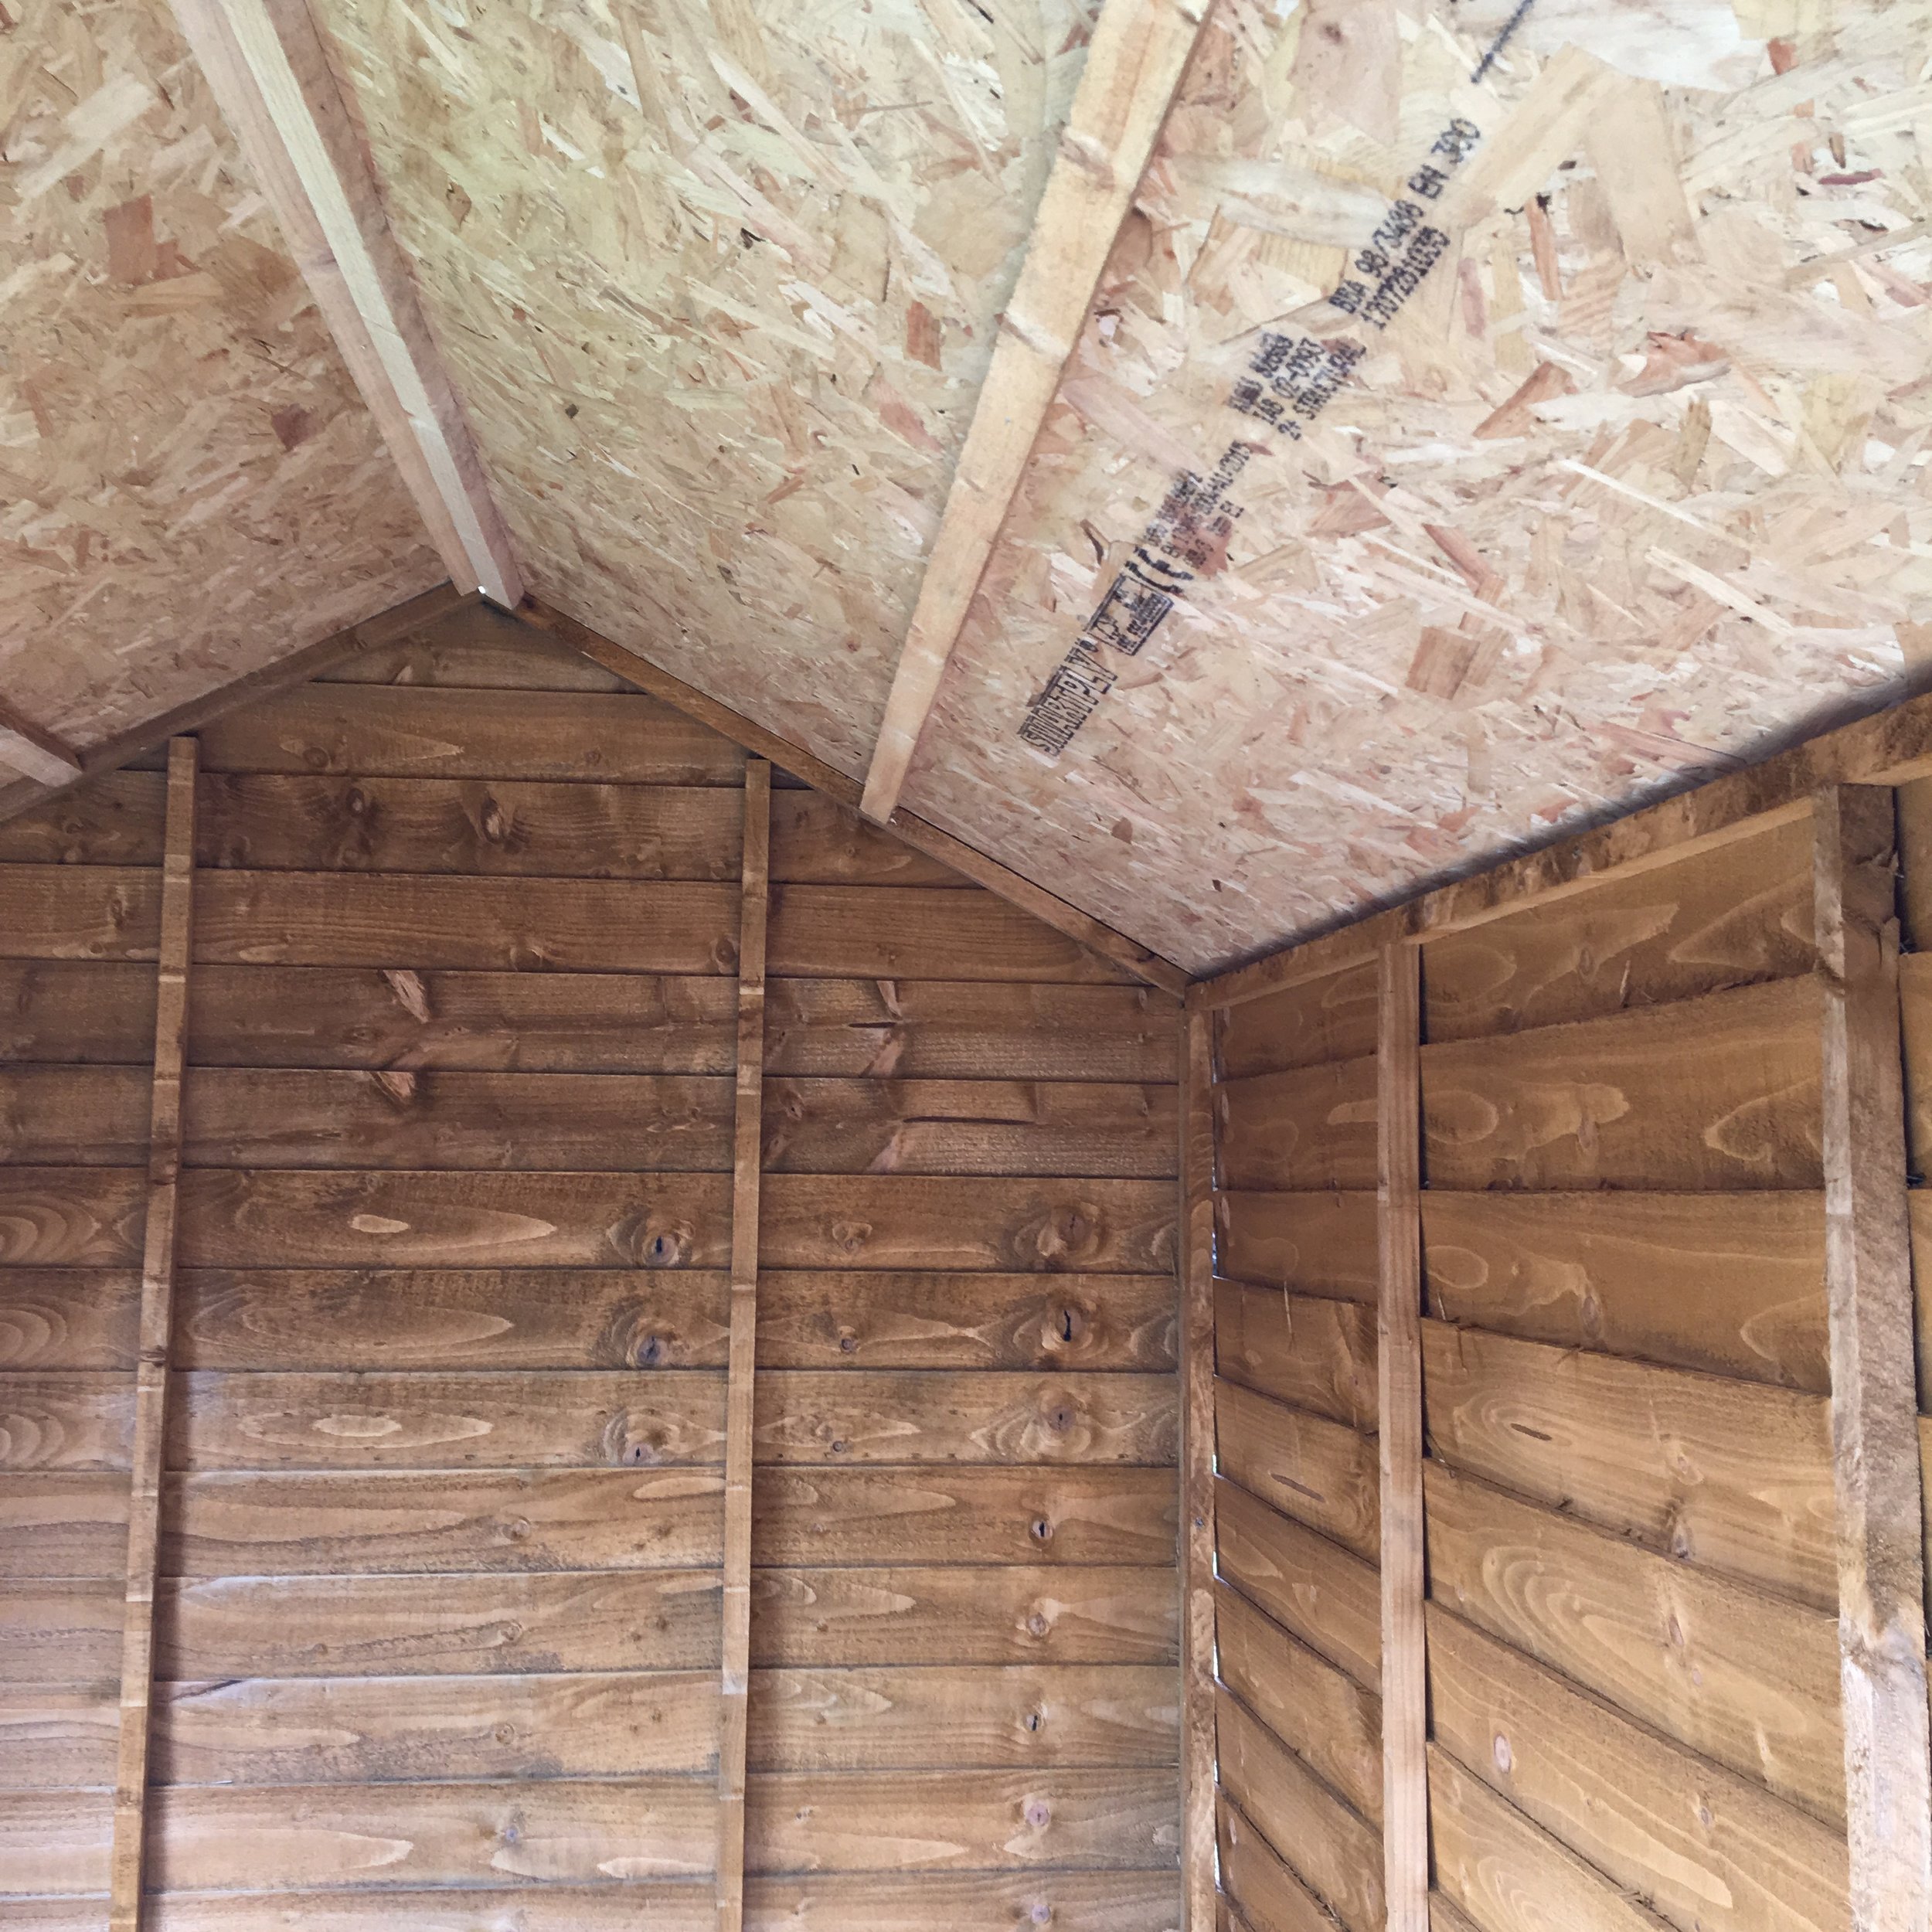
The next stage for my partner Jim was to line the inside of the shed with sheets of plywood. We could have just left the shed as it was and painted it but because I wanted smooth walls and a good surface to add pictures and shelves to, we chose this option. We will later take these sheets off to add insulation behind to keep the shed warmer in winter. As this project has been a very tight schedule, we've chosen not to do this until later. (And the weather is warm at the moment so it doesn't yet need insulating)

Lining the shed with large sheets of plywood
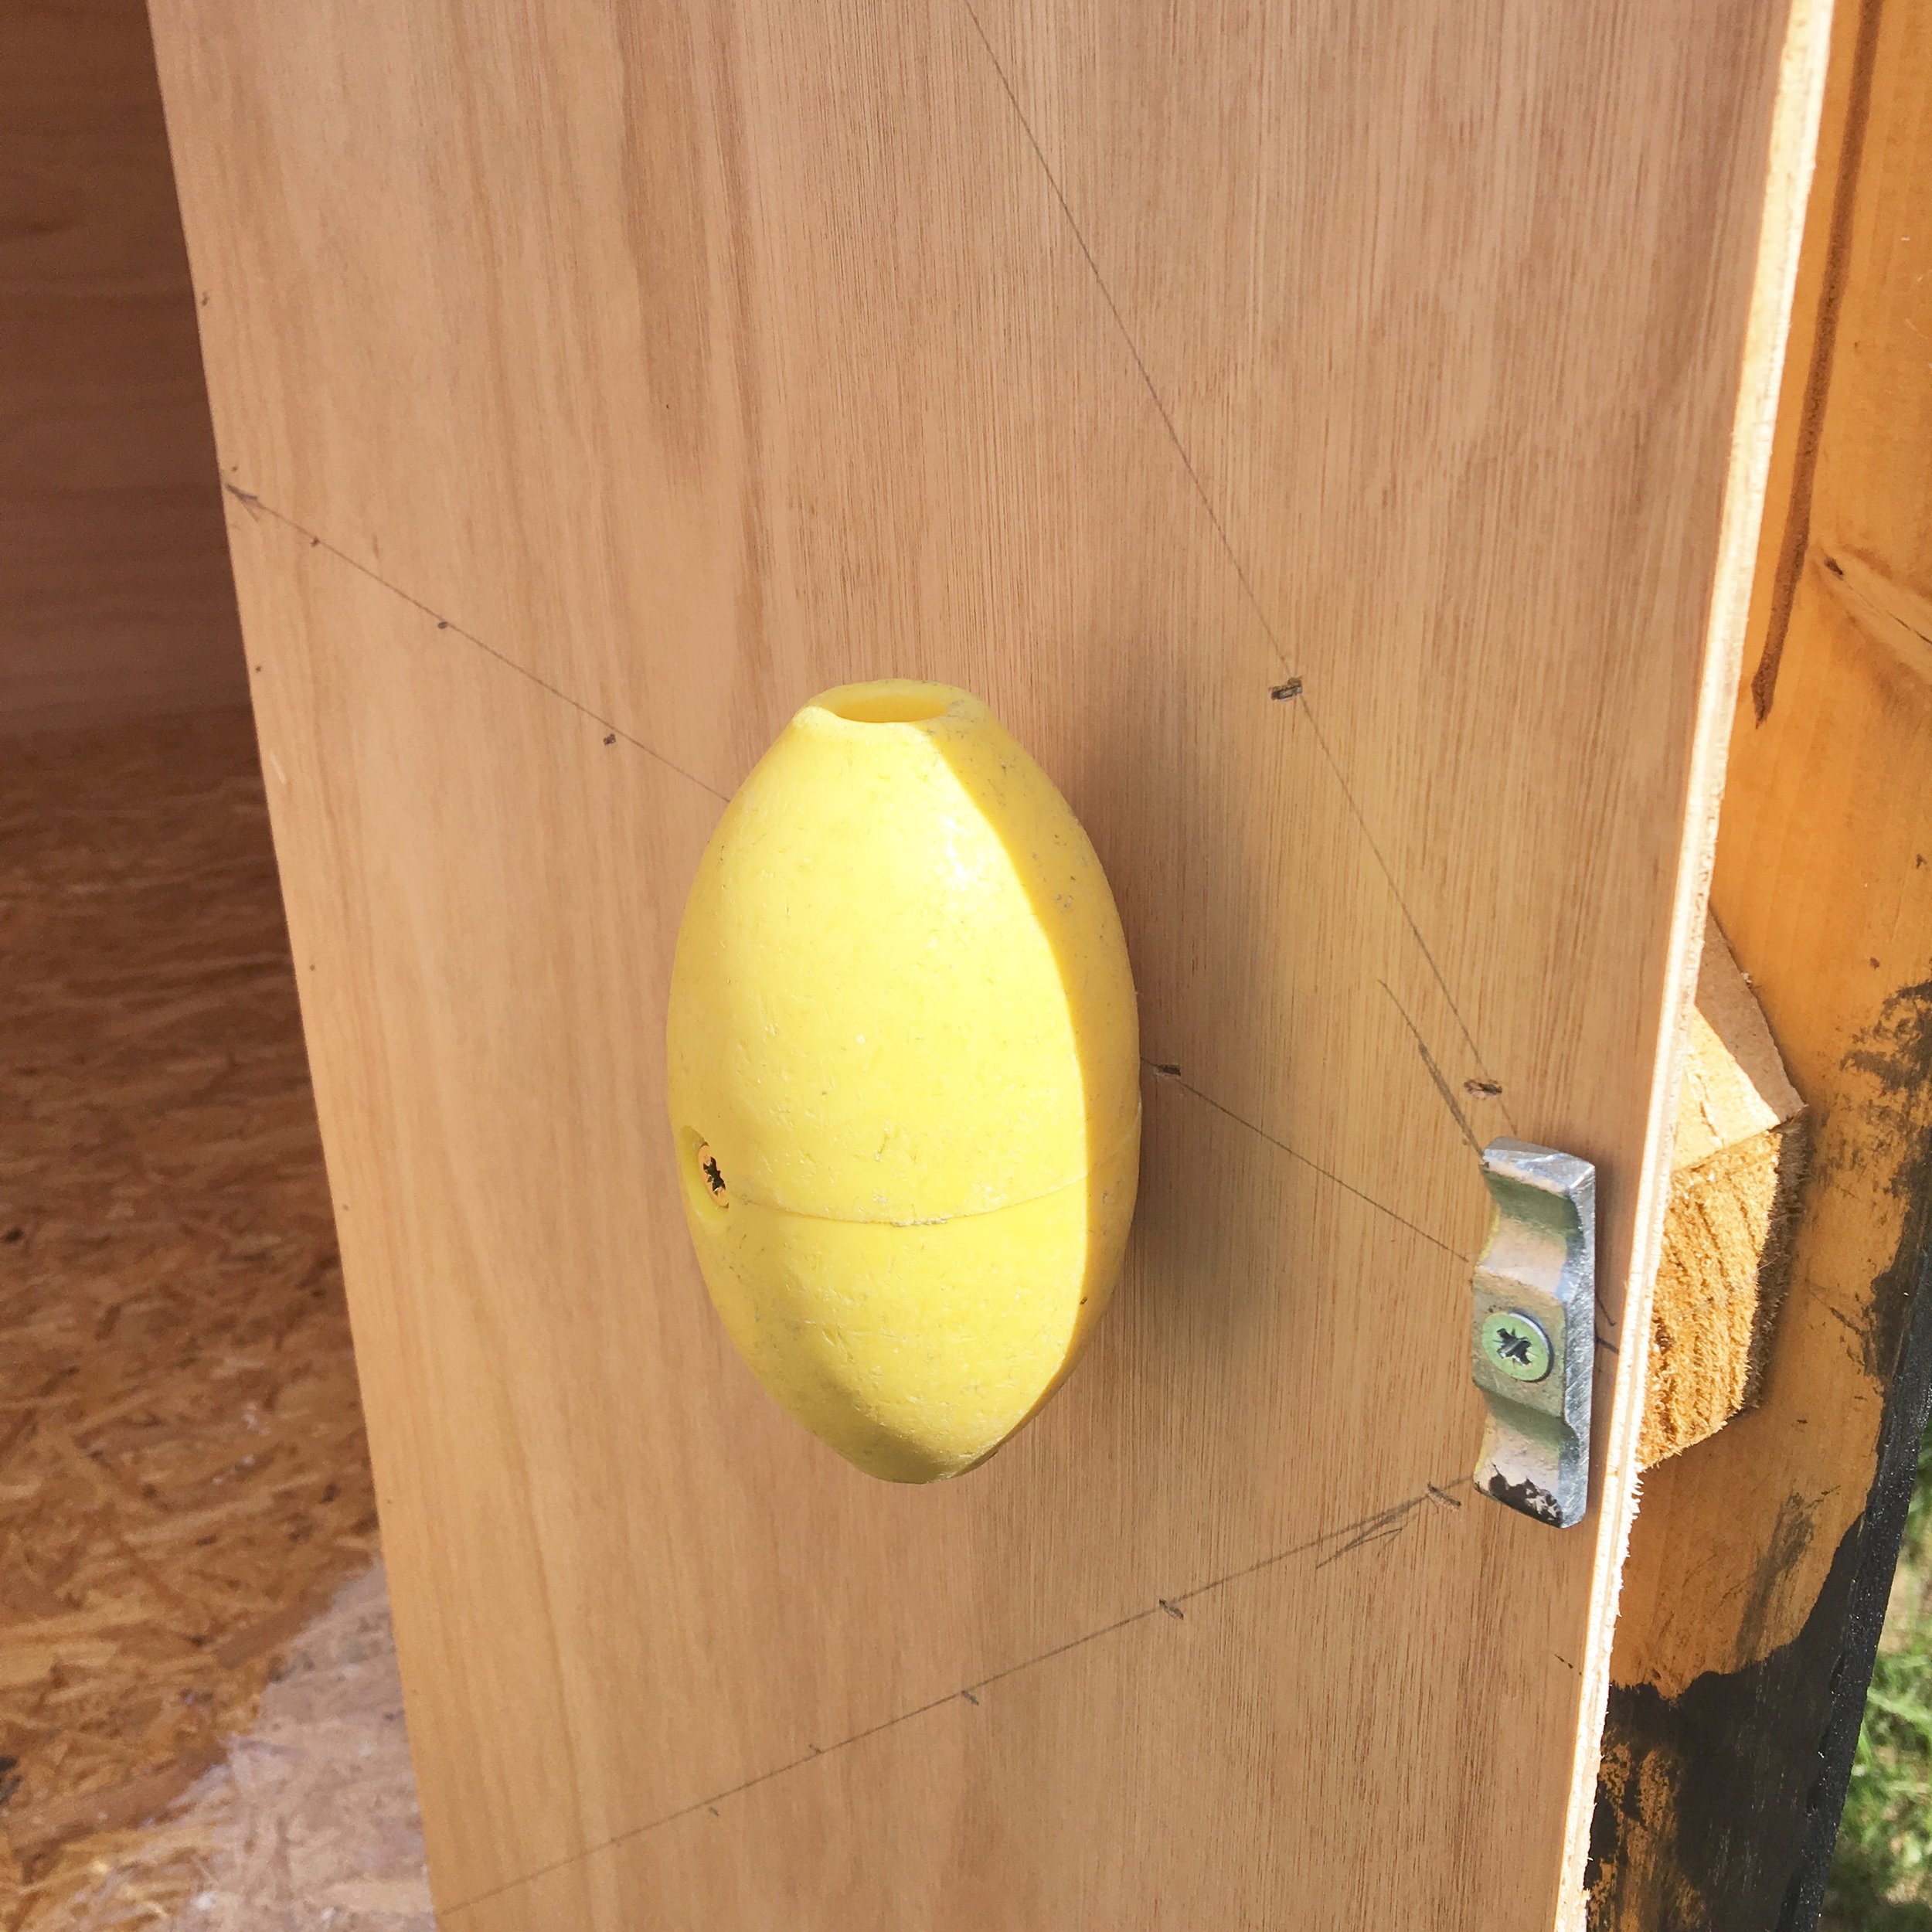
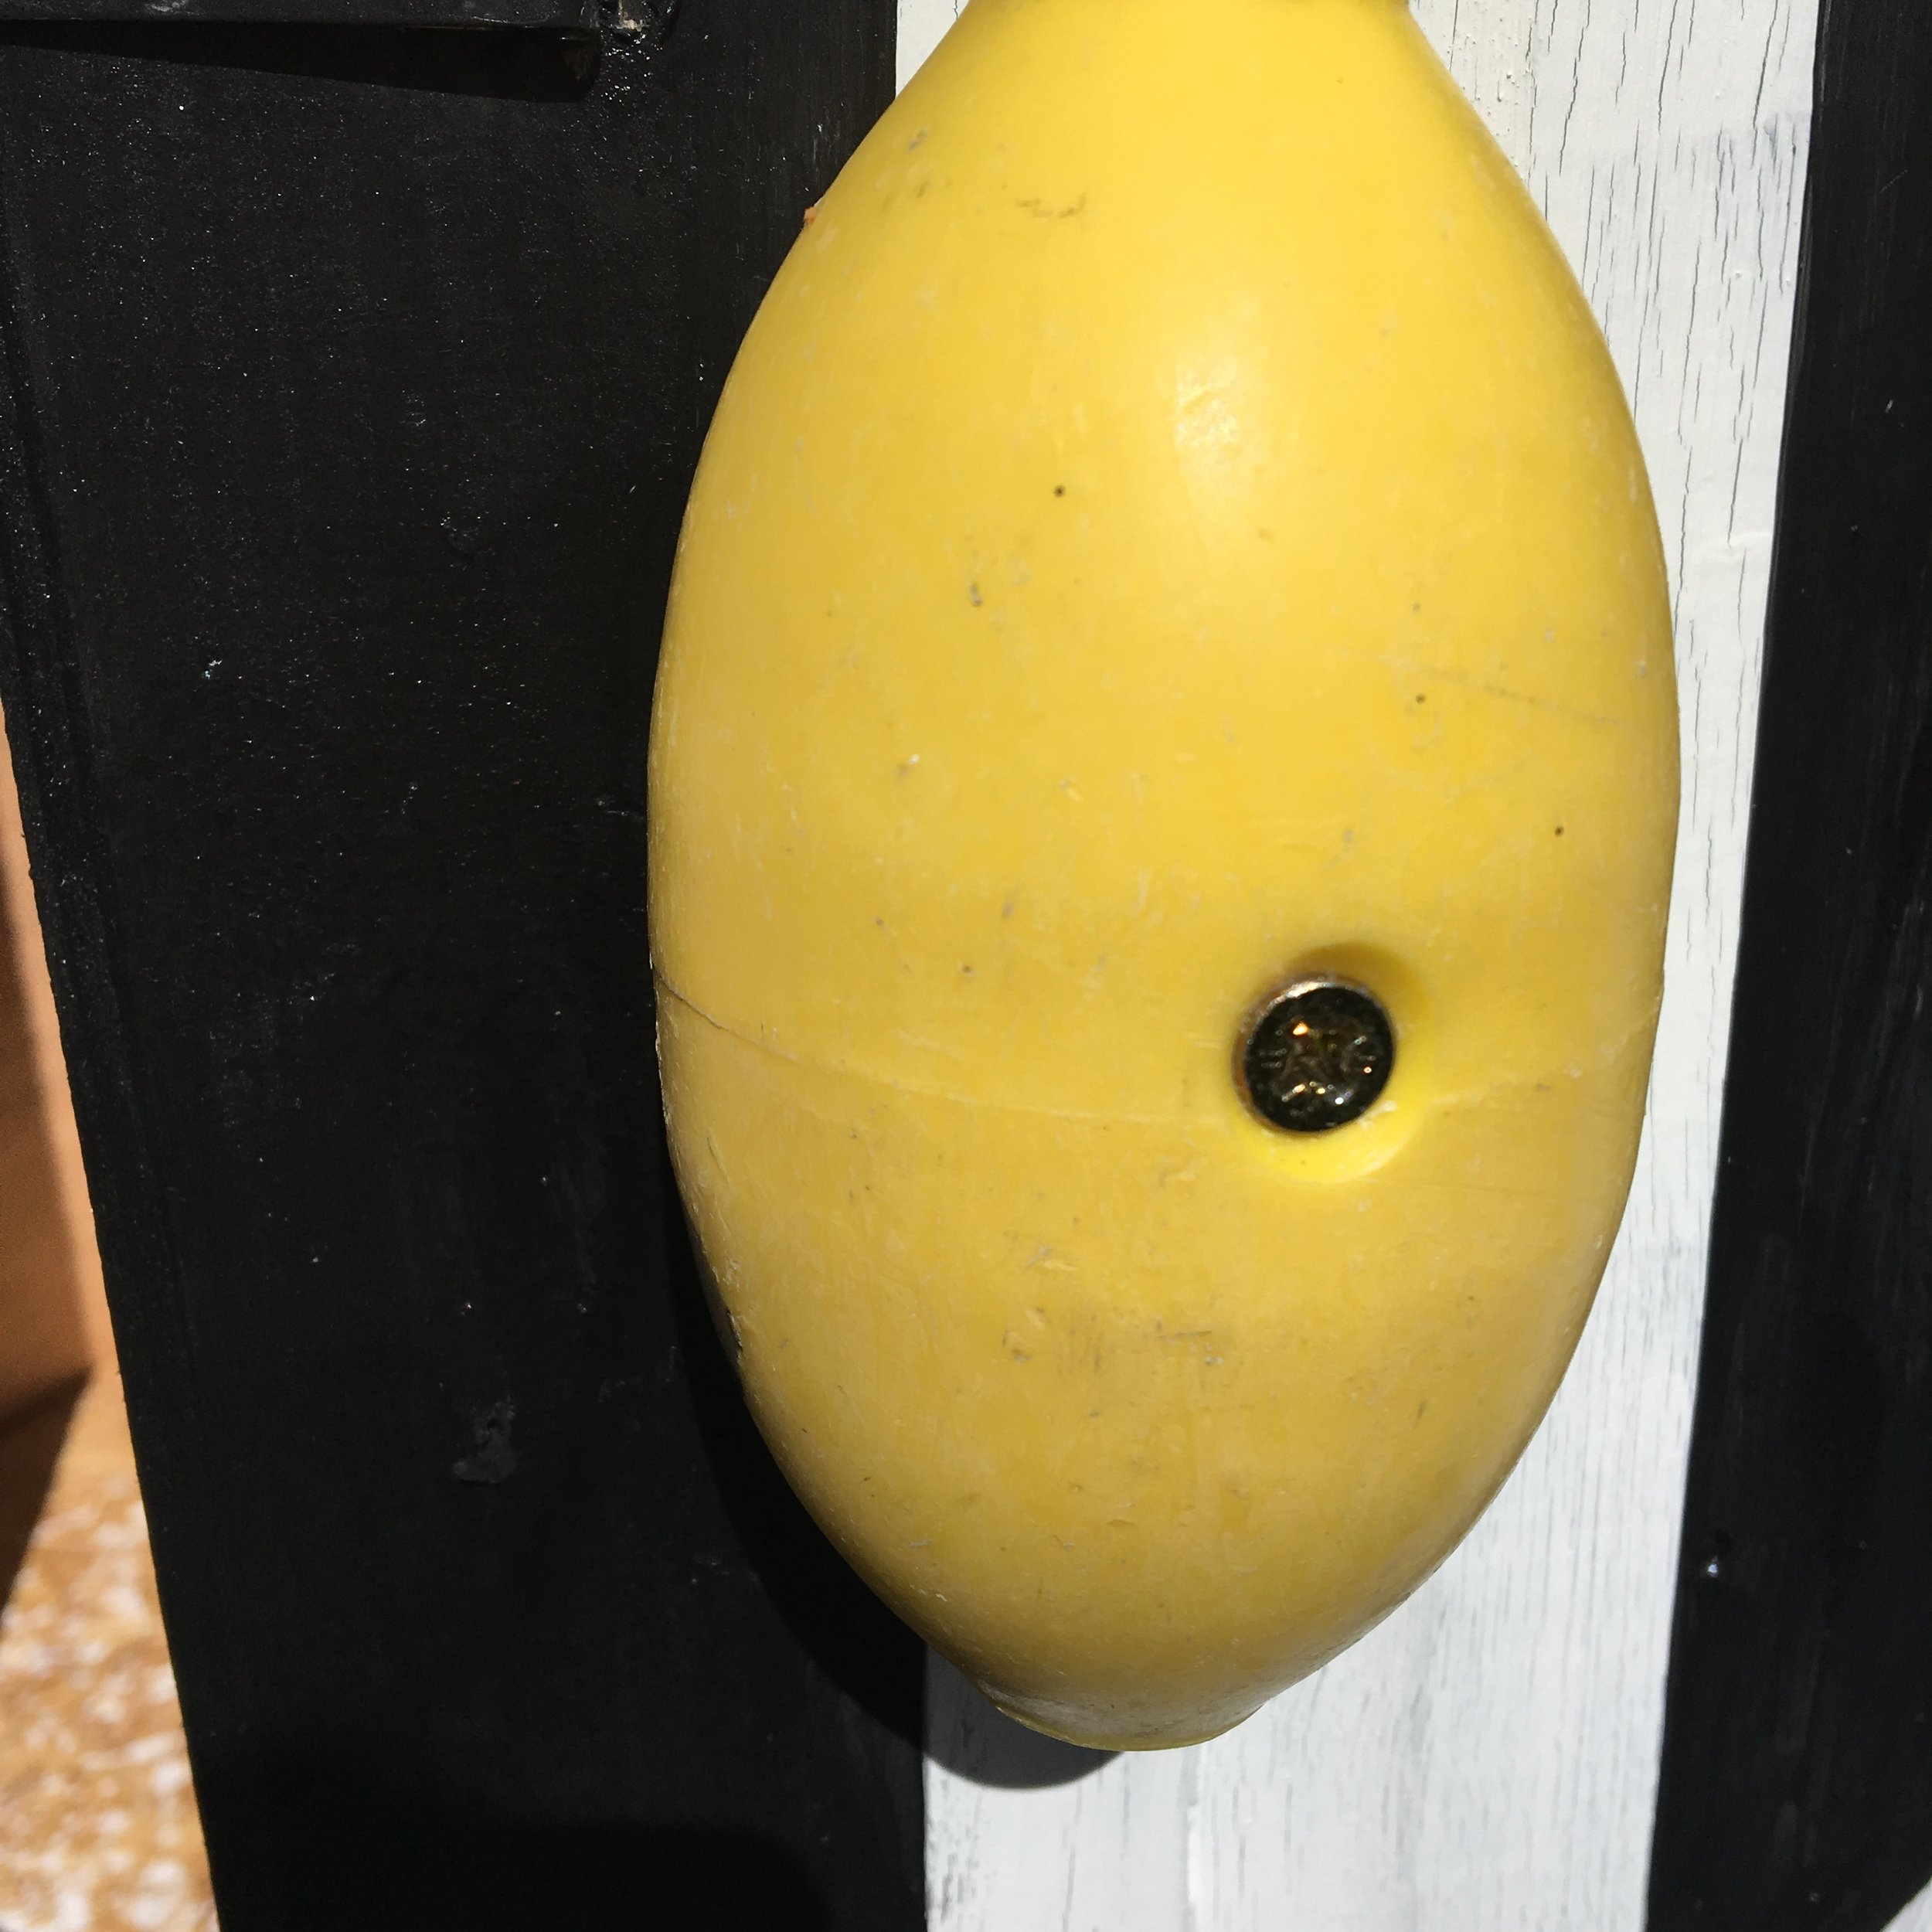
We chose to add some quirky handles to the doors that we made from some old coloured fishing net floats.I painted the inside door panels with blackboard paint as I wanted somewhere I could jot down notes, ideas and doodle.I was also wanting an area for my daughter to draw if she popped in to see me.

I couldn't wait to start to work on the inside of the shed. I usually paint every interior white but with this project, I decided to opt to keep the plywood walls unpainted. I wanted to create a warm, cosy, calm, Scandi style interior where the main focus would be on my illustrations and not getting too distracted by overfilling the room with too many belongings. Despite my illustrations being quite naive and simple, they can often take me quite a while to work on and I need complete solitude and focus to get them looking the way I want. When I have a book deadline, it can be quite intense so having created a space just for the sole purpose of being an illustration den is very exciting.
The first step was to bring in a table and chair and to work out where they should best be positioned. I chose to put the table against the end wall and not in front on the windows as I feel cosier working with a wall in front of me. I then added a few shelves - the long one is made from pine and has been mounted on a long baton. I added a few plants and brought in some framed artwork and illustrations. The wooden block pencil holder is one that my daughter made me.

Some of my illustrations, my favourite pen holder made by my daughter and some plants. The striped jug is made by Rachel Barker.

I've also added a few of my favourite vintage children's puzzles (designed by Dick Bruna ) on my shelf - his work has always been a huge inspiration to me.

I've also added some of my little hand illustrated fabric figures to the room that my daughter and I made.


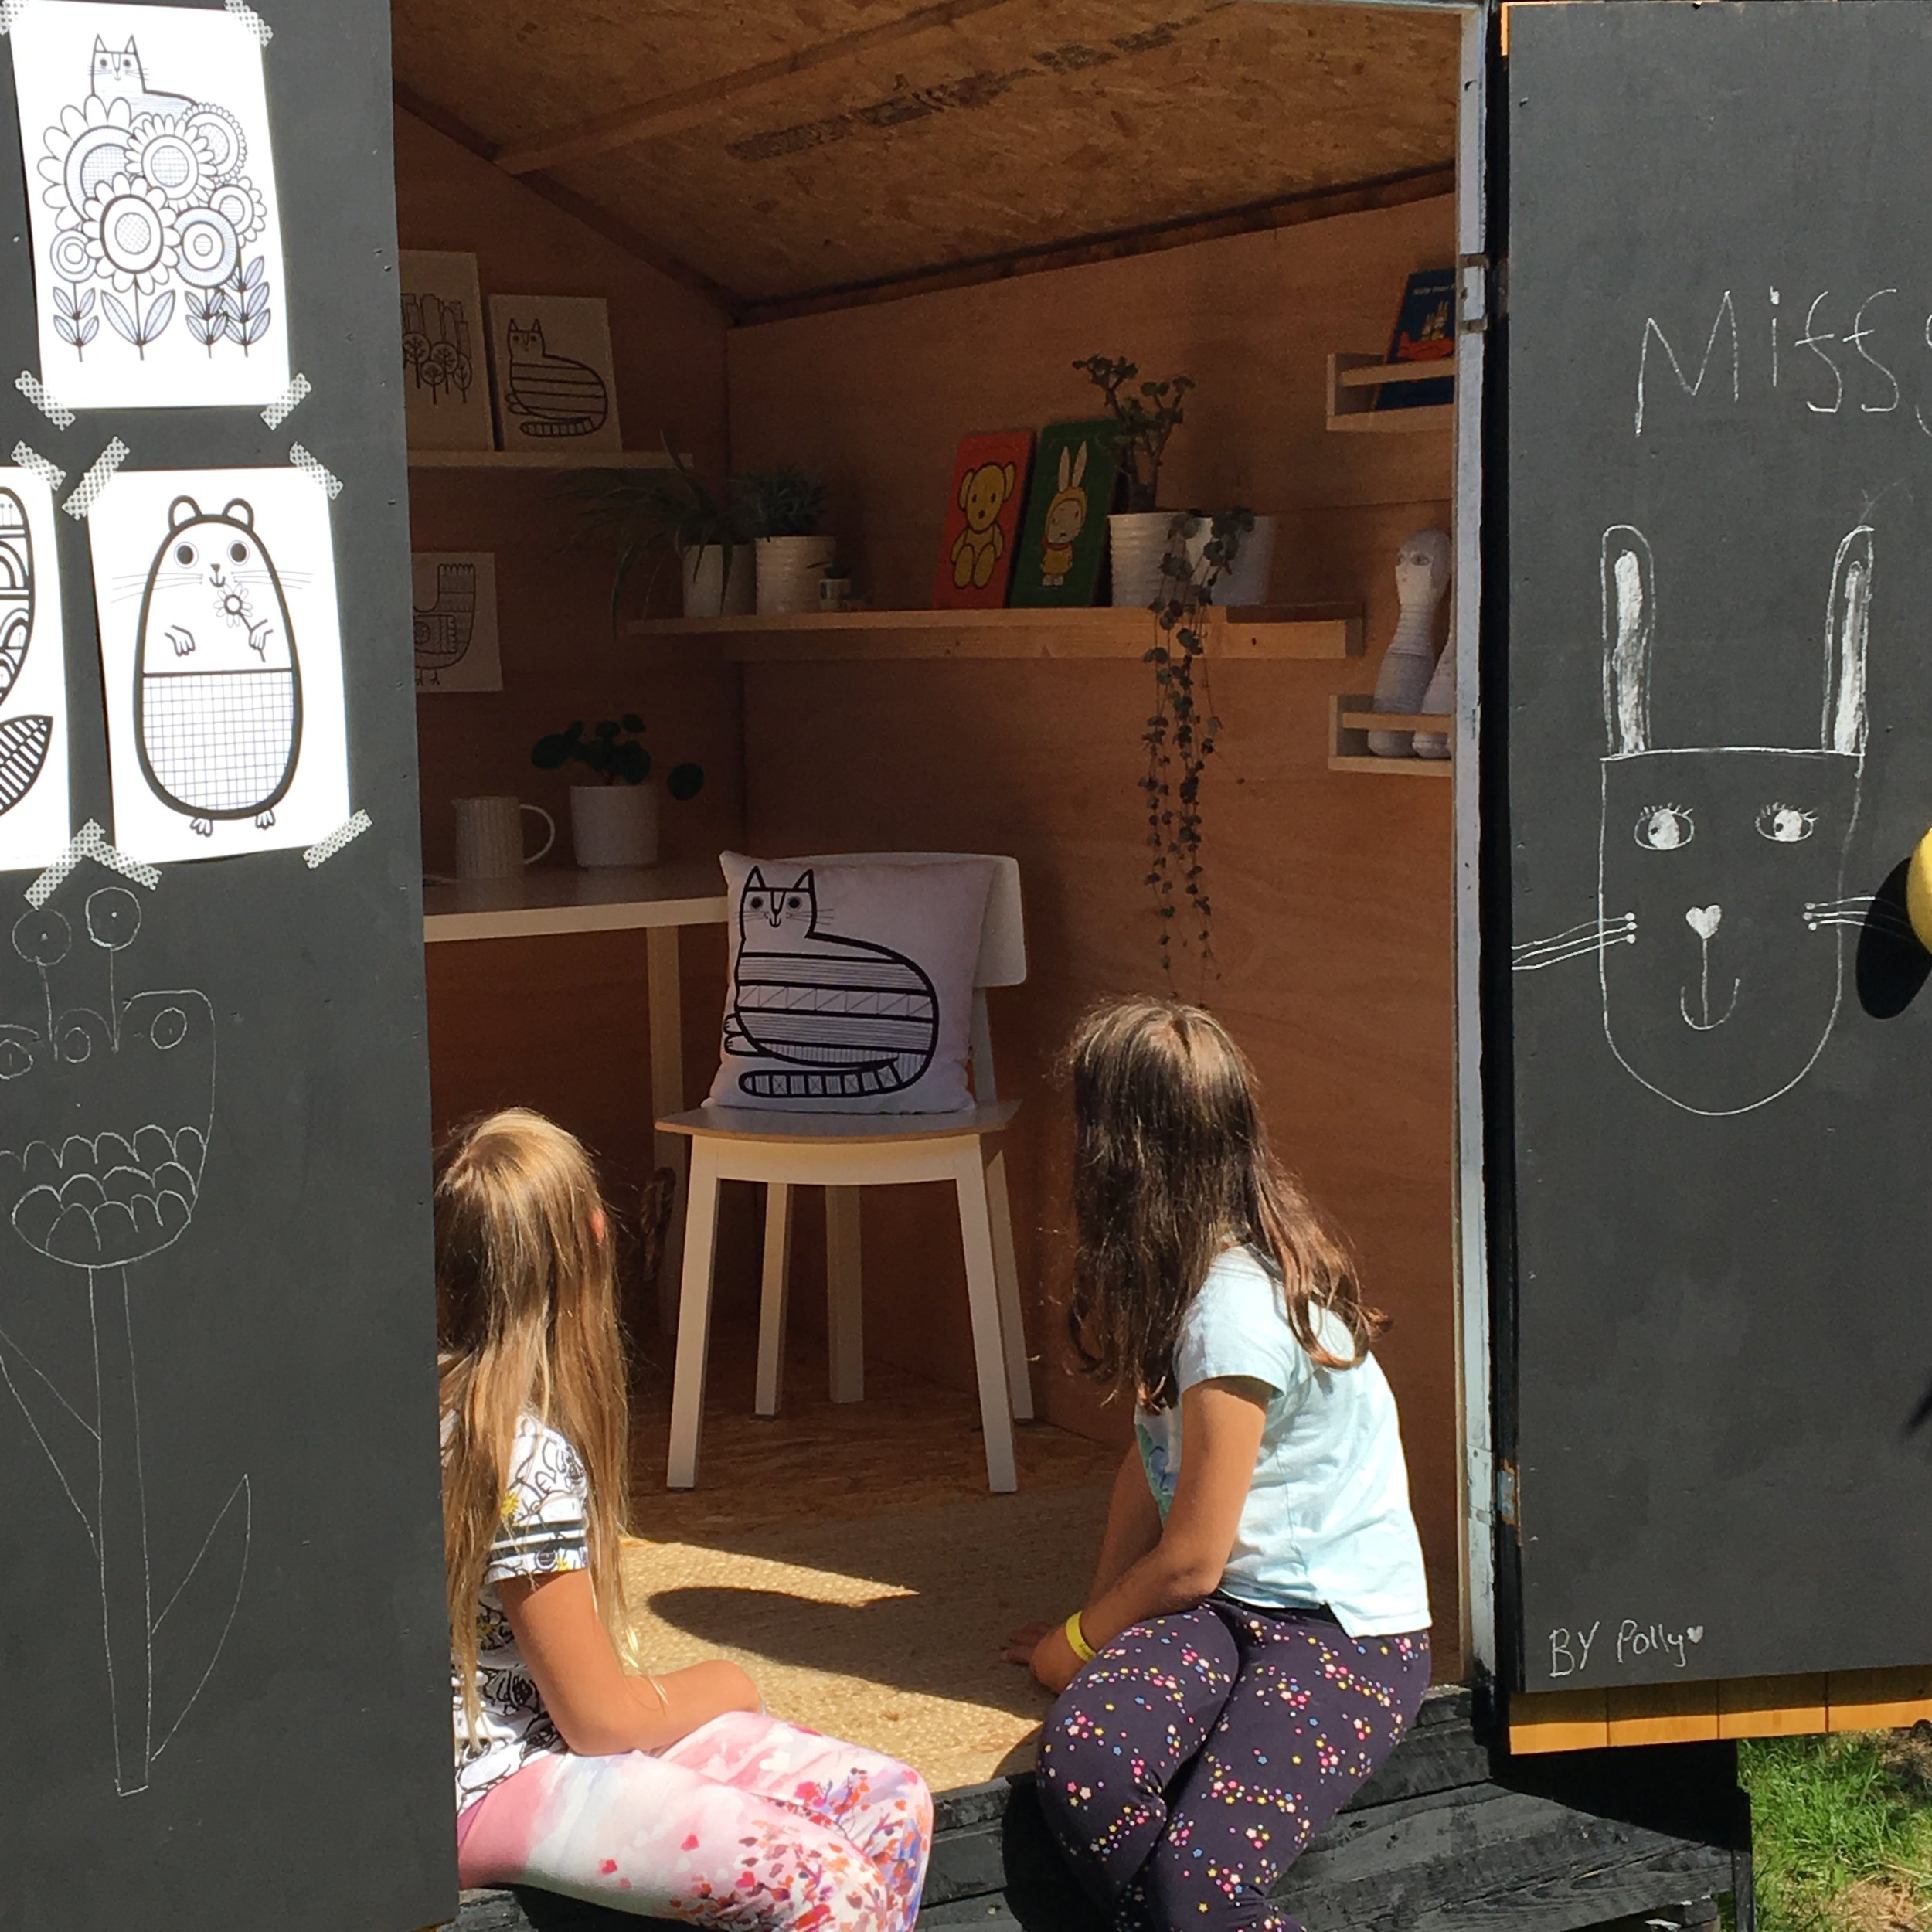
Our daughter couldn't wait to start drawing on the black board doors! Bunnies of course as we have two in the garden!

A mini succulent in a 50s egg cup. The little wooden houses are pencil sharpeners.

Hand illustrated fabric figures.
I'm amazed at how quick this project has been to create - thanks to my clever partner Jim who is a dab hand at anything practical. We've already chilled out on the decking and I've been inside the shed to draw and relax. We've used a matching blanket from our house and I made a few cushions. Our daughter's friends have all loved the space and I've no doubt that they're viewing this as an extra place to hide in and behind when playing hide and seek in the garden!

Our daughter relaxing on the new deck.

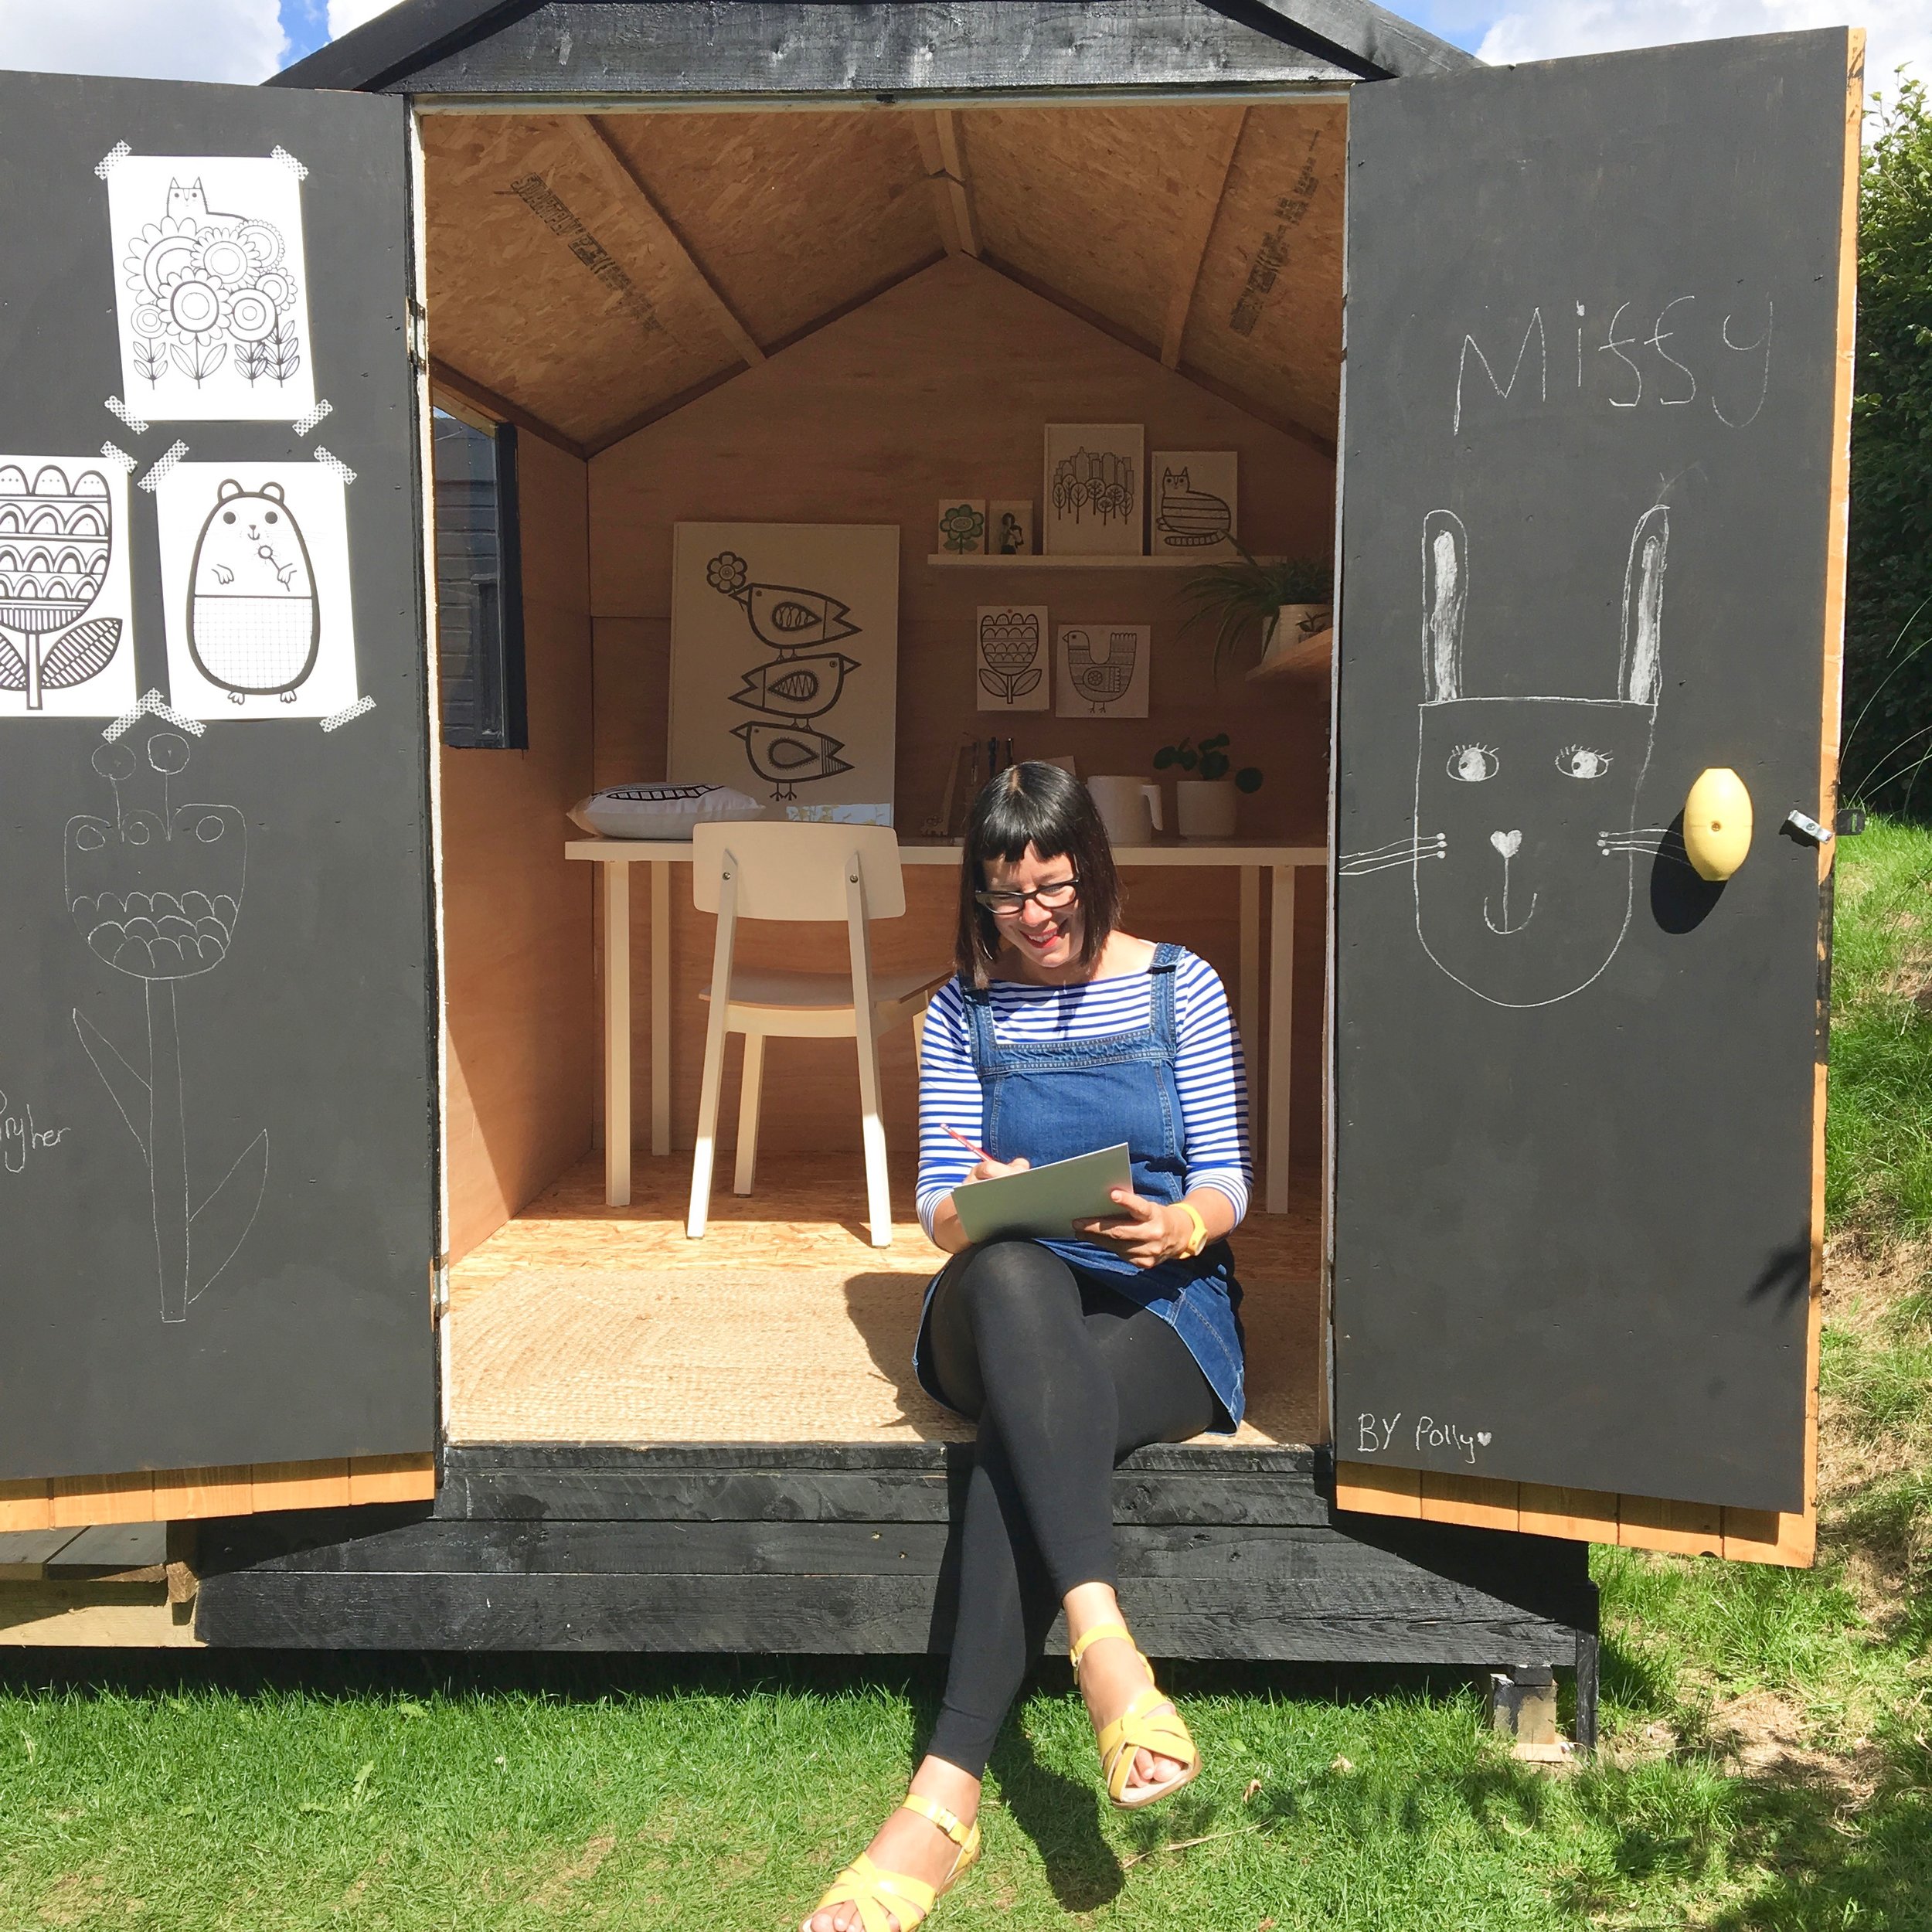
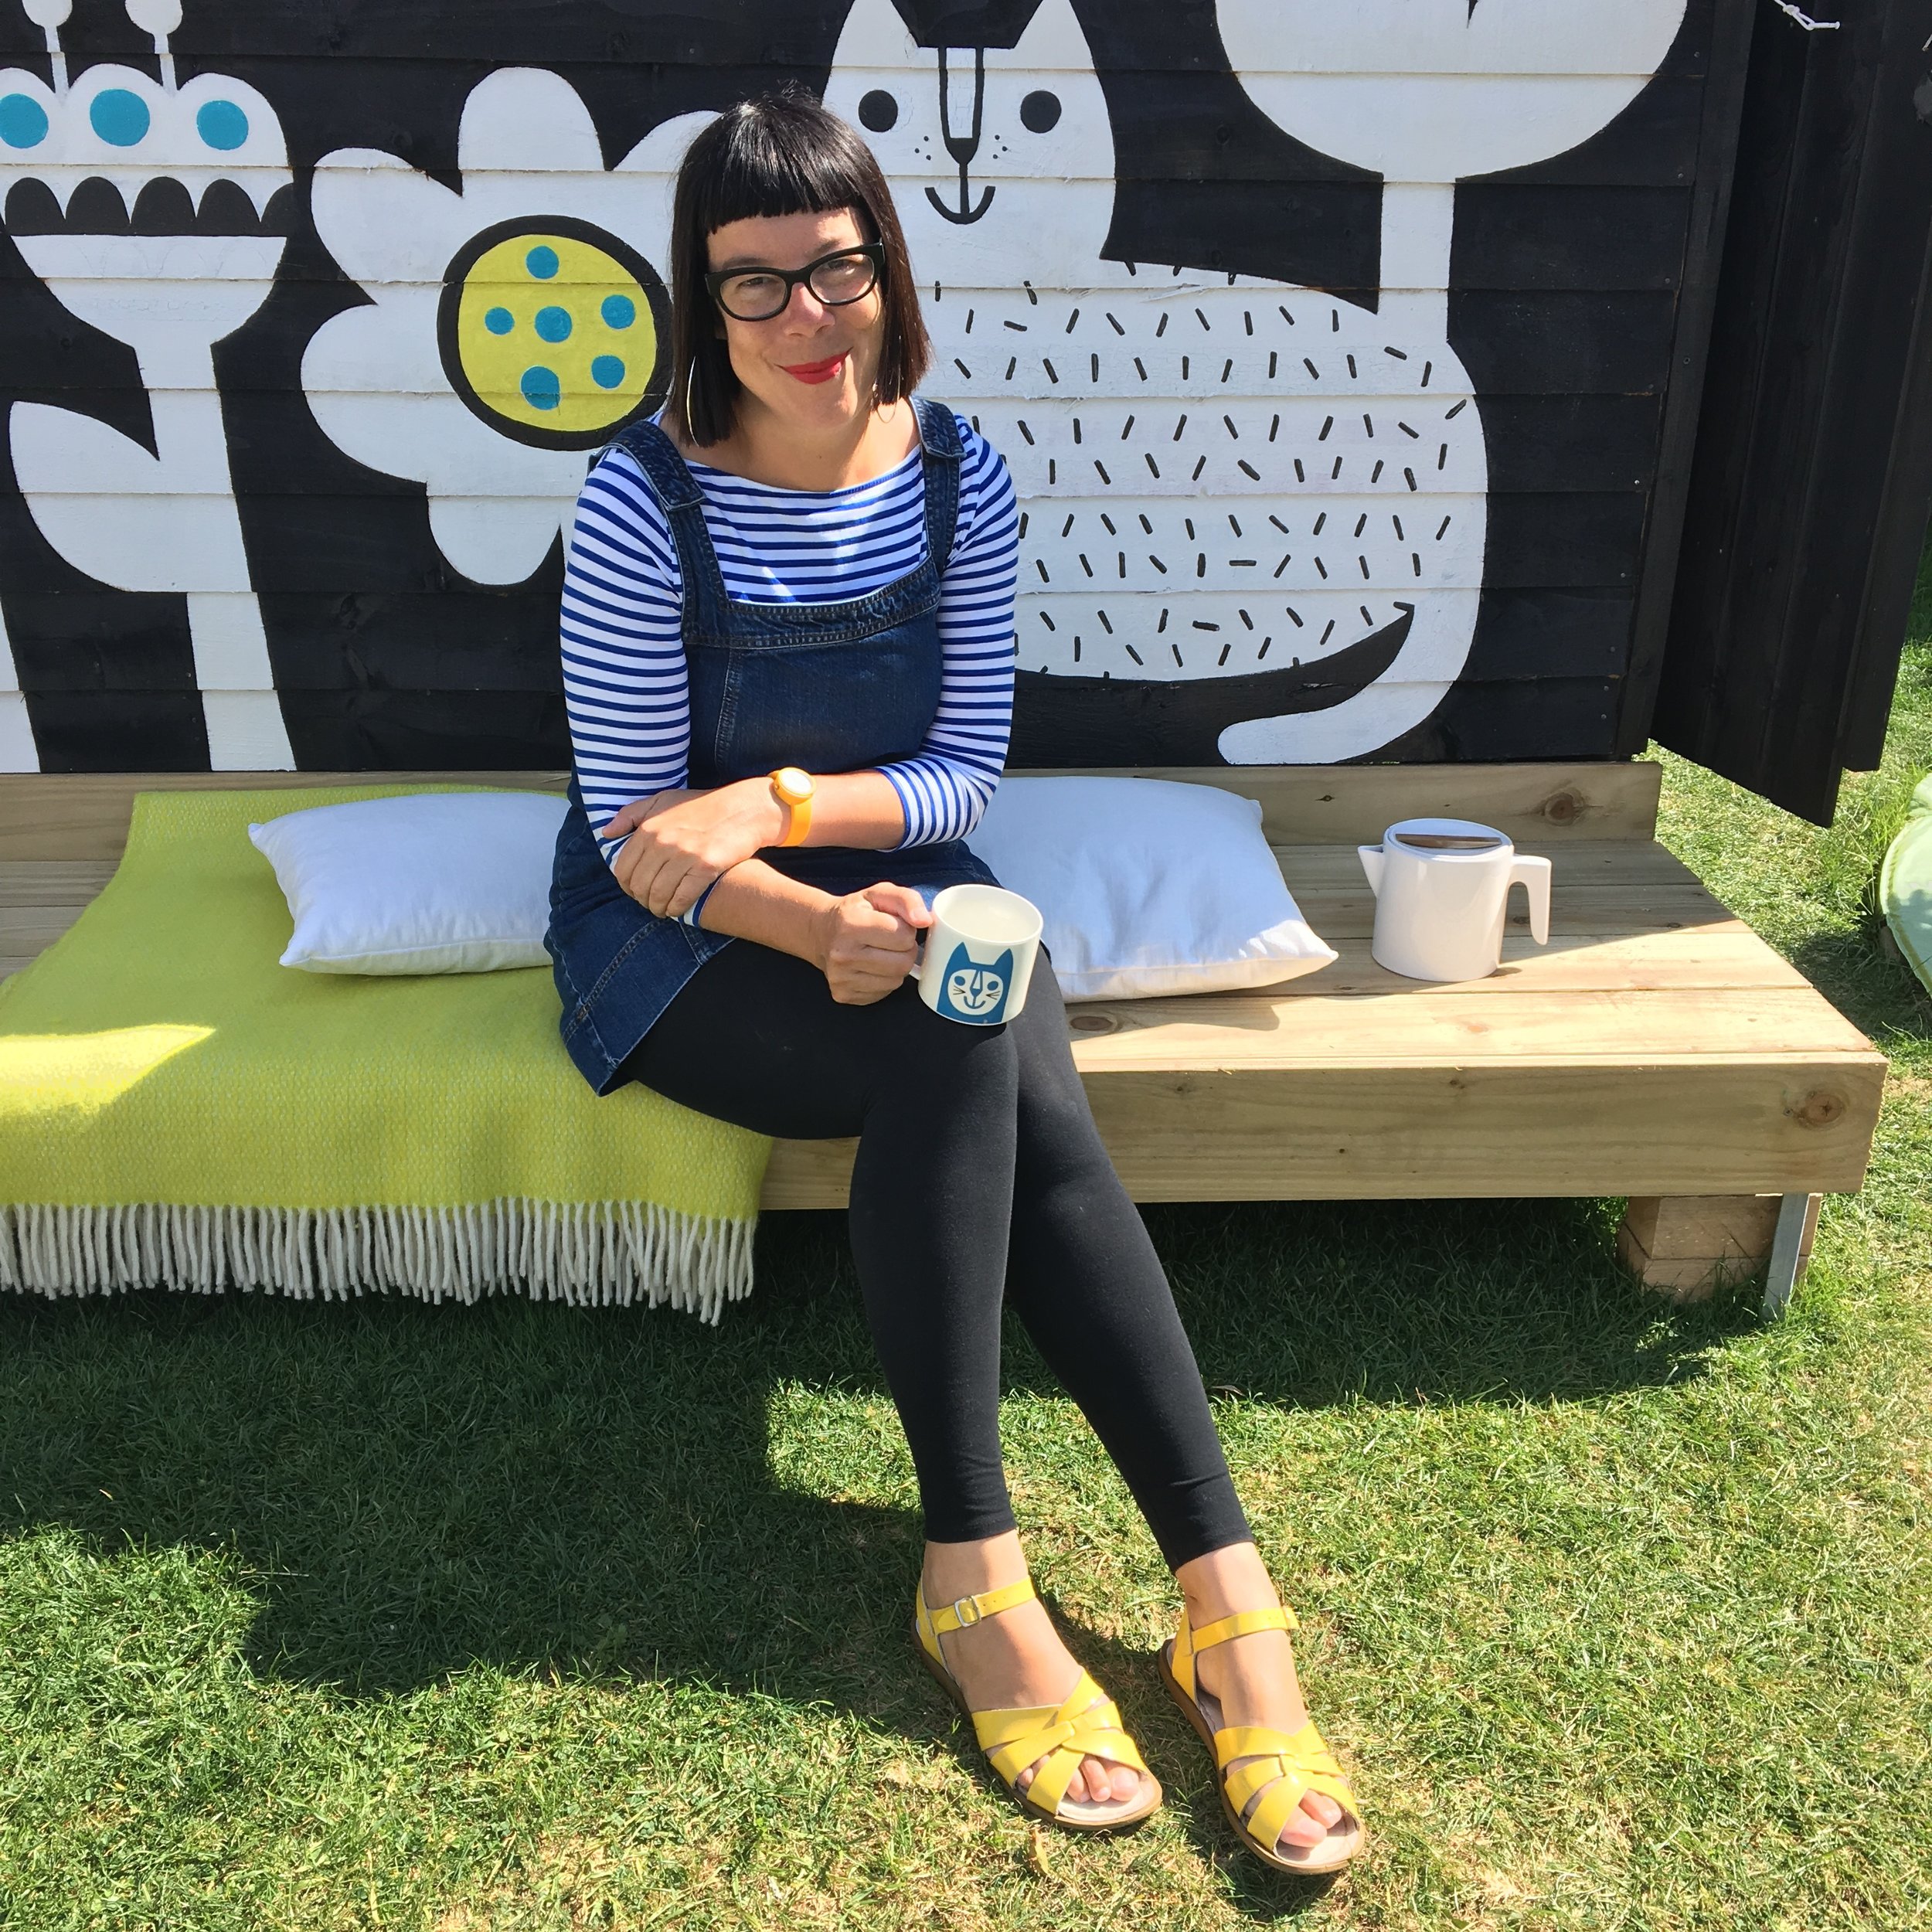
Enjoying my new space

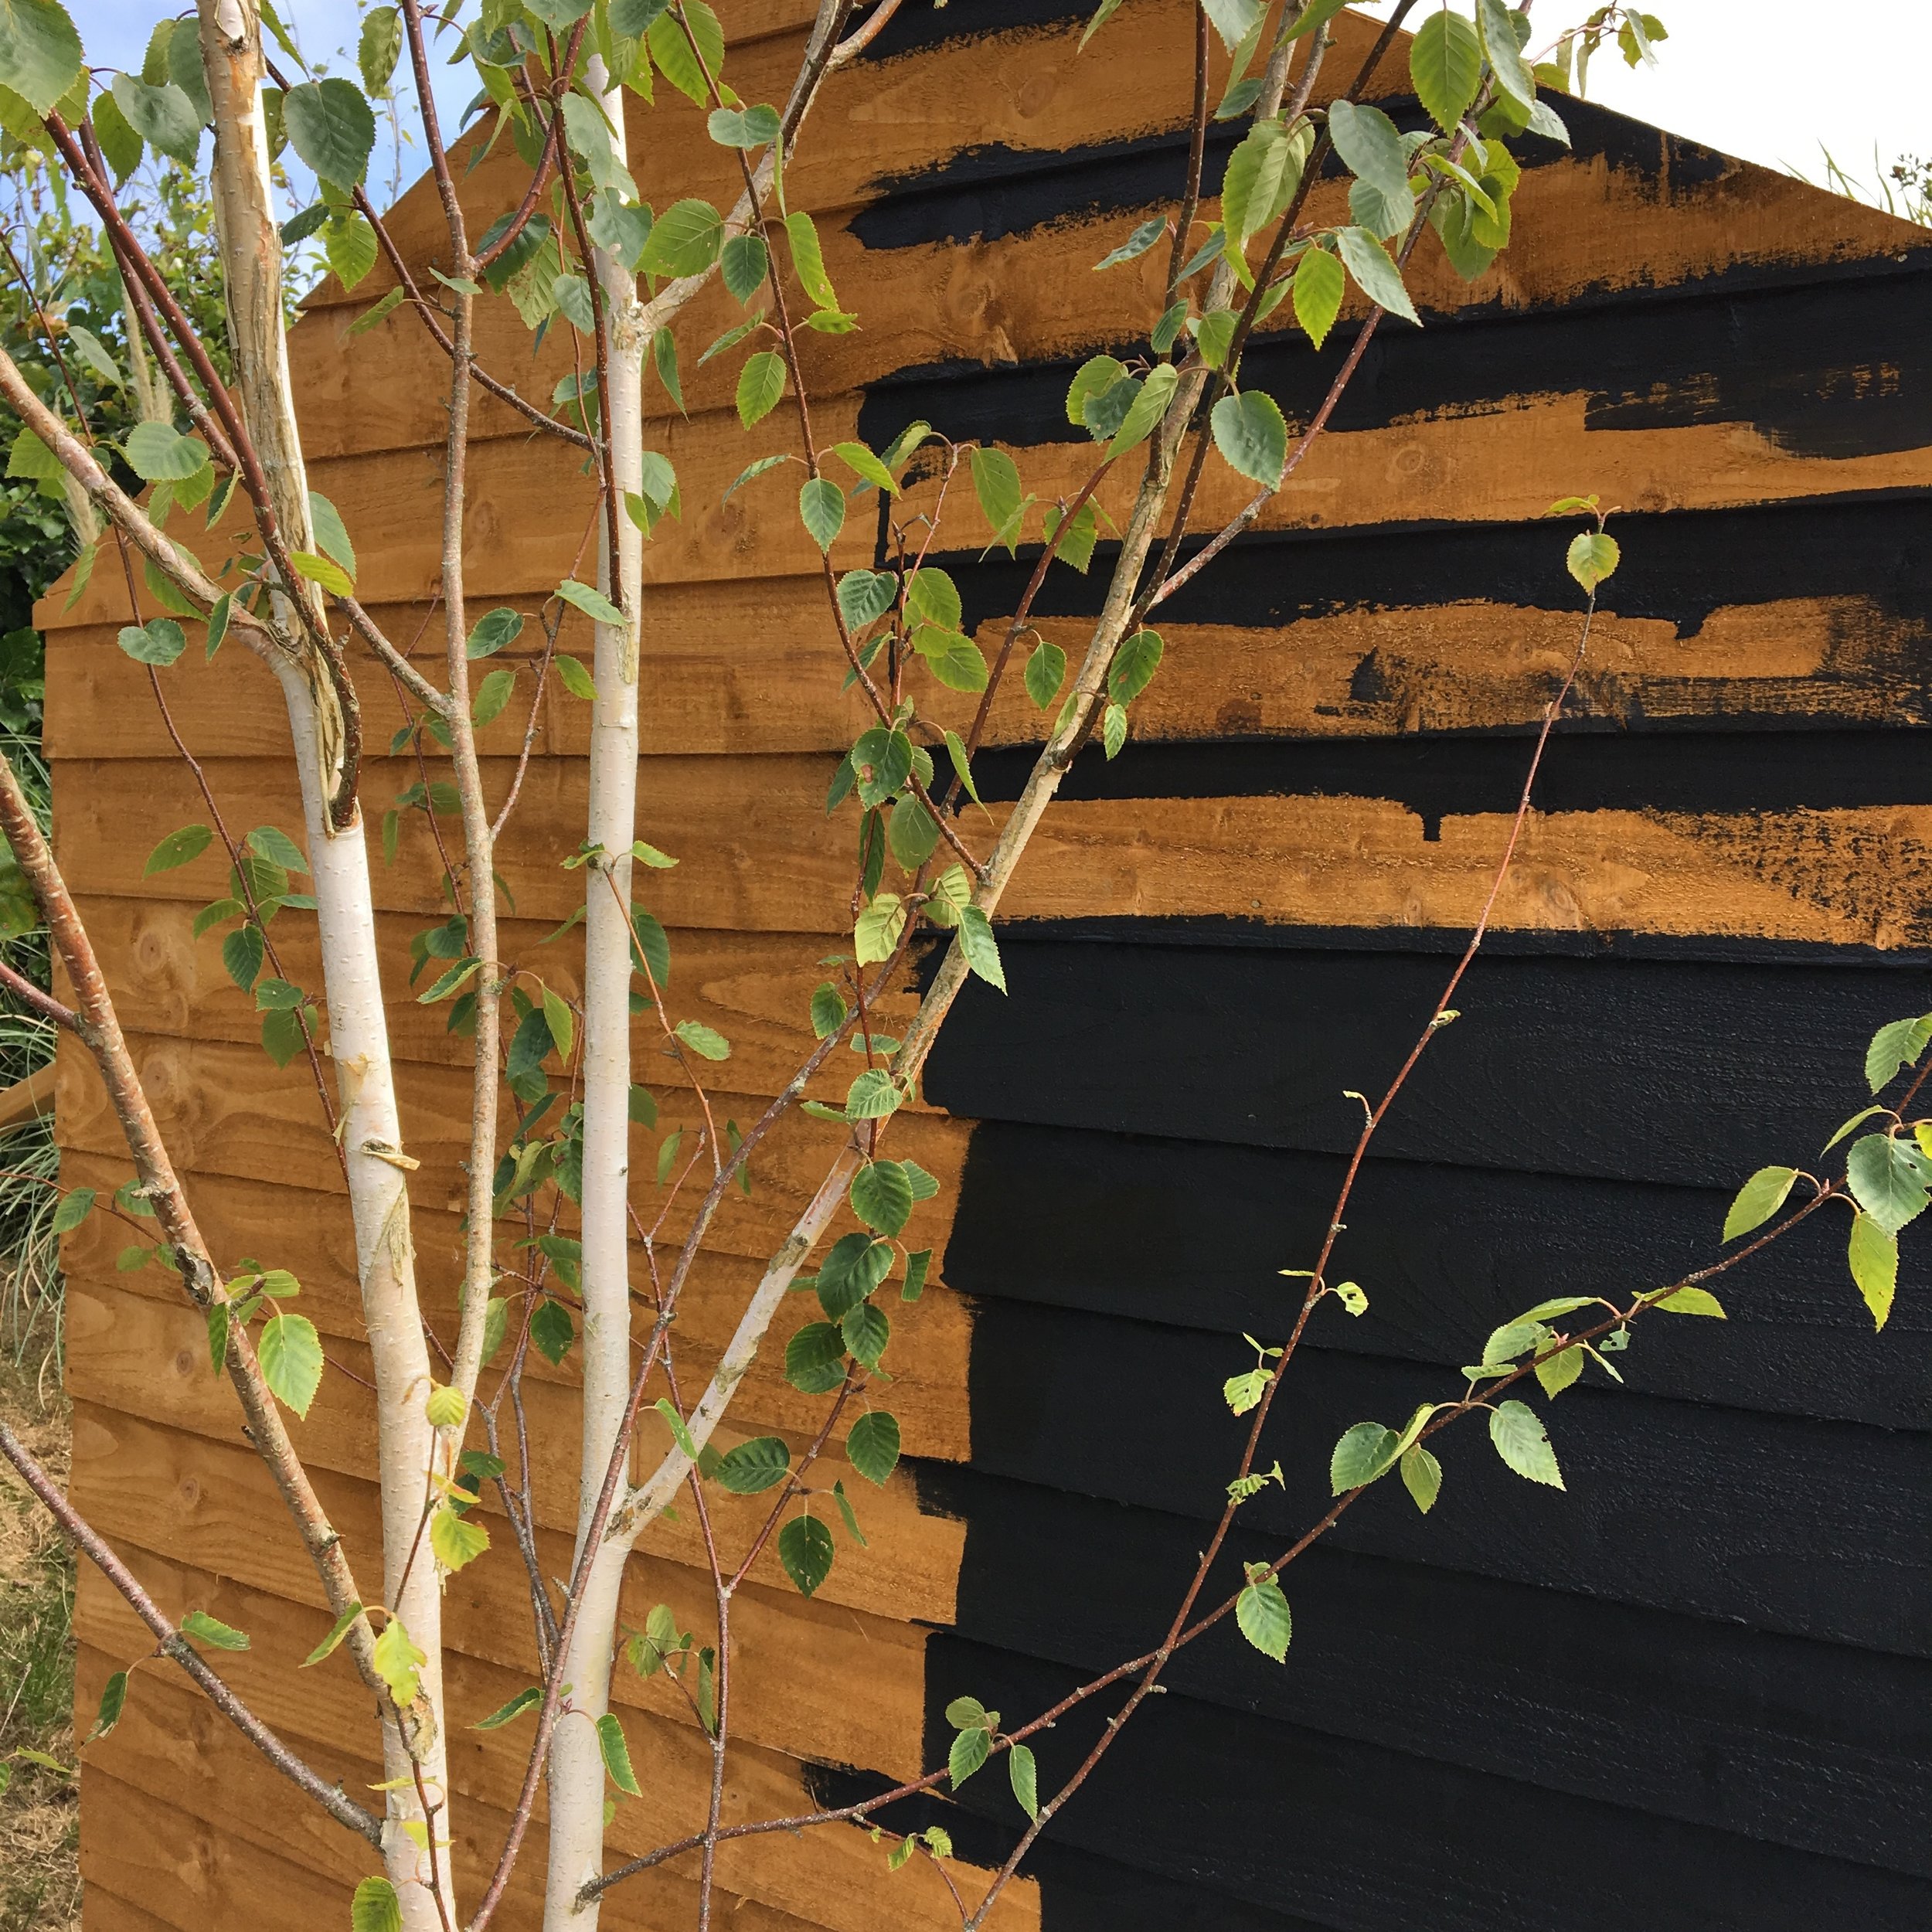
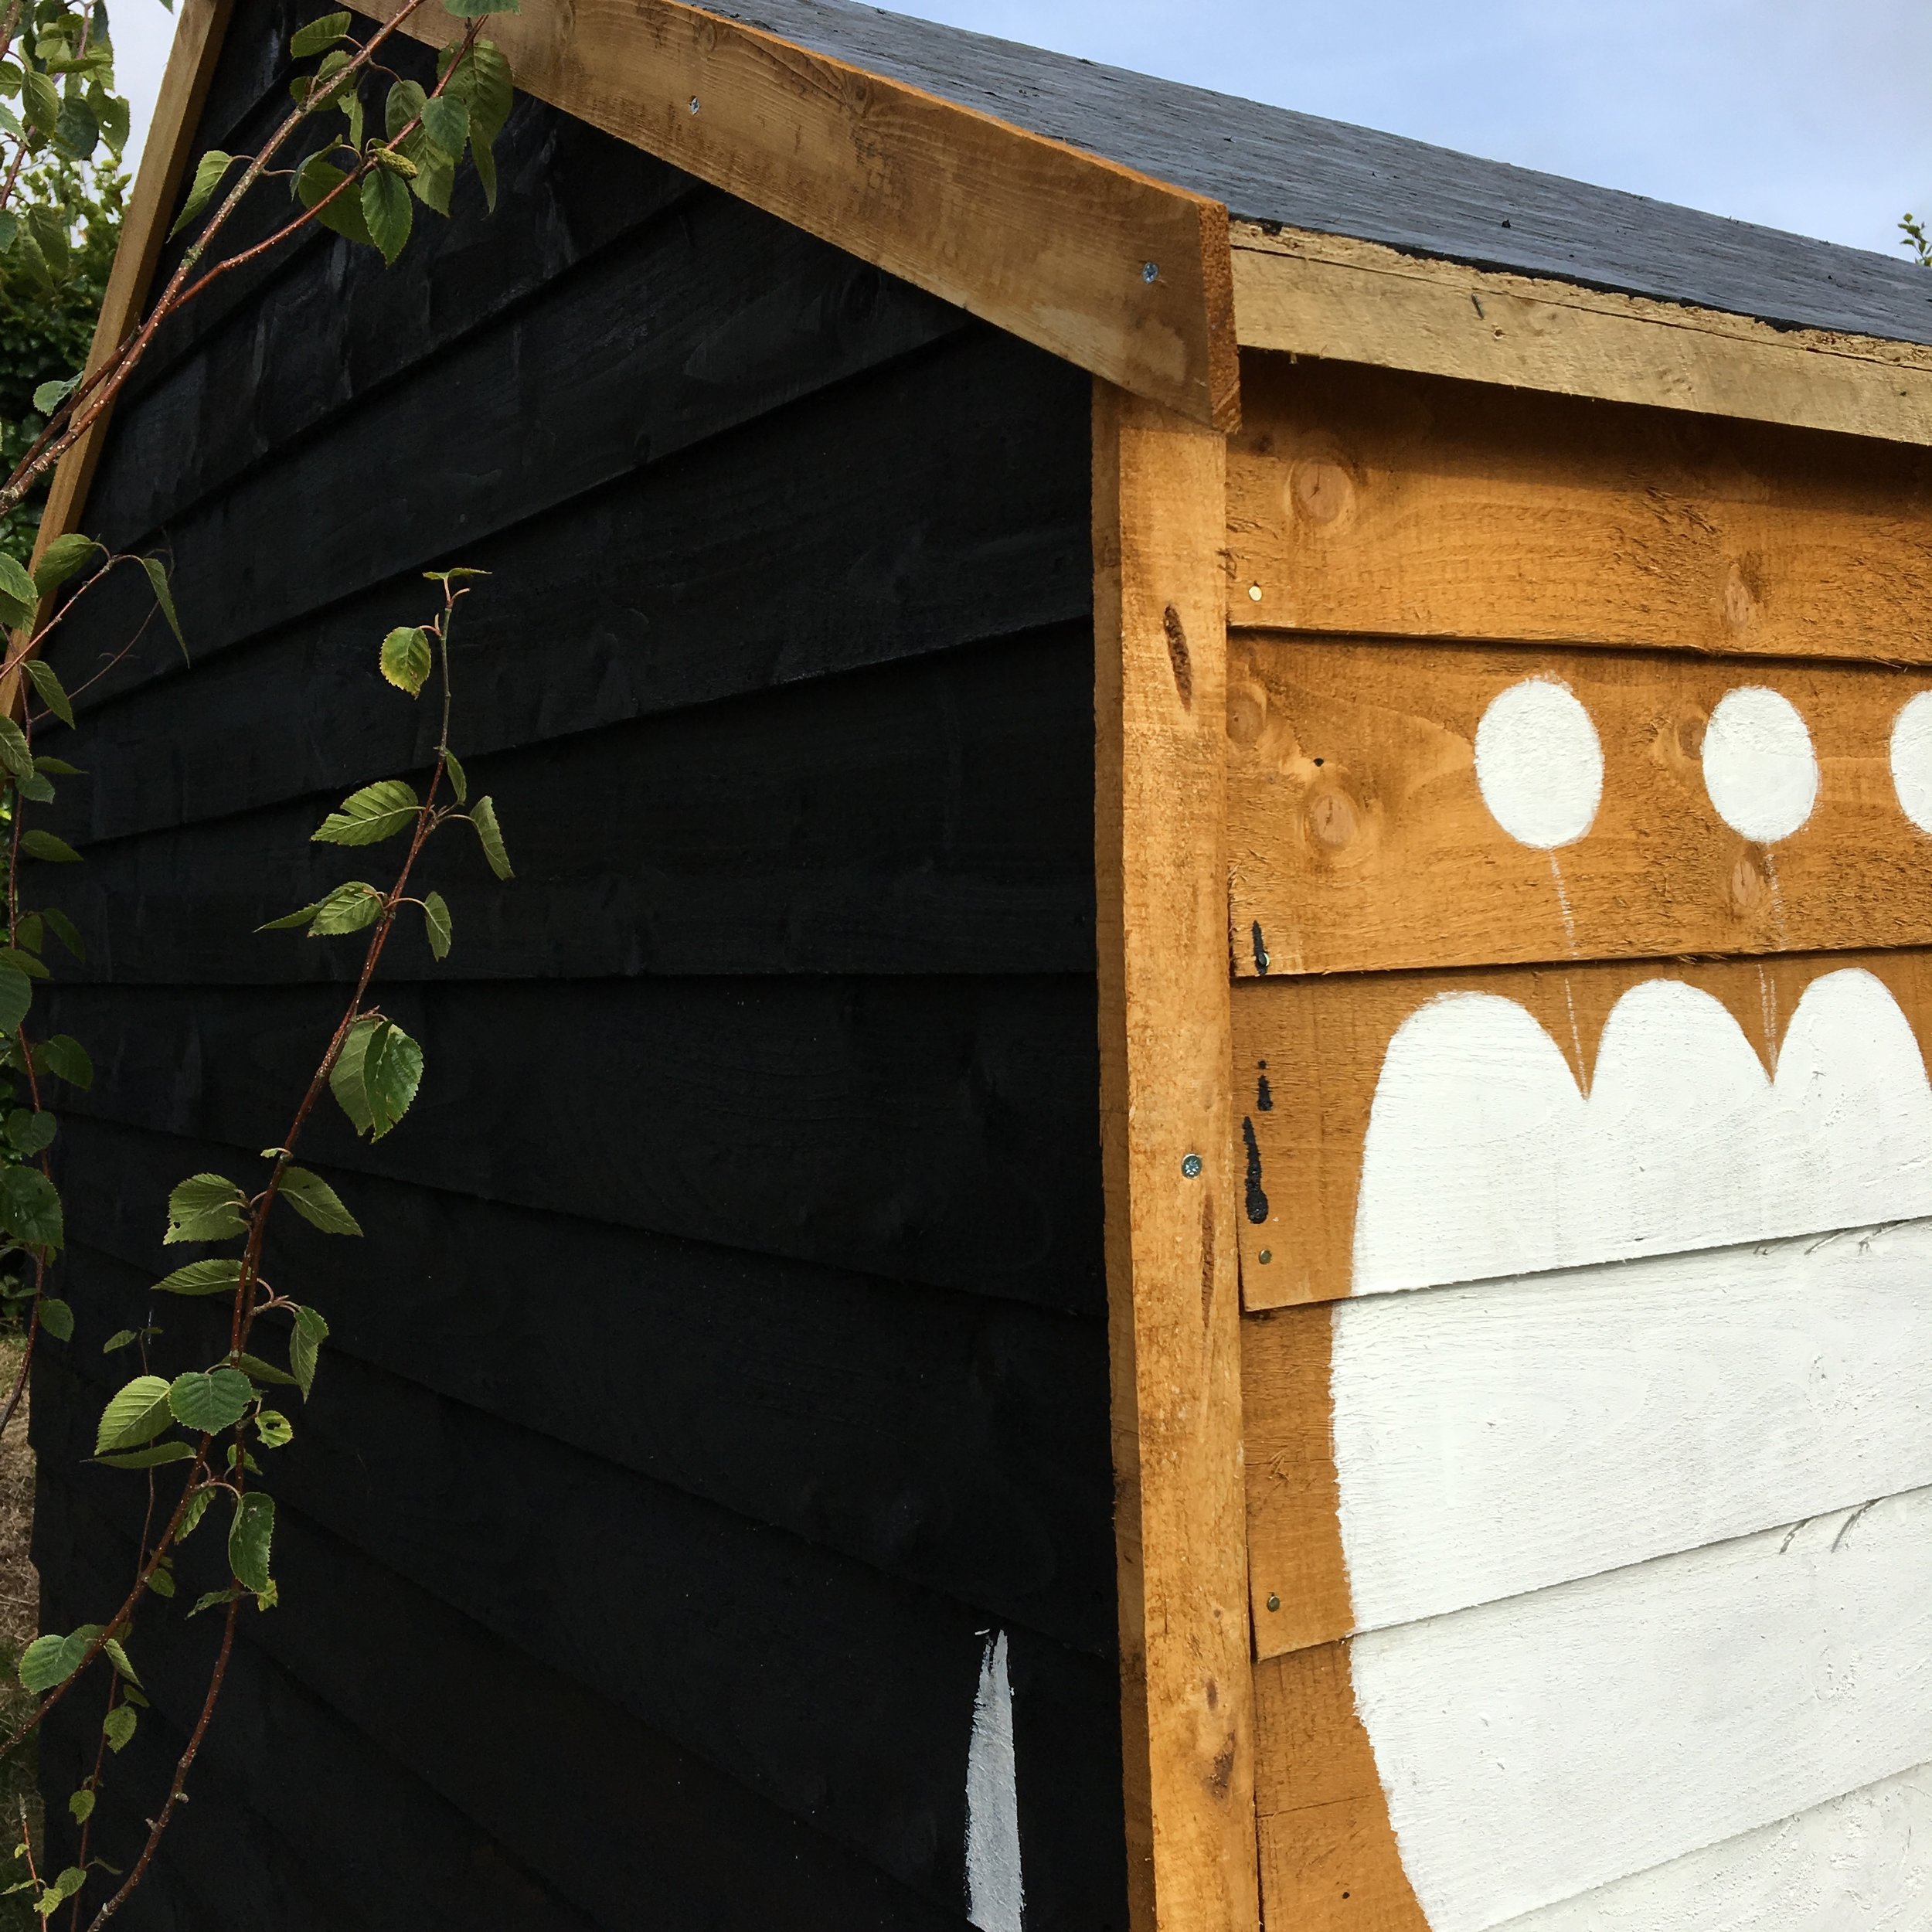
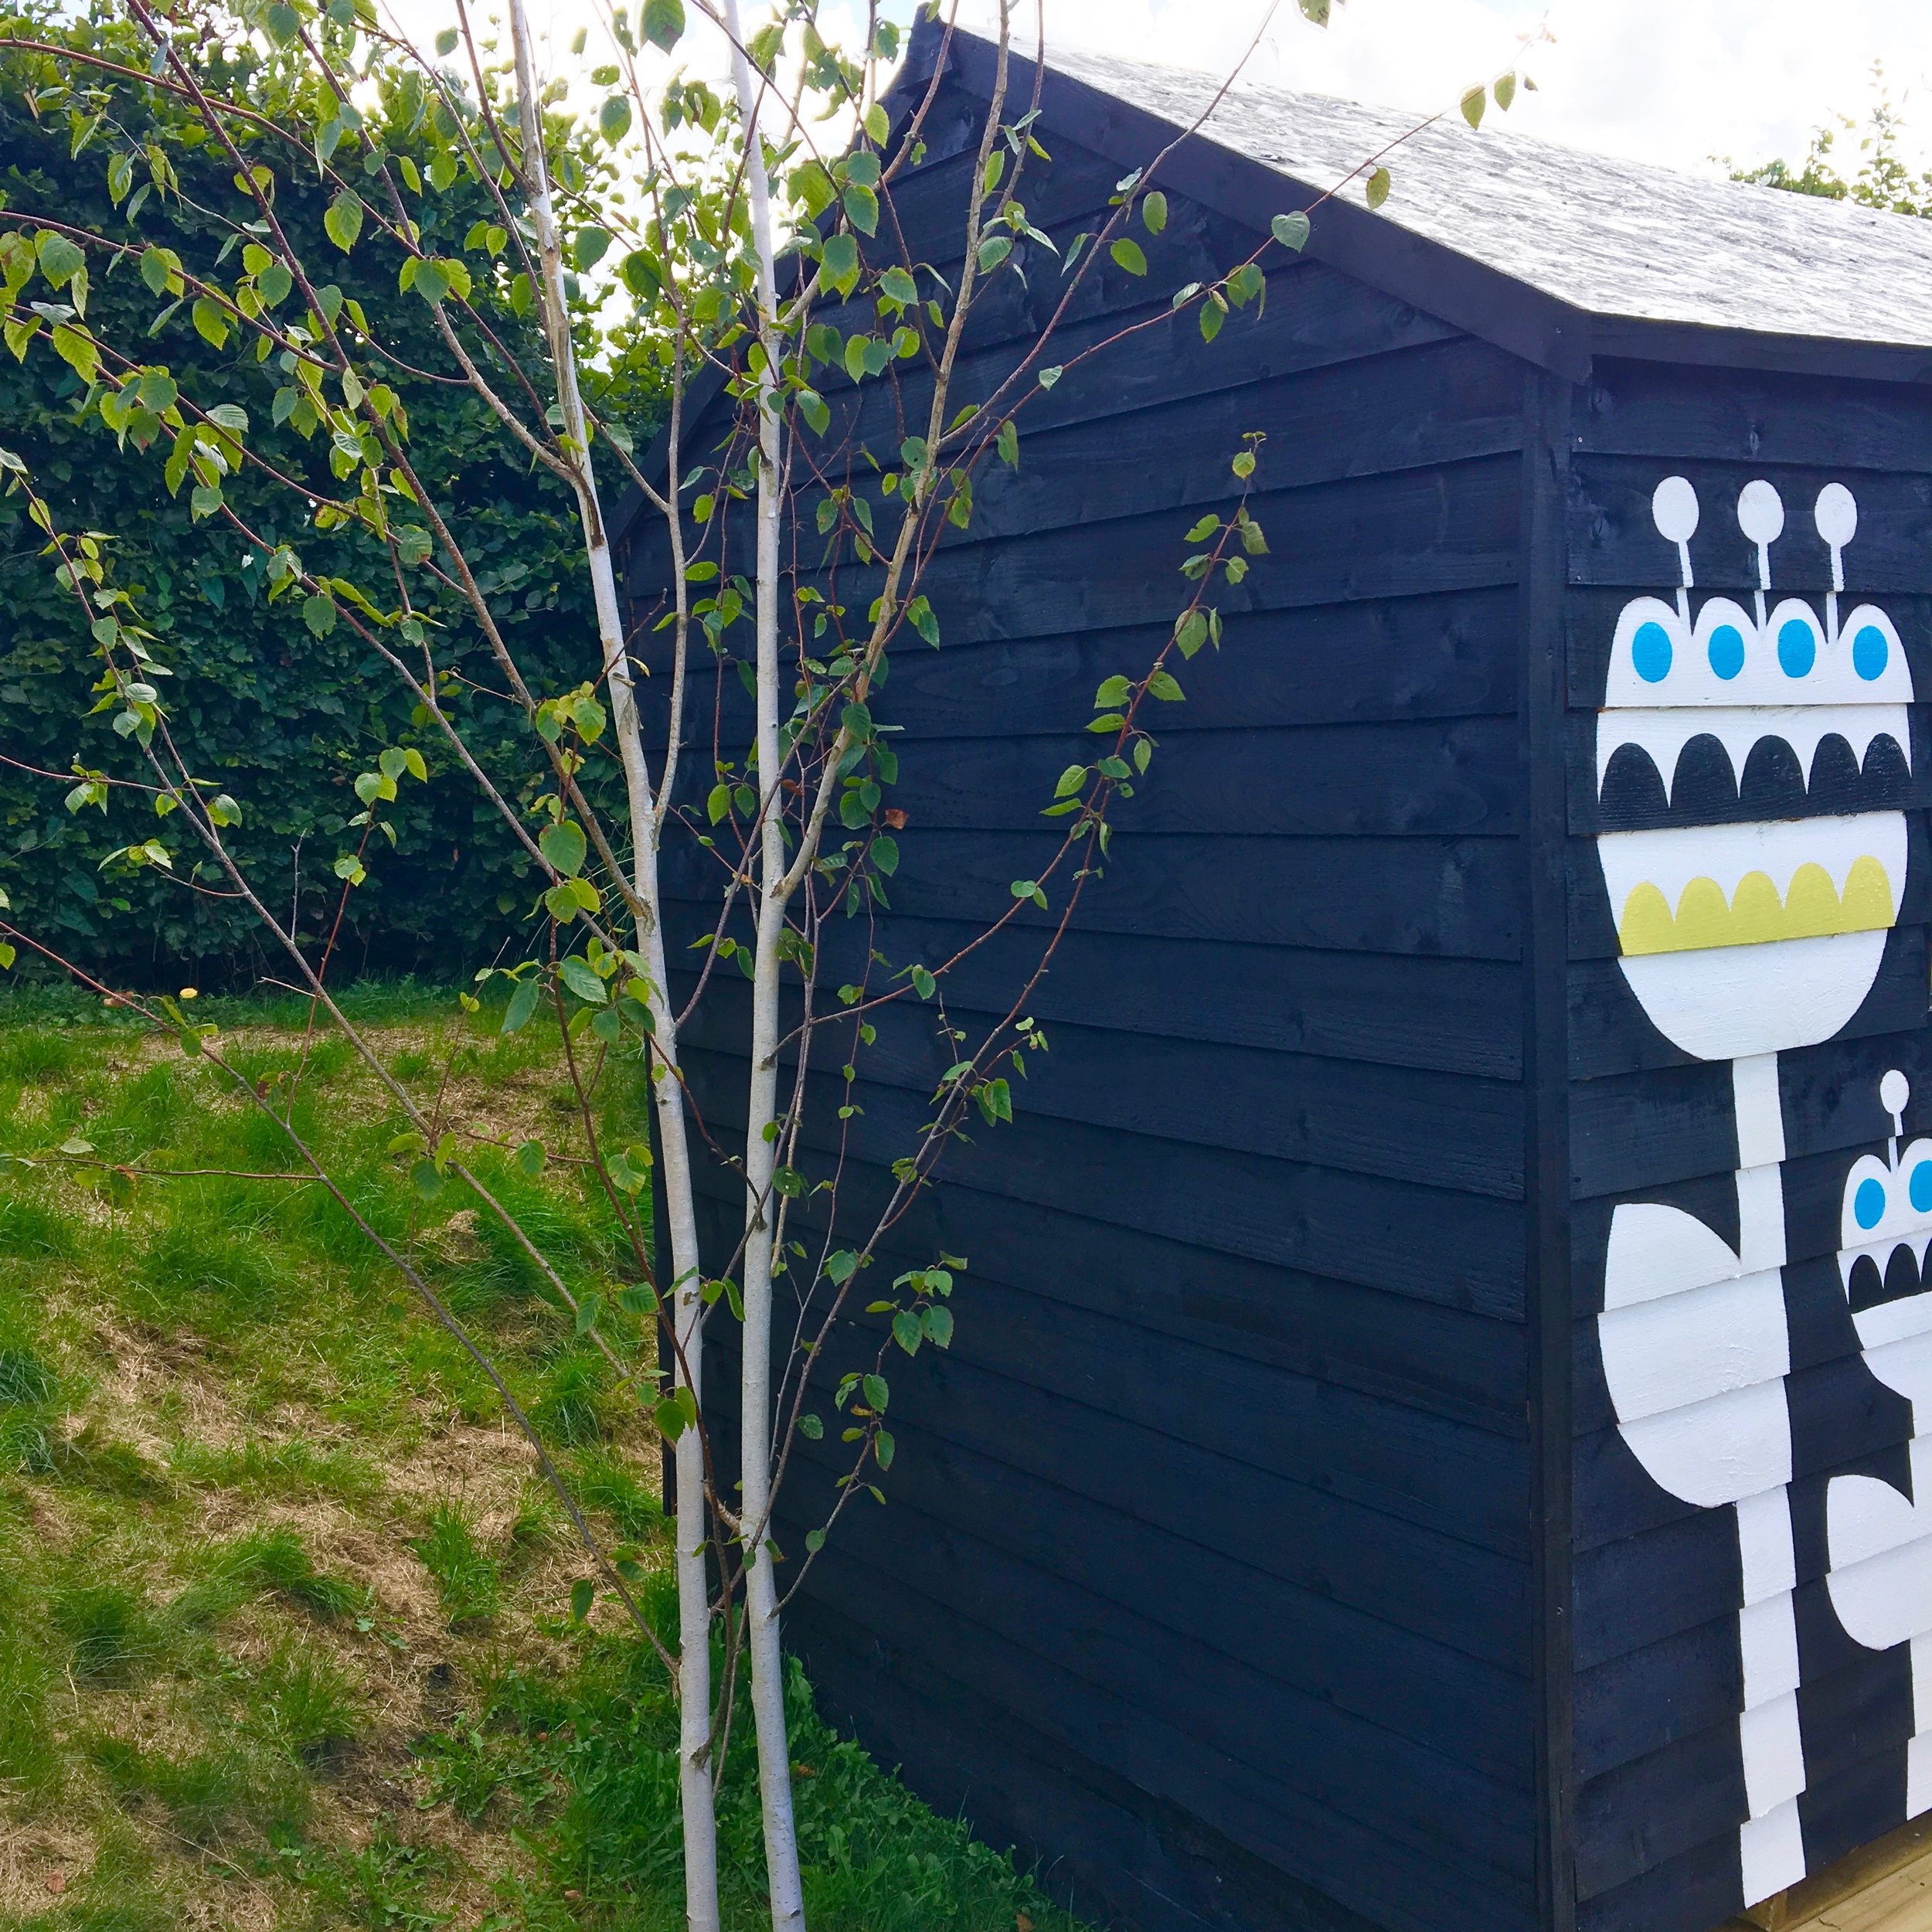
We chose to leave the other end of the shed black as any design here would have interfered with the silver birch tree.


Enjoying my new deck in the sun!
I hope you've enjoyed looking at this blog post - it would be great to hear your feedback so please feel free to leave me some comments or questions below.
This post is a sponsored post from Cuprinol and Dulux UK but all the designs, photos and words are entirely my own.
*My shopping list for the whole project was as follows:
B&Q Shed, 5L Cuprinol Black Ash Garden Shades Paint, 2.5L Cuprinol White Daisy Garden Shades Paint, Cuprinol tester pots of Beach Blue and Dazzling Yellow, 6X sheets of exterior grade Ply (8x4 ft each - to line the shed), 3X 100mm x 100mm treated timber shed and deck support, 9x 150mm x 20mm timber boards for decking. All items I used in the interior were items I had already, in and around my home. The chalkboard paint we used for the inside of the doors was a little pot we had left over from a previous project a few years ago.